Below you will find a tutorial teaching you about all the features on the Thermal Driver extraction page.
1. Extraction page
a)
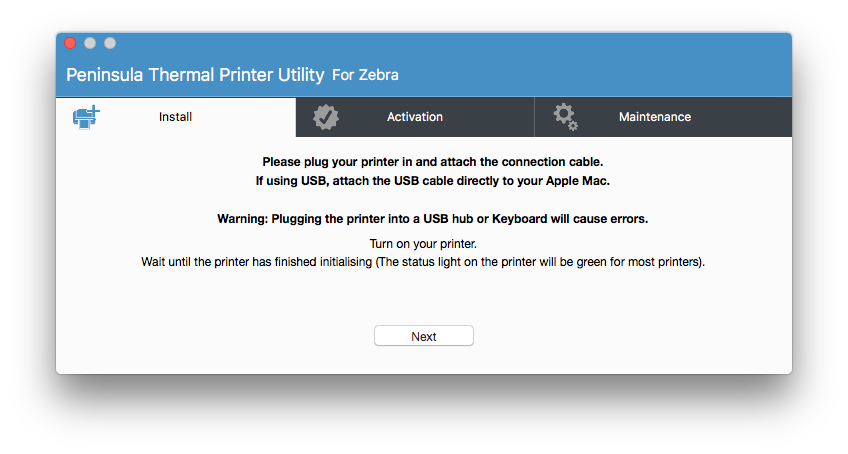
Open up your Thermal Printer Driver software
b)
Navigate to the "maintenance tab". This is the last tab in the top bar.
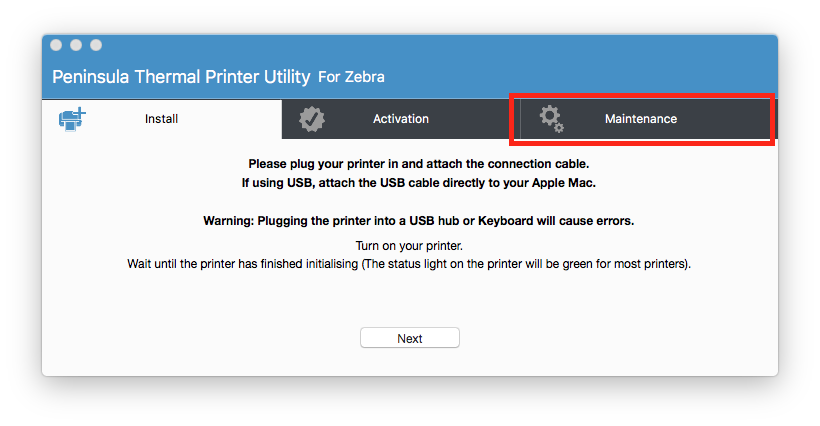
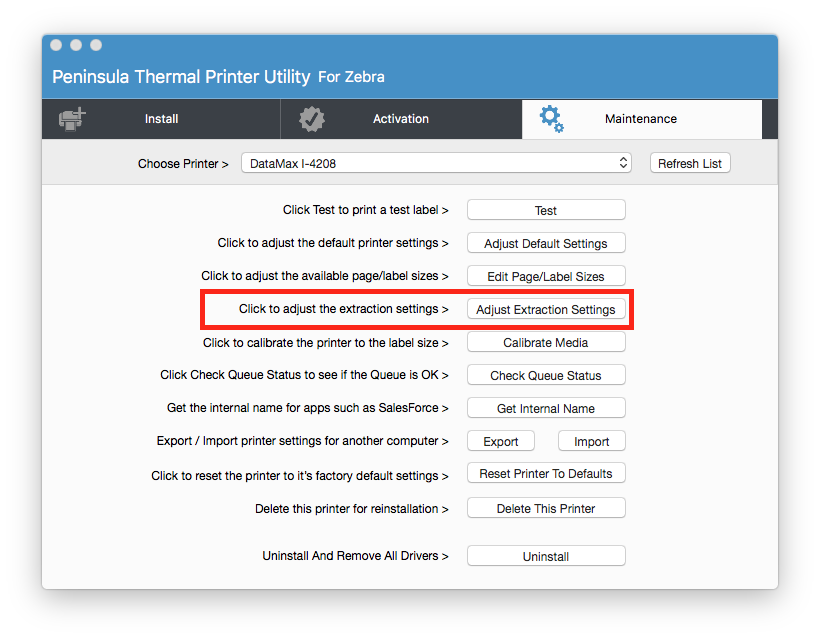
c)
When you have clicked on the tab, you should be taken to a new page.
It should look like the one in the image above.
d)
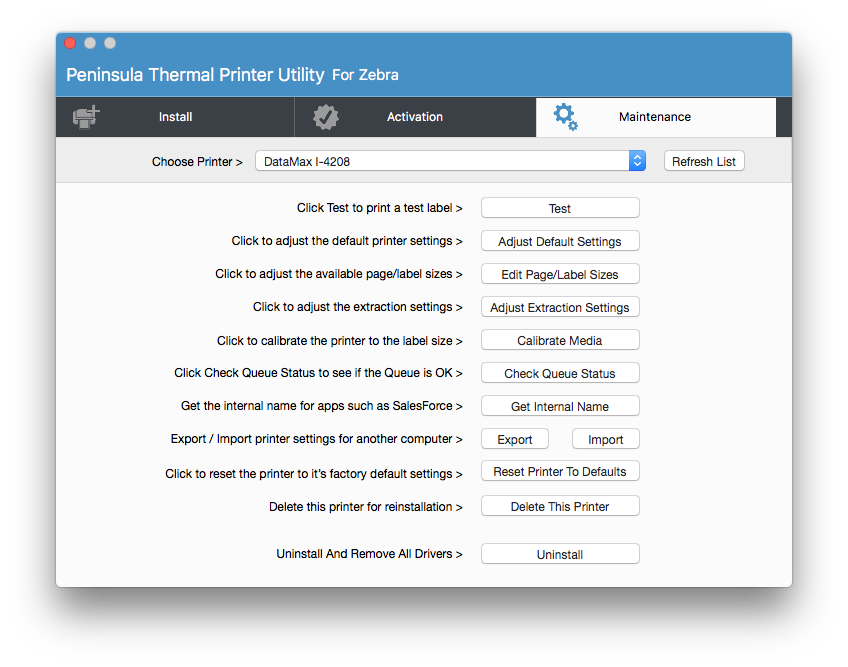
Navigate to the fourth option down in the list.
We have highlighted the option you need to click.
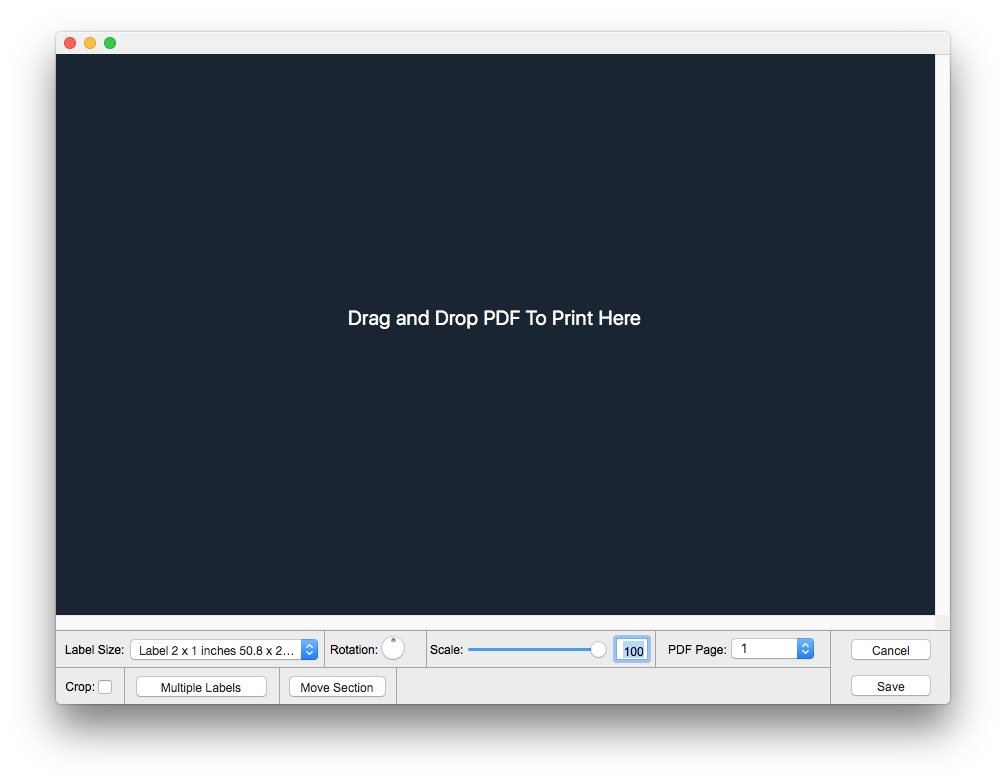
e)
After clicking on "adjust extraction settings" you will be taken to a new dialog.
It should look like the image above.
f)
Drag and drop your PDF on to the dialog.
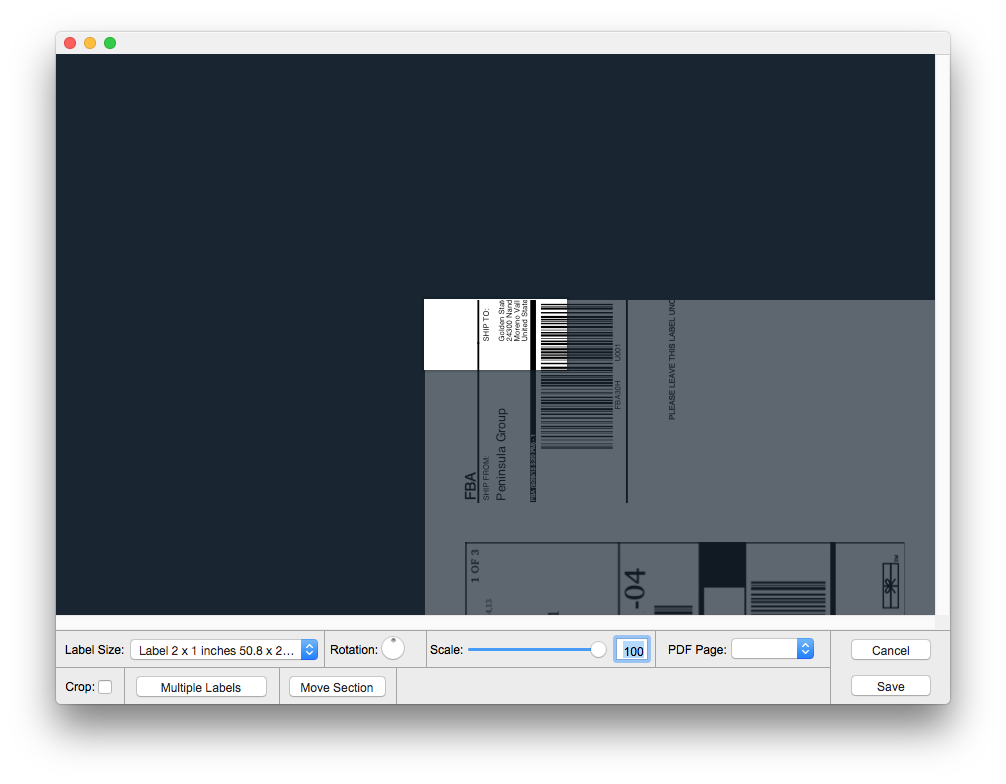
We will now go through what all the buttons mean on the extraction page.
g)
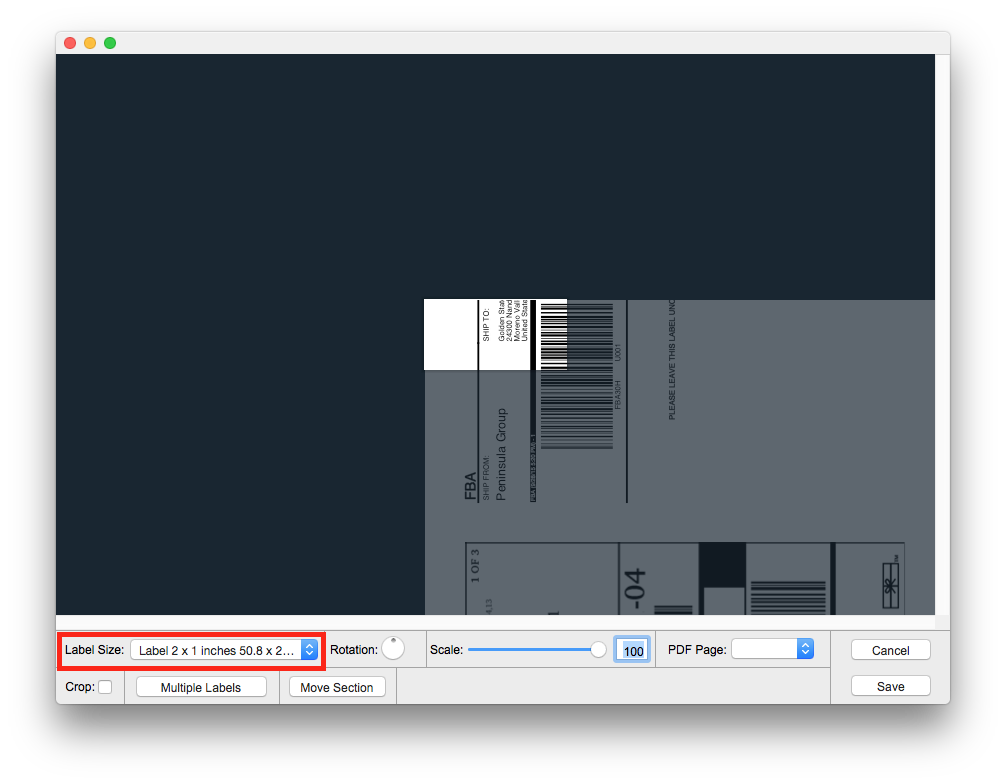
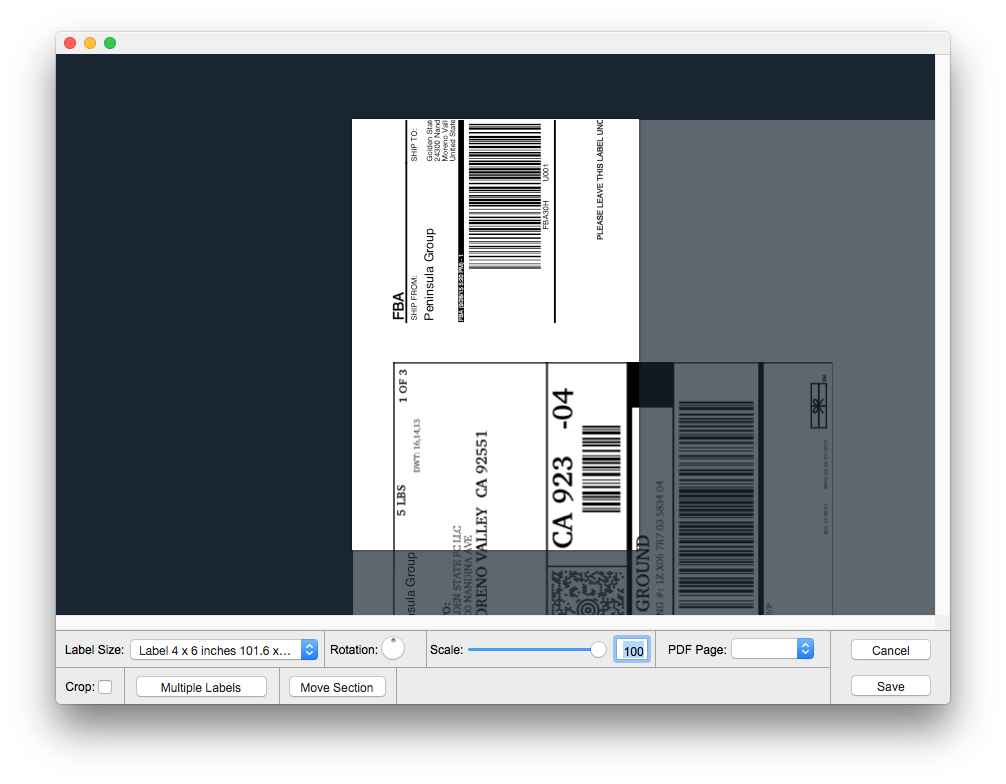
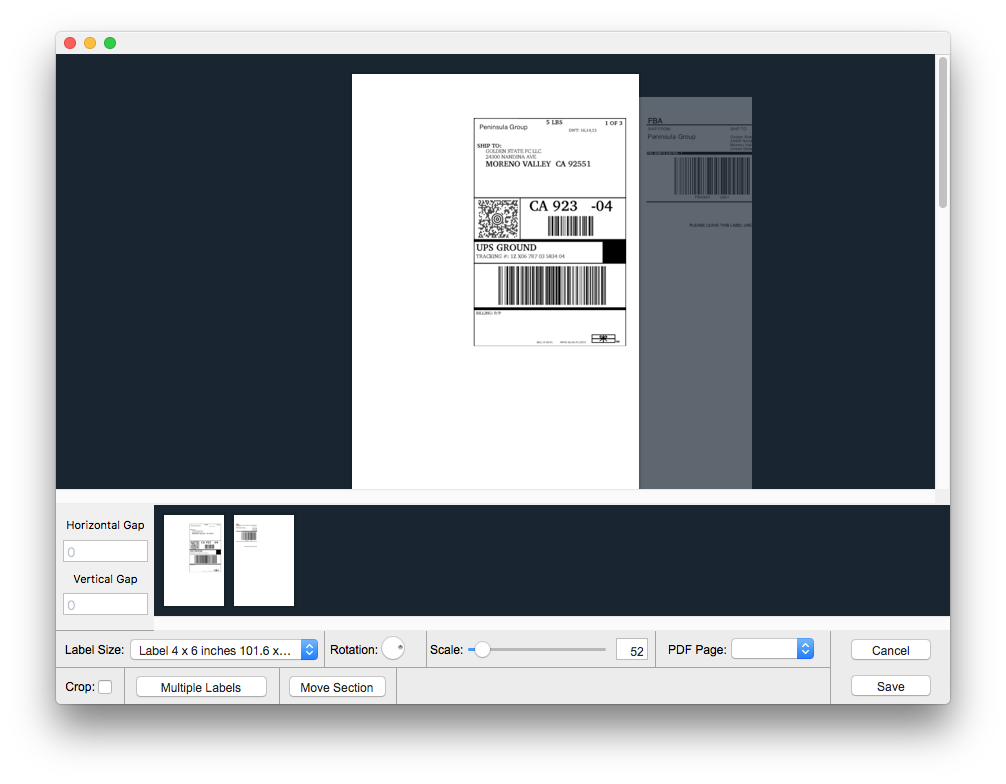
First we look at the label size.
This is about changing the label size for one of two sizes. There will be a drop down menu to select from.
This will change the size of how the label looks on screen.
h)
We have changed the Label size from 2x1 to the 4x6.
You can see that it changes the size of the label and you can now rotate the label.
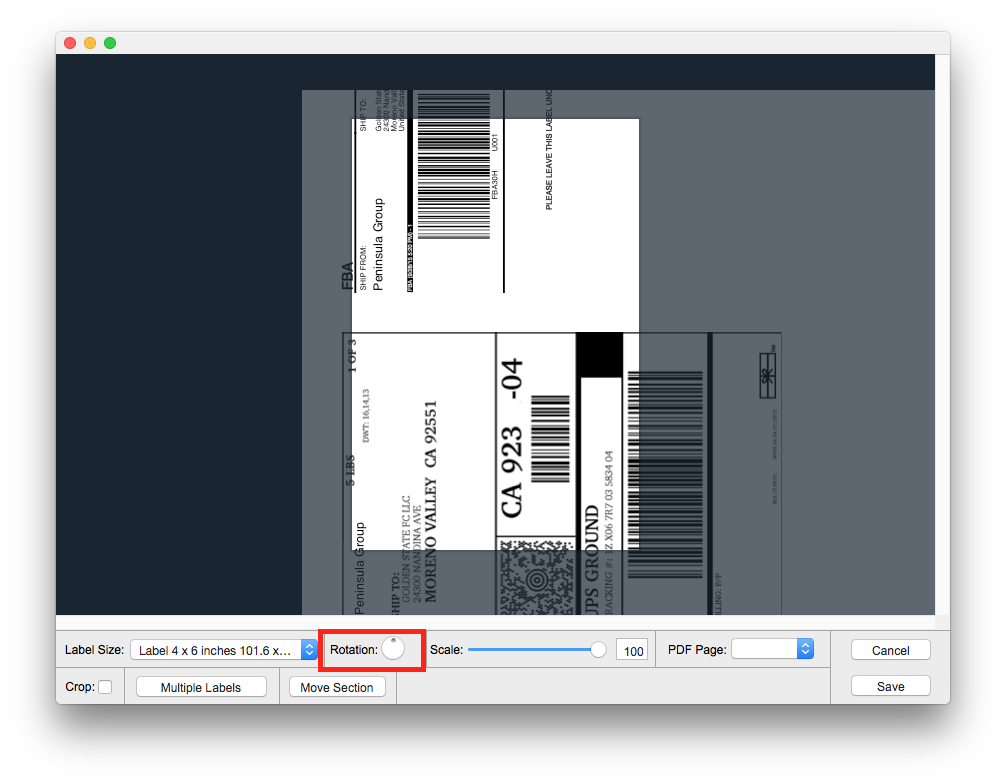
i)
Next on the extraction page is the rotation setting.
The rotation button is just a means of rotating your label round so that you can have it which way you want.
j)
In the image above we have rotated the label, so it is now the correct way round.
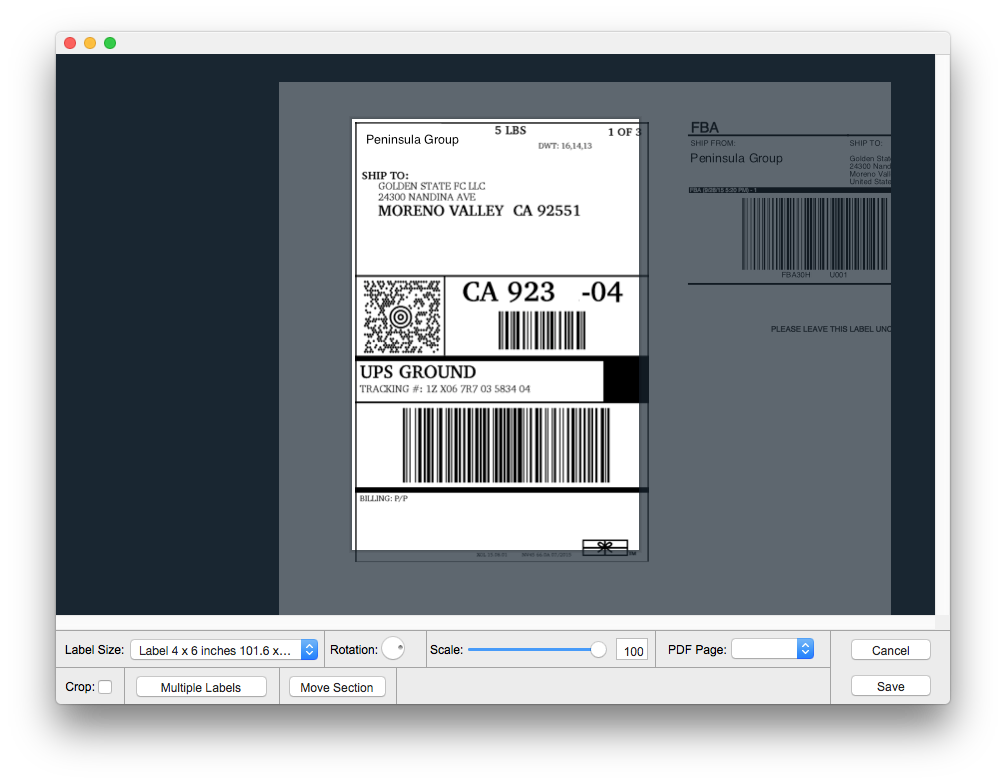
k)
The next item on the extraction page is the scale bar.
The scale bar means you can scale out the label so it fits in the Label size properly.
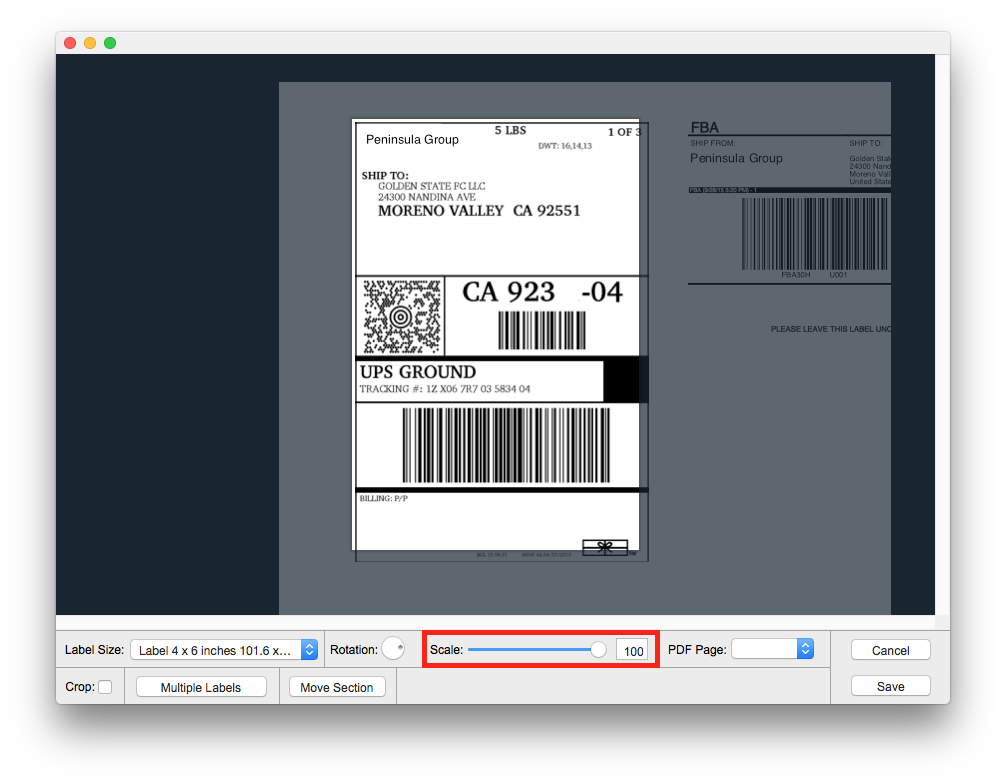
l)
The image above is after we have scaled down our label to fit the label size correctly.
See we have ensured to position our label so it fits within the guidelines correctly.
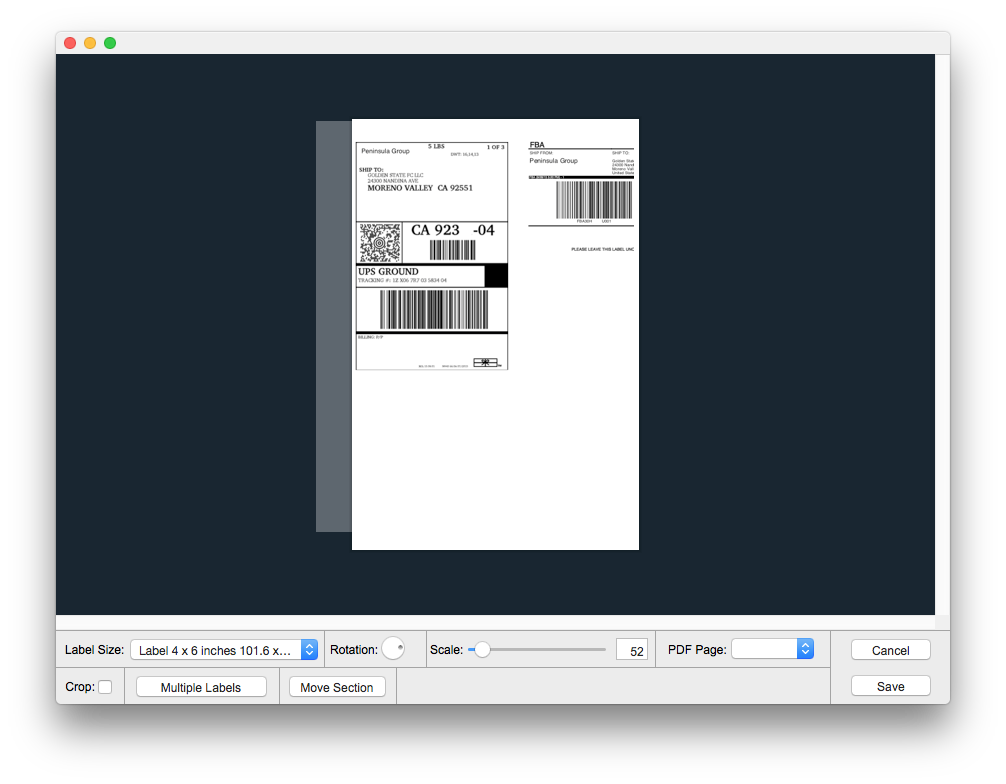
m)
The PDF page simply means going to a different page on your PDF file.
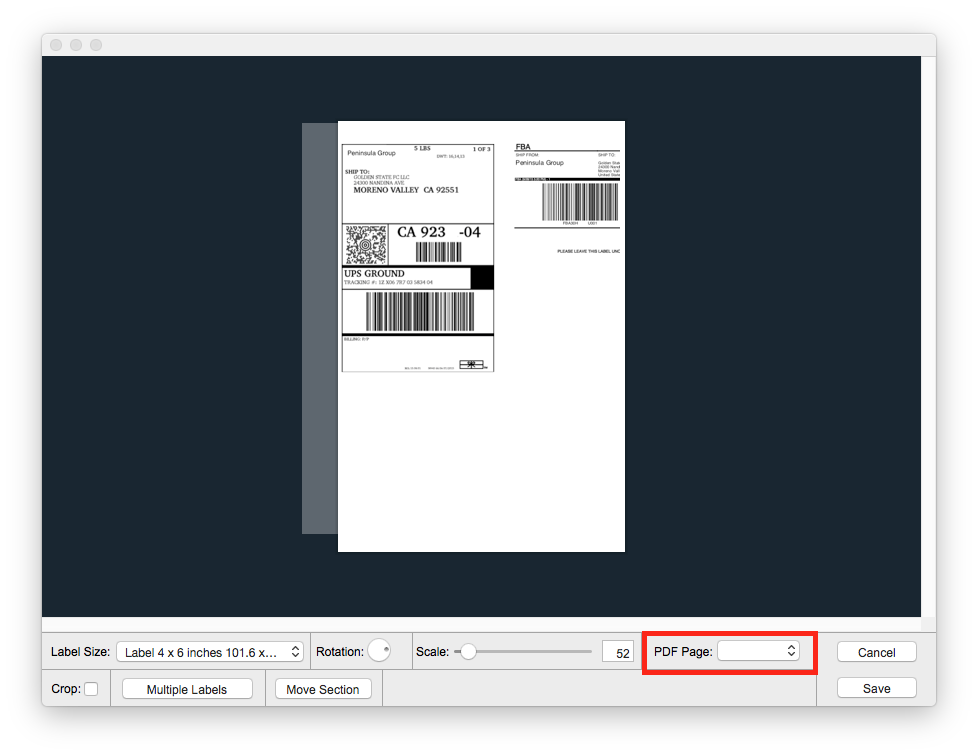
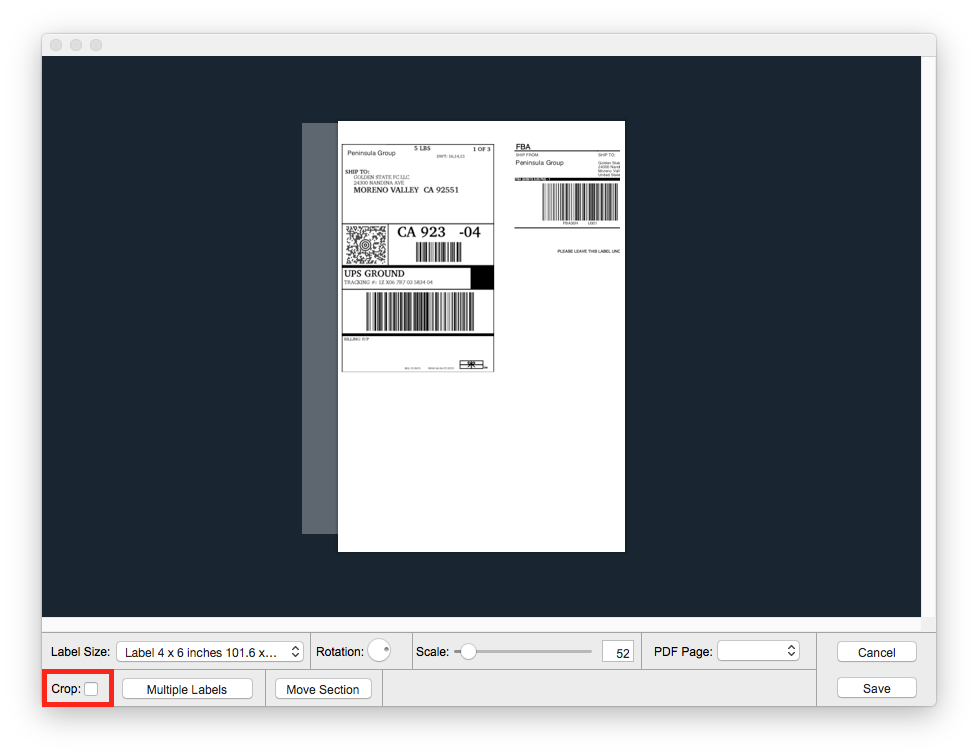
n)
The next thing on the extraction page is the crop button.
The crop button simply means you can crop the label to a certain size if you want to or need to.
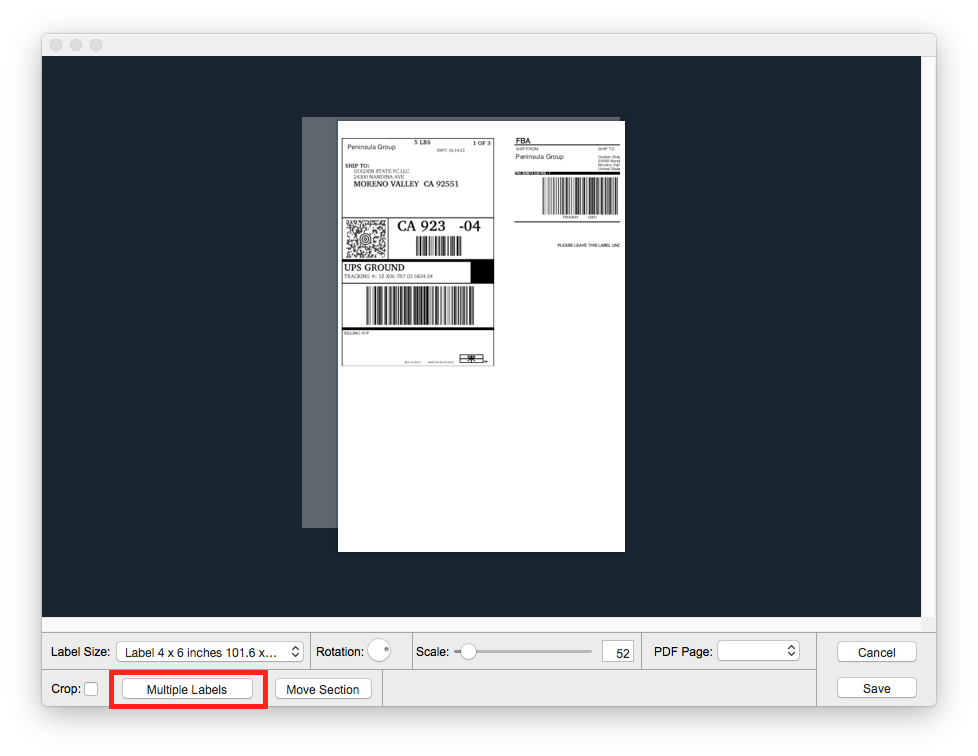
o)
The next item on the extraction page is the Multiple labels button.
This is for if you have more than one label on the page.
p)
If you have said your label has multiple labels, then when you drag the label around it will move off screen.
When it moves off screen it will go onto a second page, you can then set what horizontal or vertical gap you want.
You wont need to use multiple labels for if you use a label like our current example we are using as it is a single label.
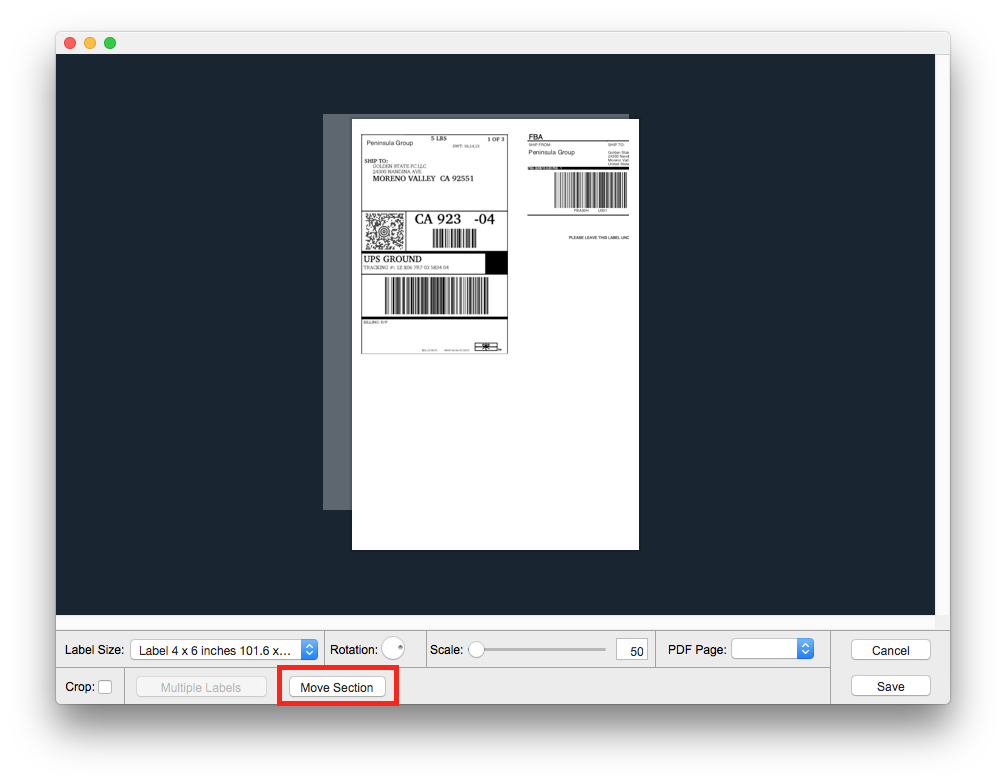
q)
The move section option is for if you need to rearrange your label slightly for better printing.
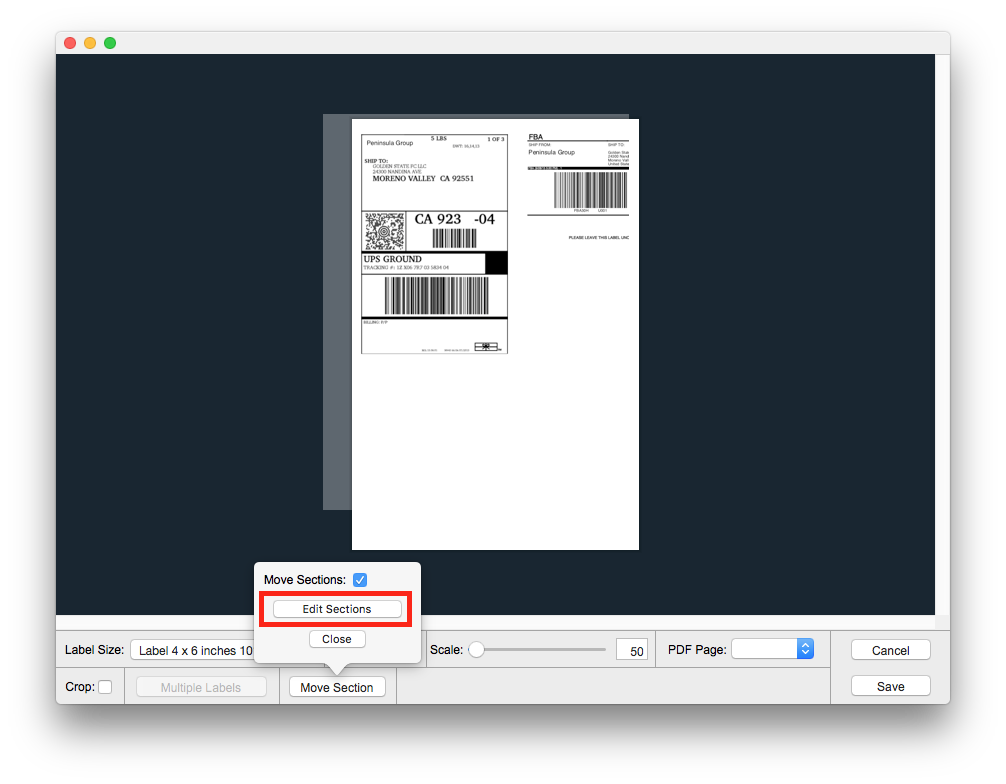
r)
To move a section, click on the move section button
You will see a menu to select from. Click edit sections.
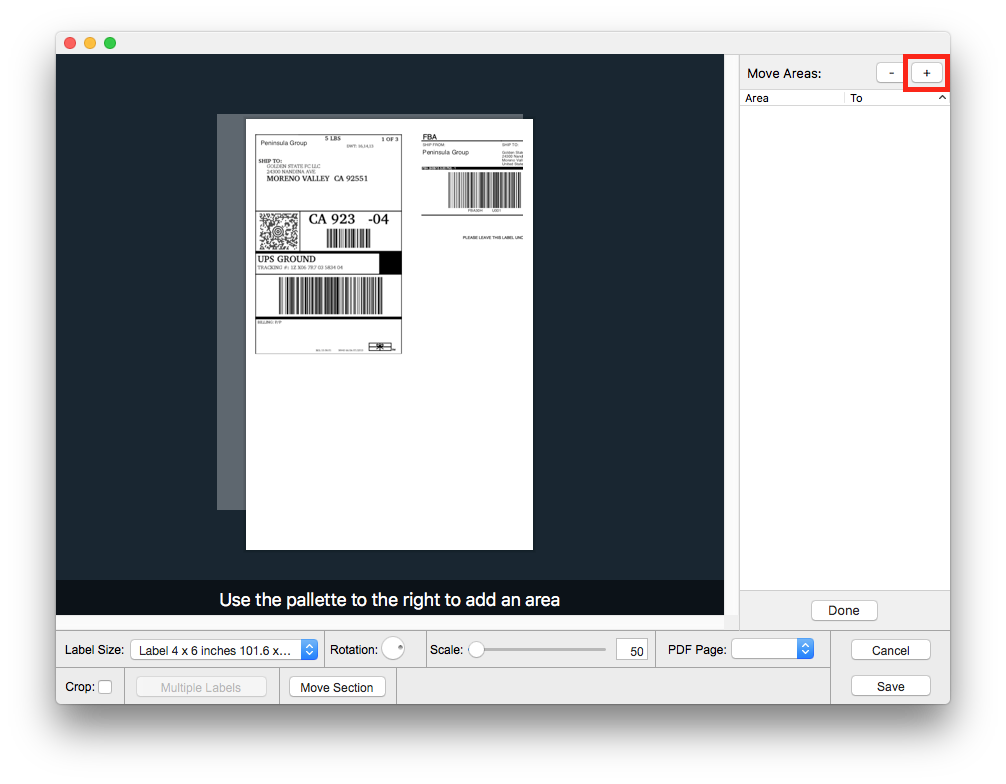
s)
To move part of your label around click the small plus button and draw a box around the label you wish to move.
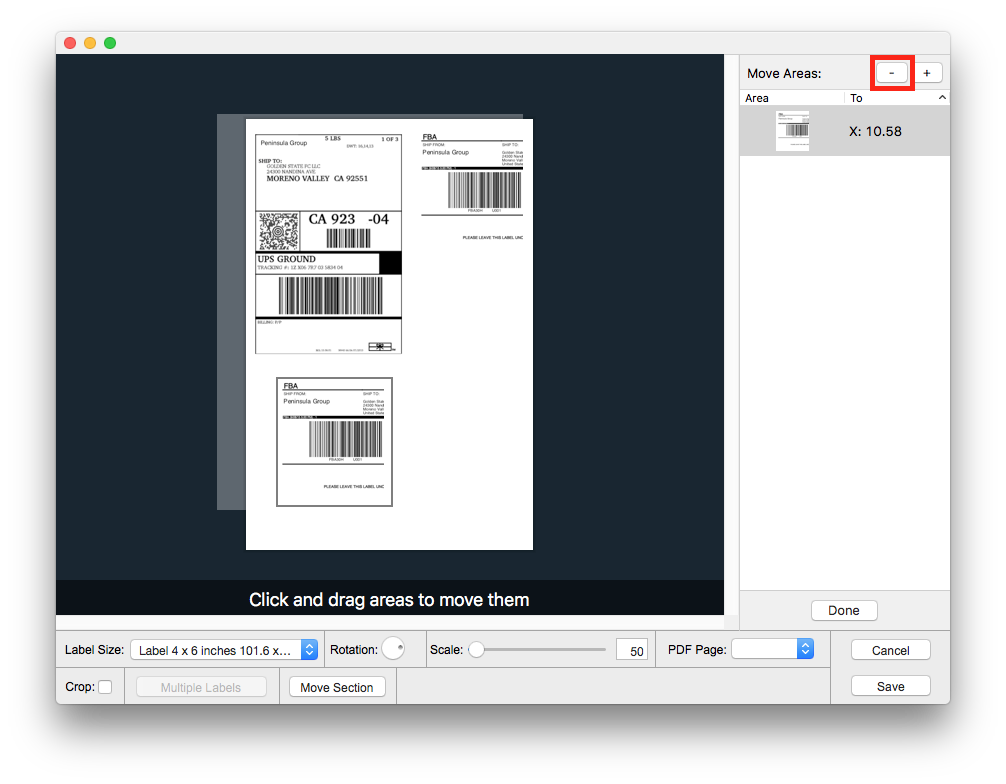
t)
To delete what you have moved around select the item in the side bar and click on the small minus button.
Click done when you have Moved any sections you wish to move.
u)
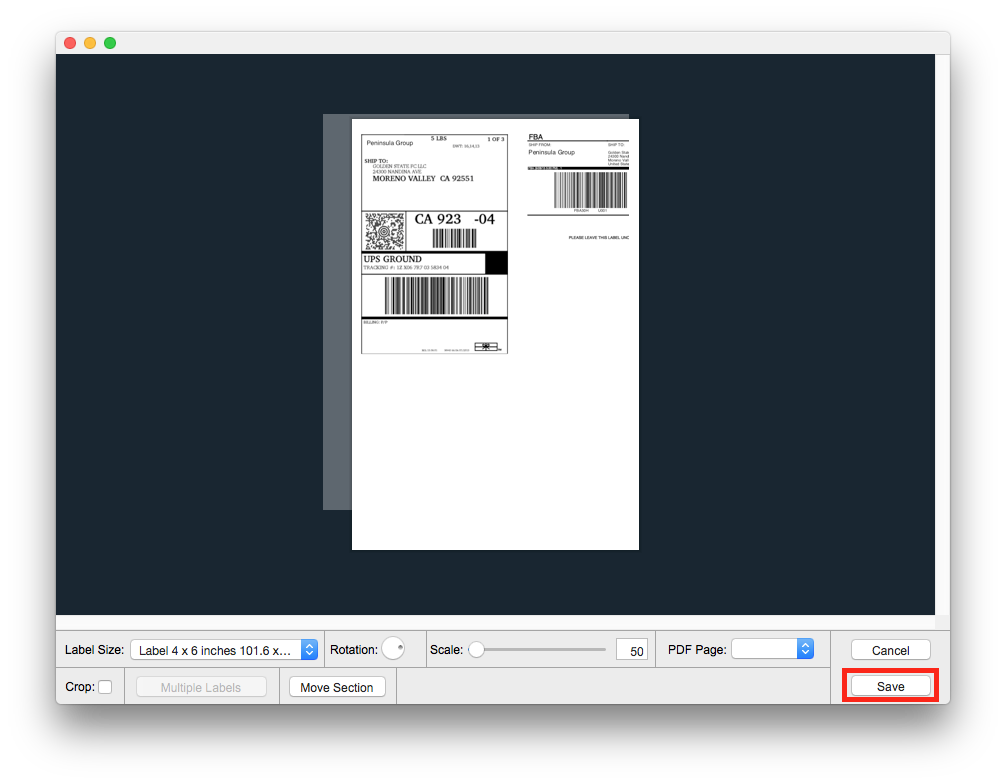
Once you have done whatever you may have needed to do to sort your label,
click the "save" button.
If you still encounter any issues, please email our Technical Support at
tech@peninsula-group.com