Installing a printer to use with design applications
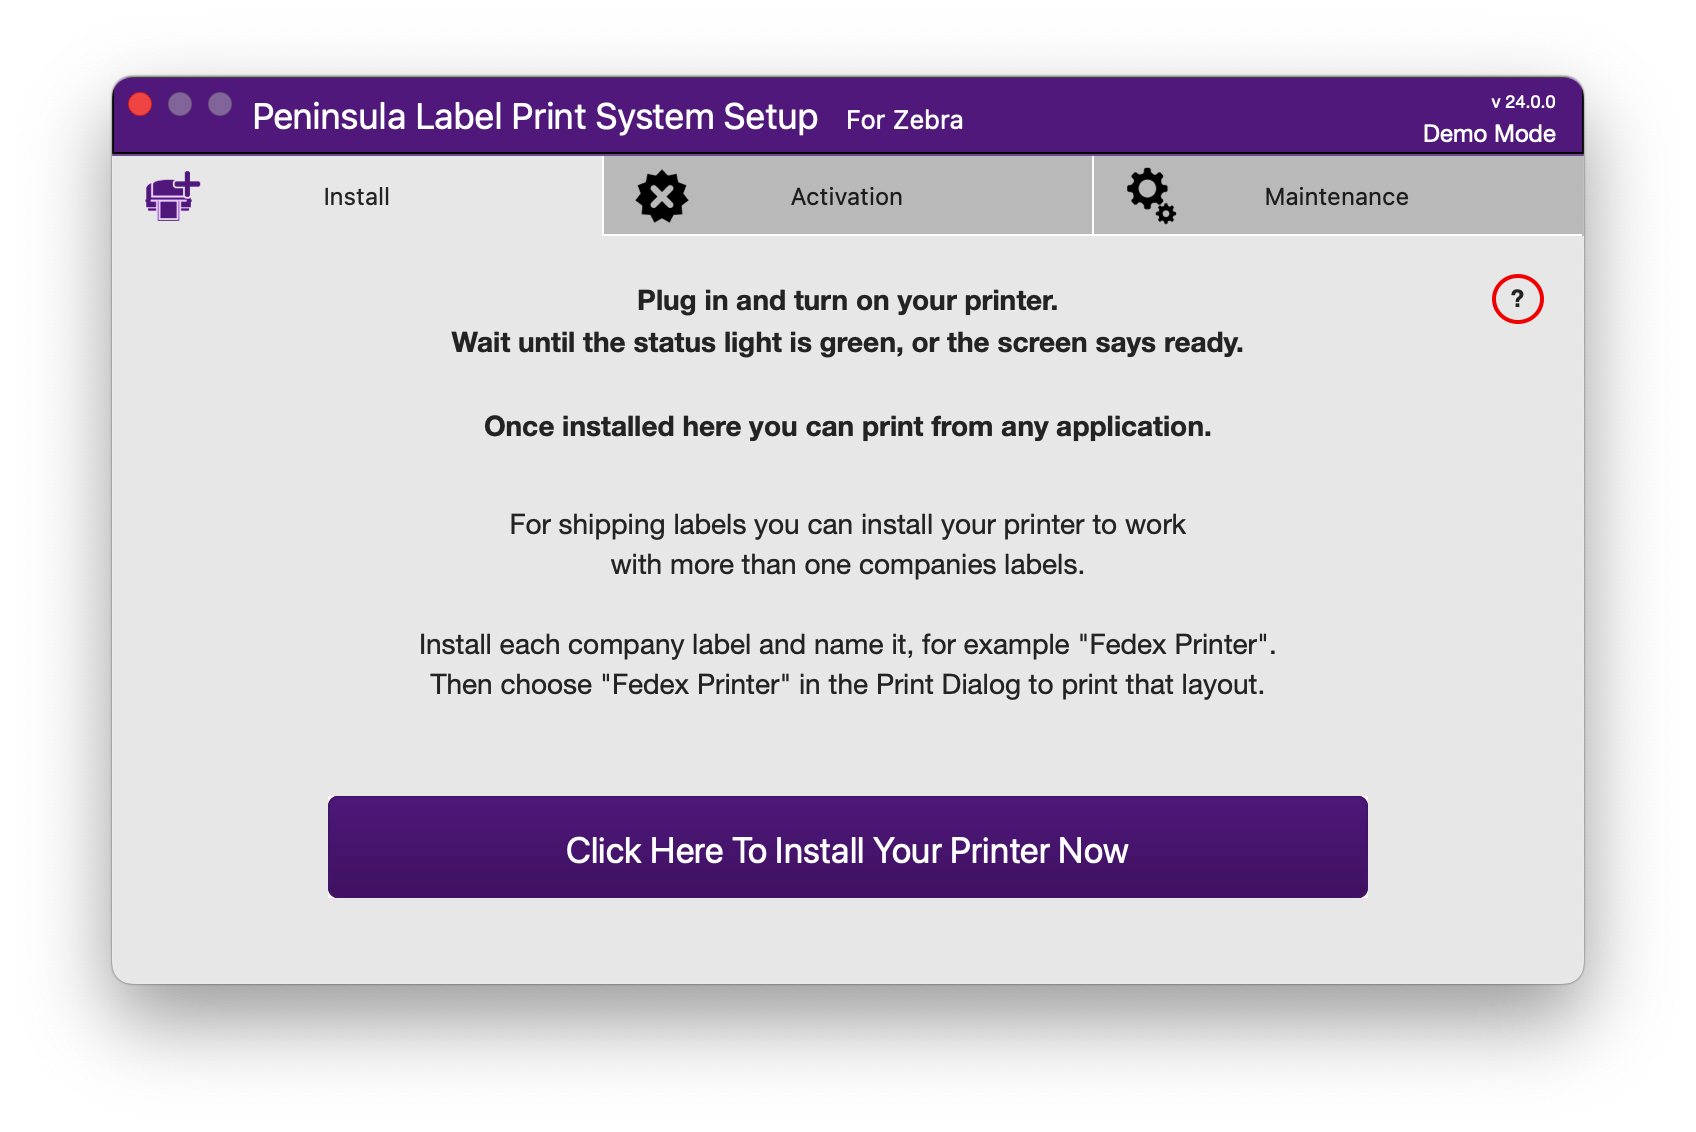
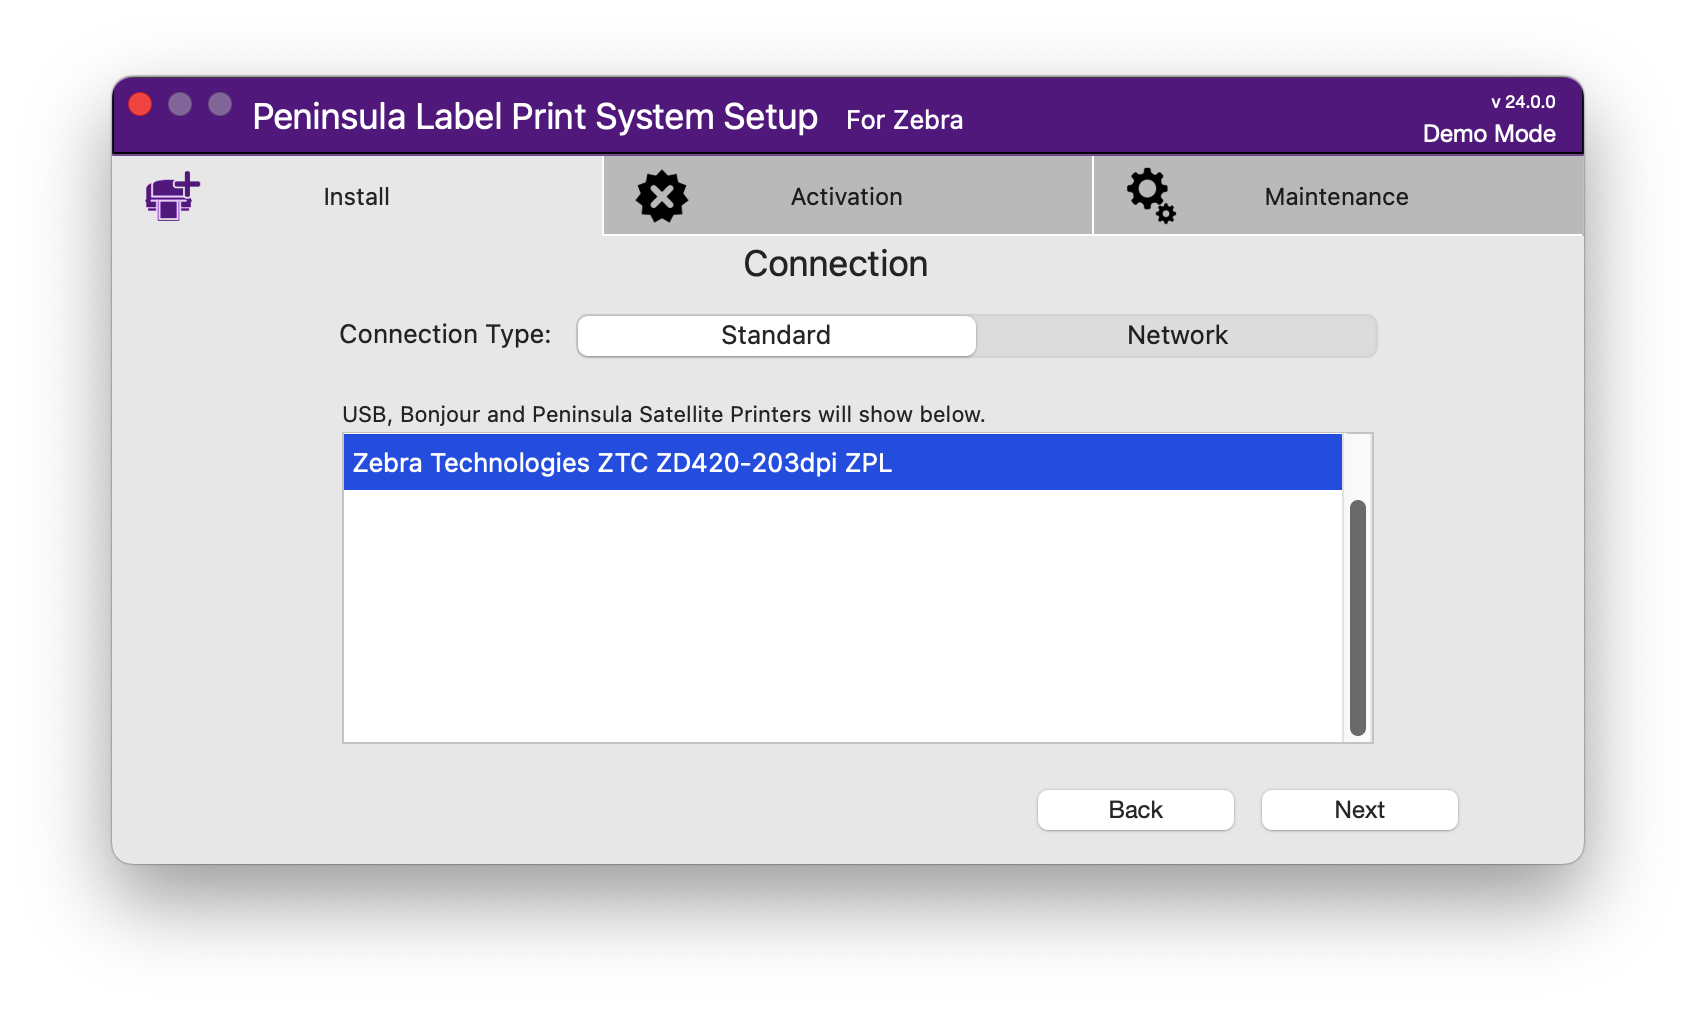
This guide will show you how to install printers for use with labels that are designed at the correct size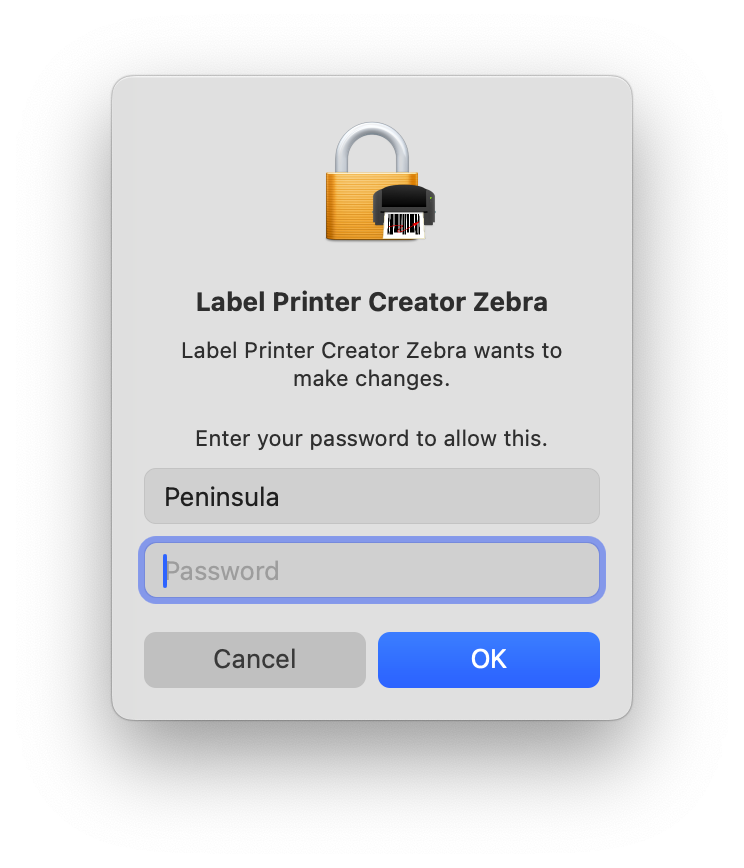
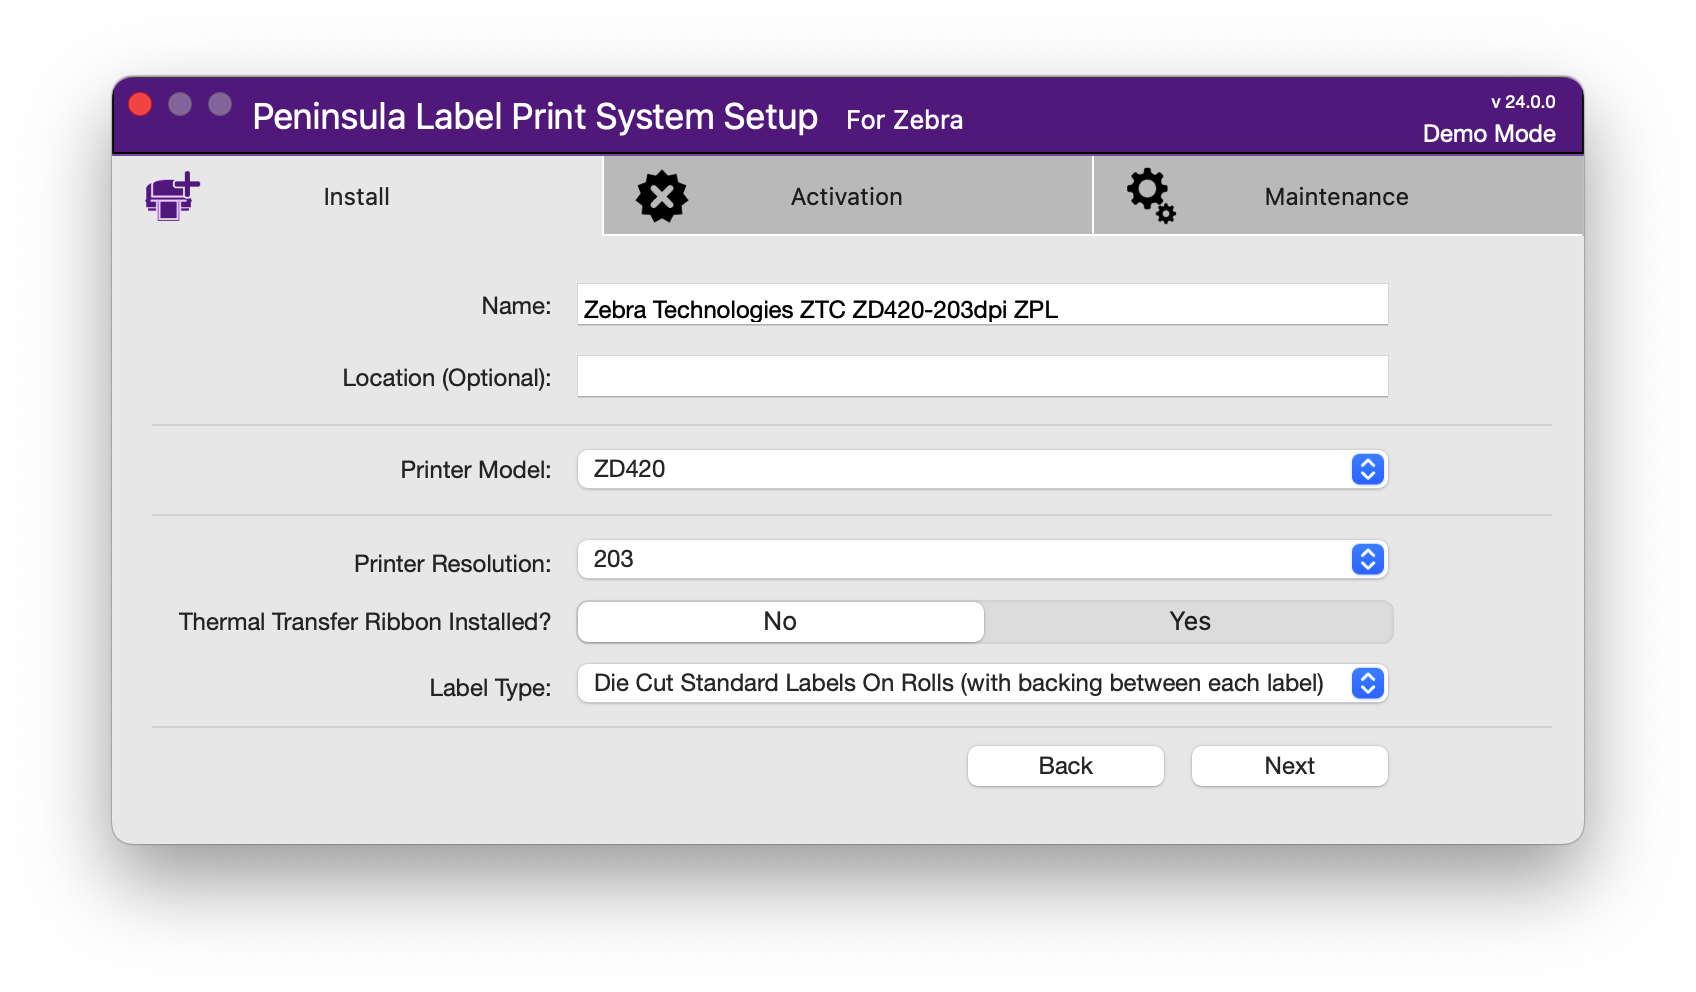
Optionally add a location for the printer, this will show when sharing the printer on the network.
Your printer model and resolution should already be shown in their respective pop ups.
Establish if you are using thermal transfer ribbon to print.
Select the label type you will be using:
Die Cut The most common label type with a gap between each label. You will most likely be using these.
Continuous Labels/paper without a gap between each label.
Black MarkedLabels with a black mark or line on the back of each one.
Slotted Labels with a small cut out between each one.
Once selected click Next.
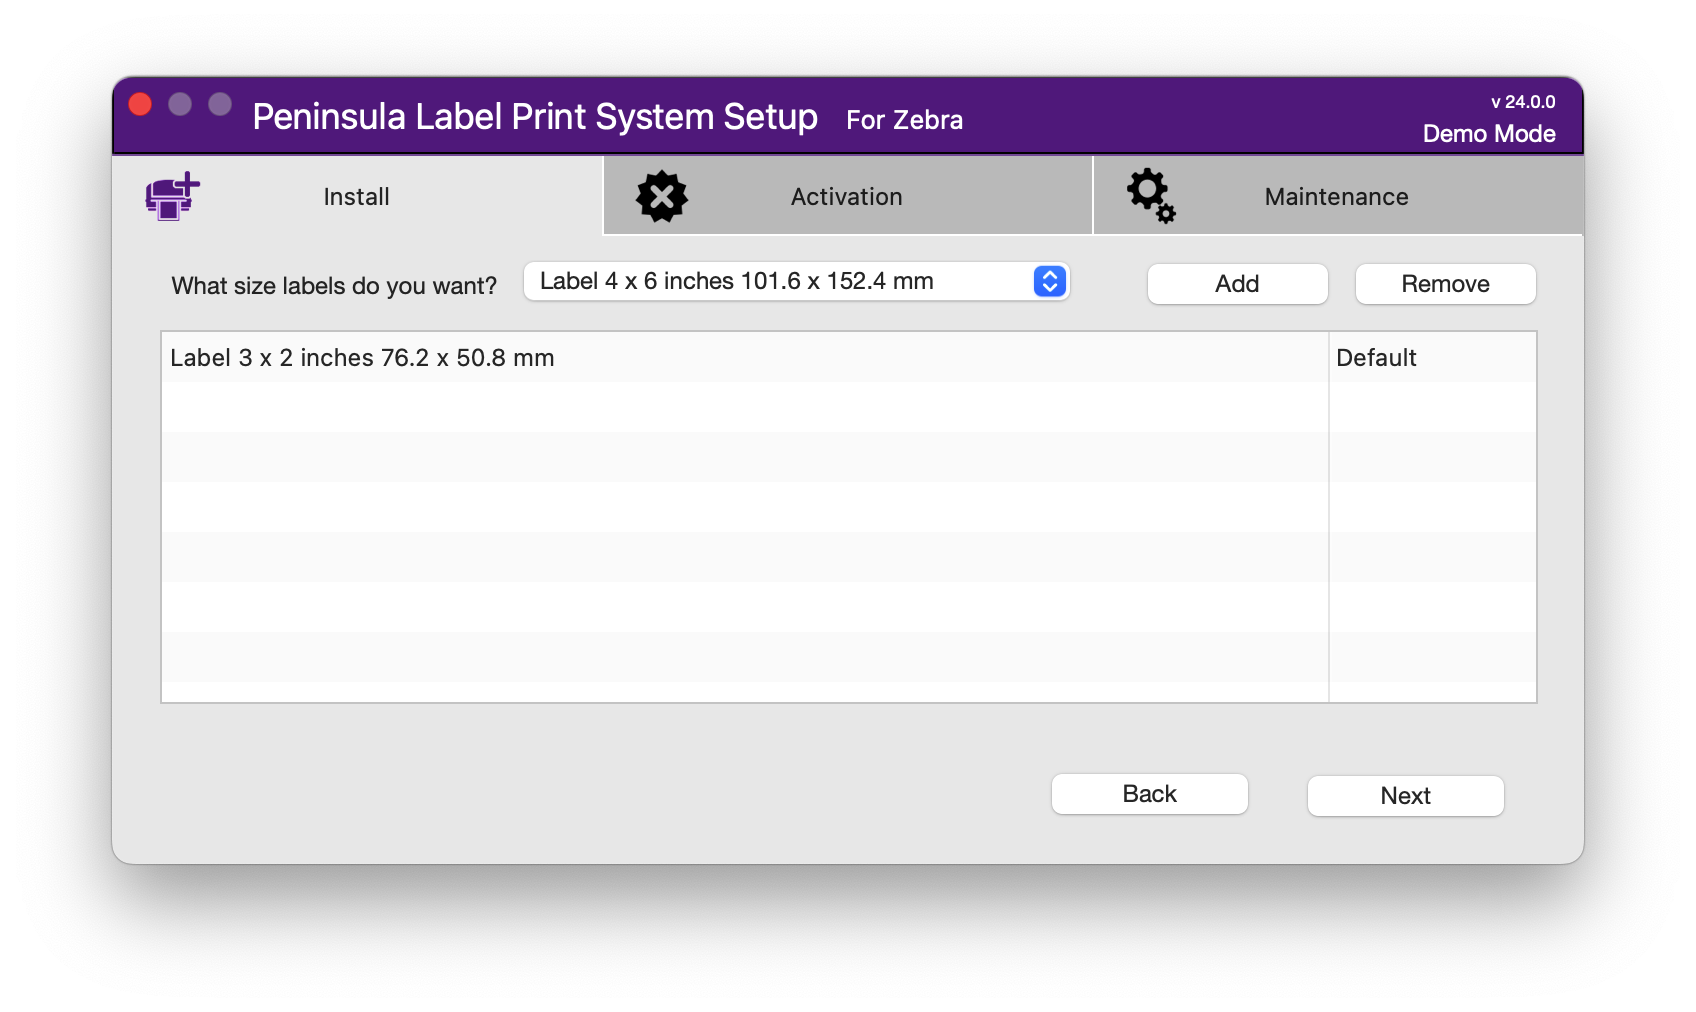
Choose whatever label sizes you need from the list (Add Other Size Label is also an option if your required size is not shown).
You may remove any sizes added in error by selecting them from the list and clicking Remove.
When you are happy with your list of label size options click Next.
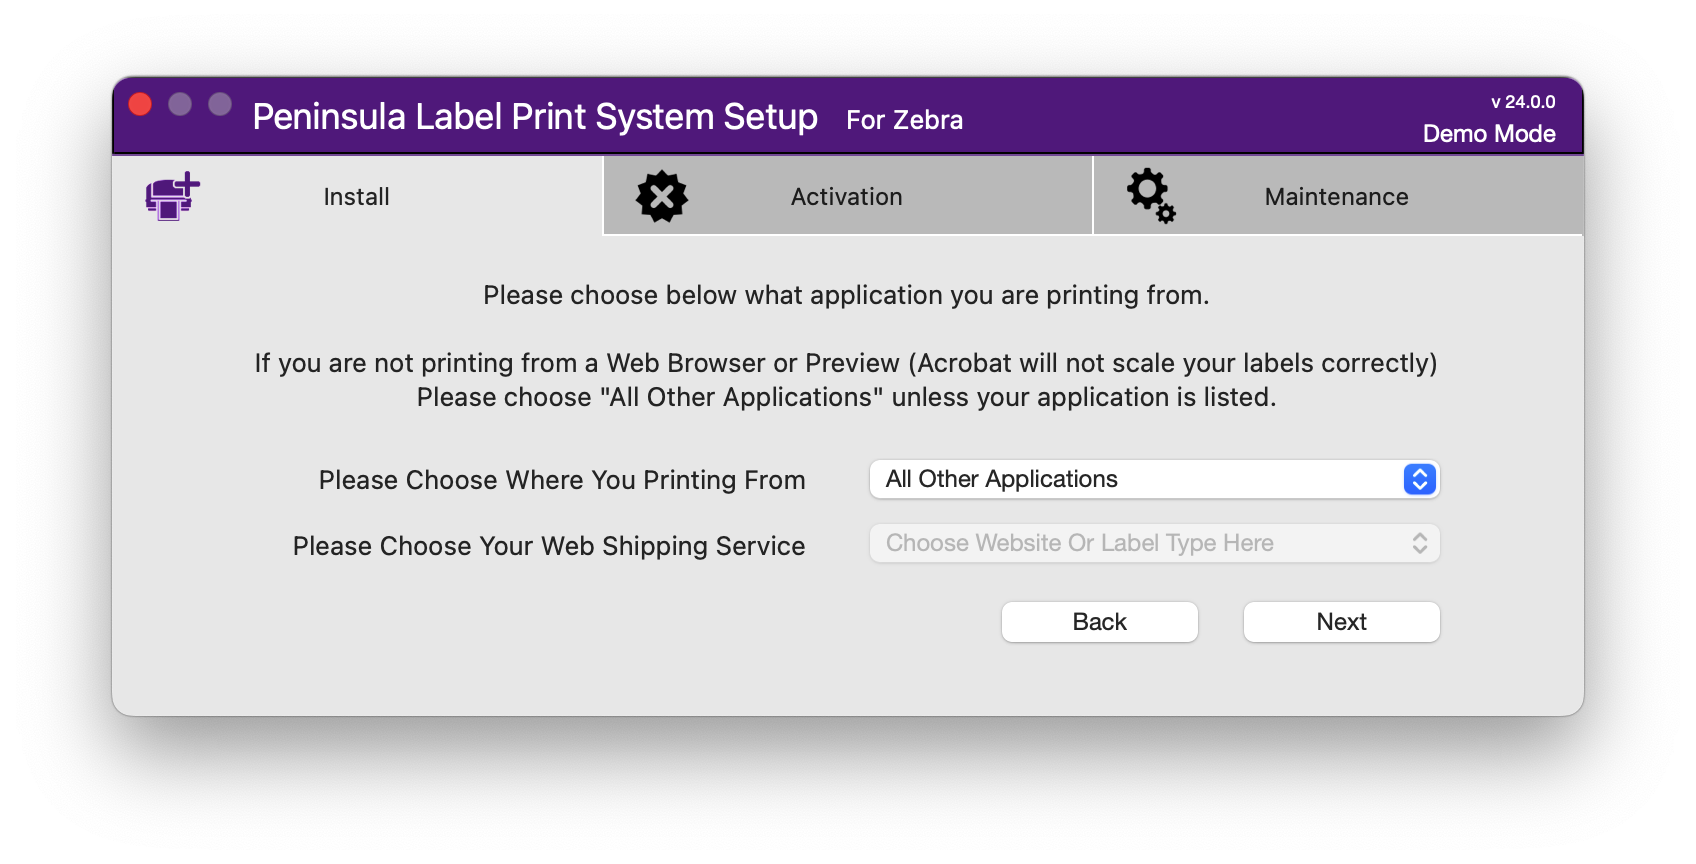
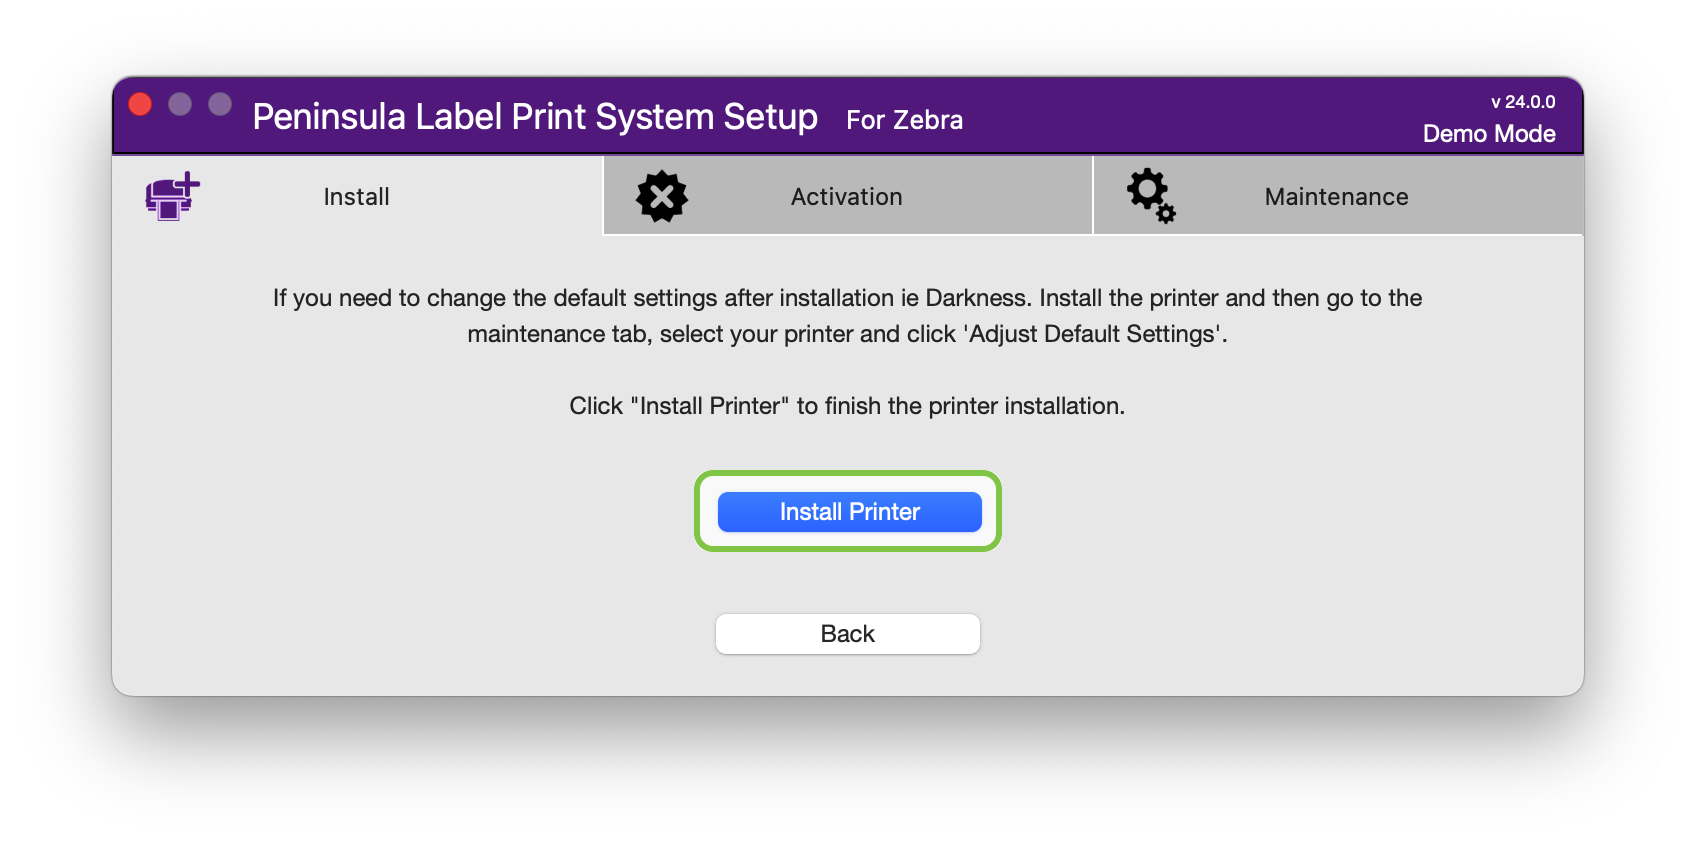
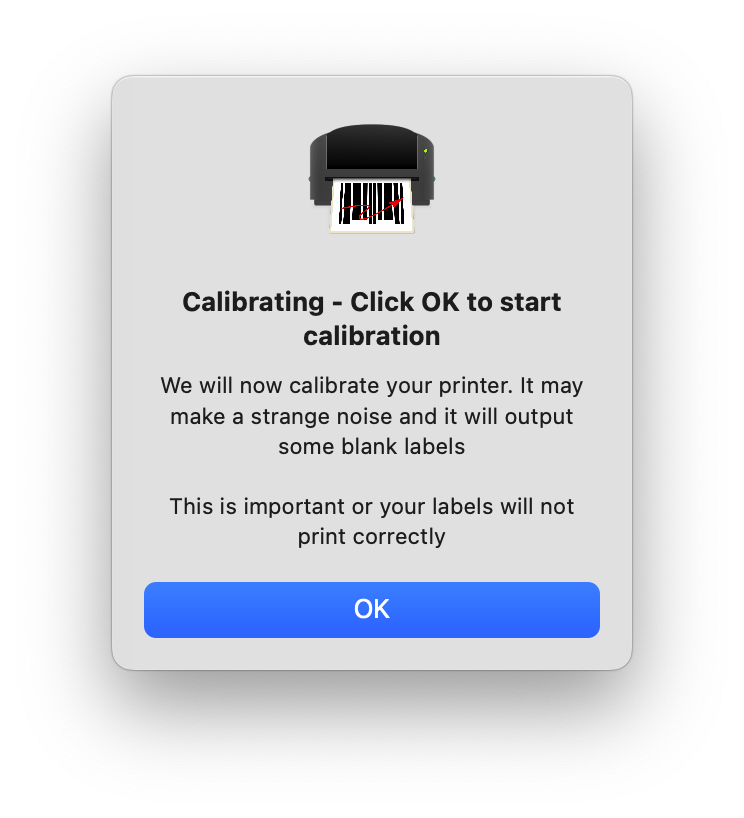
Click OK to continue.
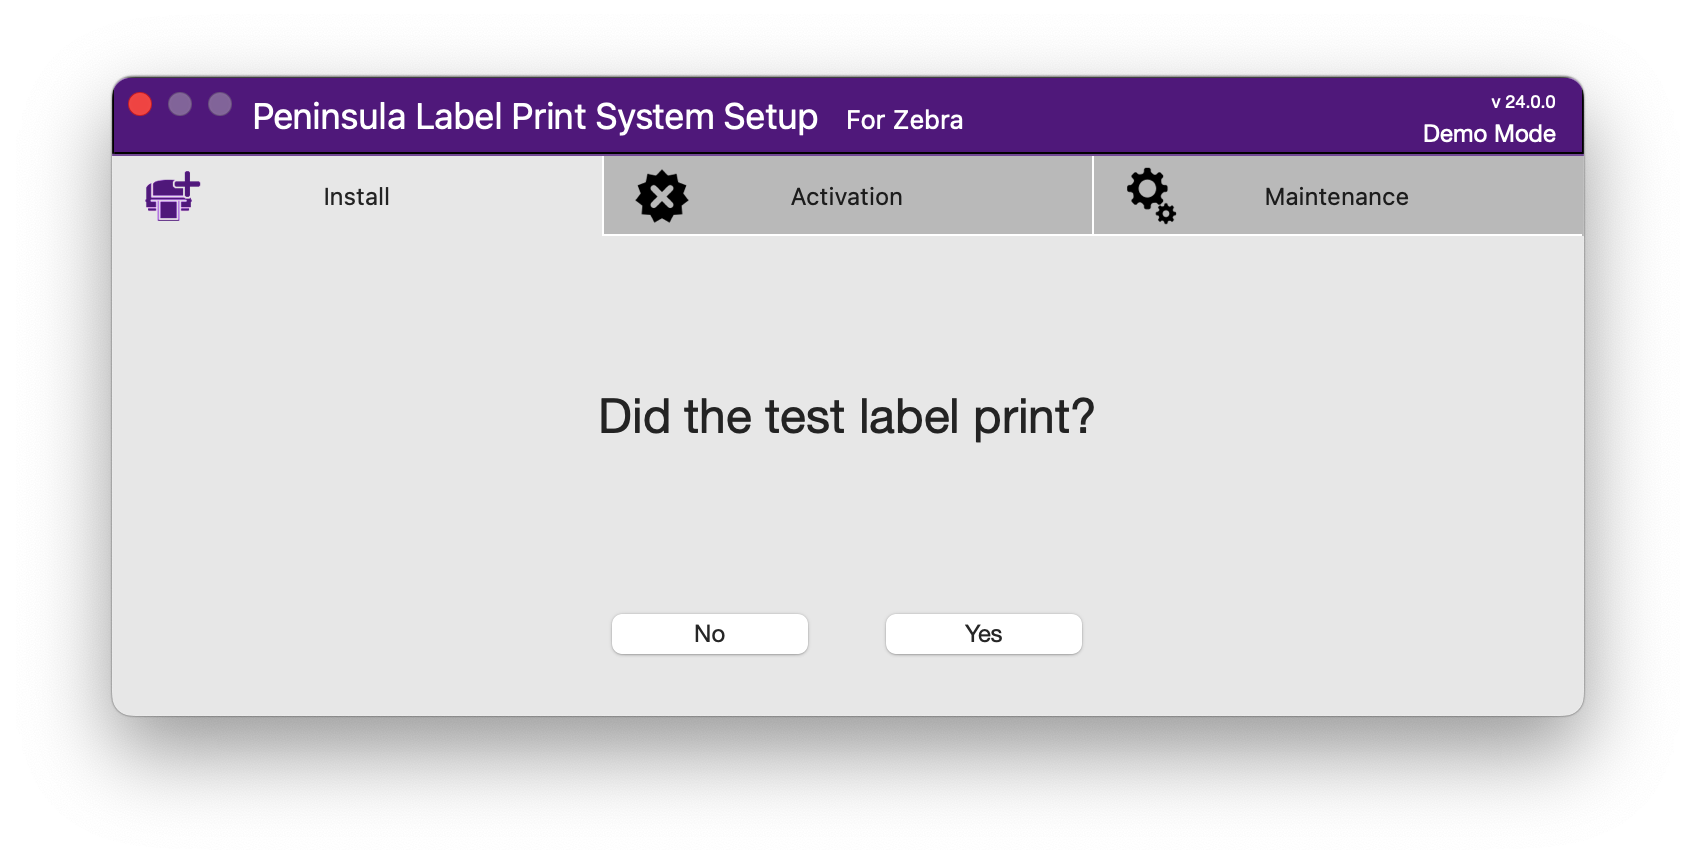
Click Yes and the printer is ready to use from your application of choice.
If the printer did not print a test label please try printing from your app of choice.
If the printer is still not printing please contact our tech support team at tech@allensby.com

