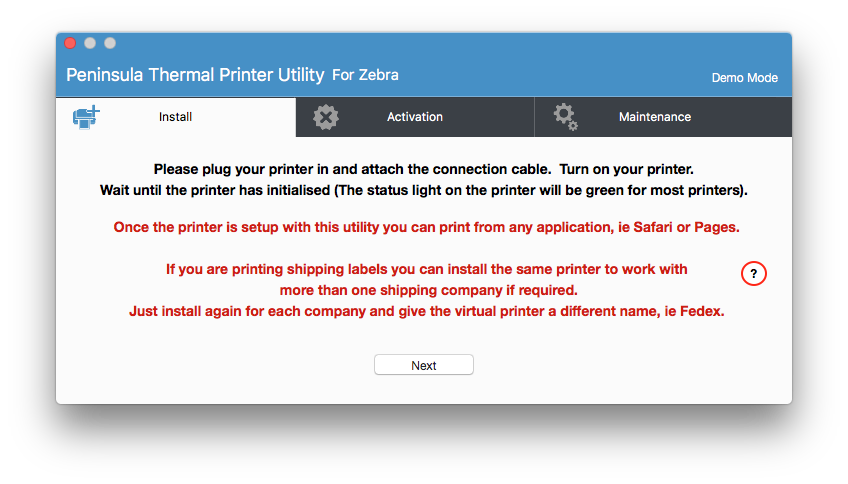
Begin by opening up the Thermal Printer Driver software.
It should look like the image above.
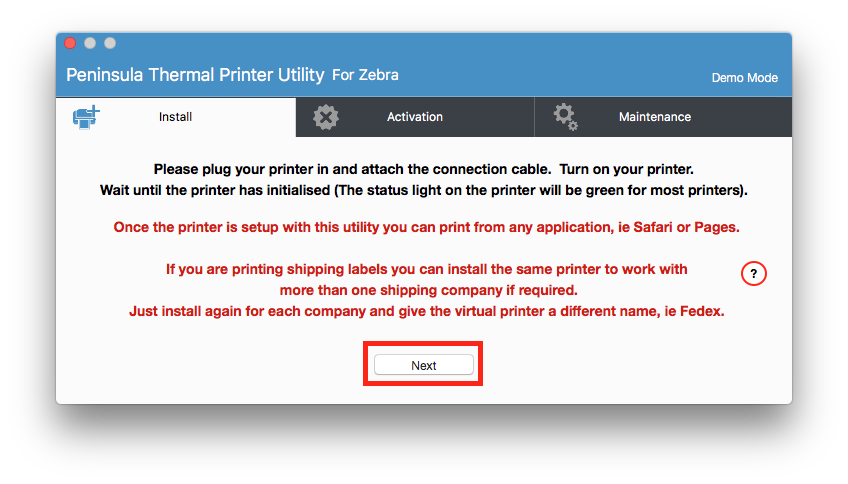
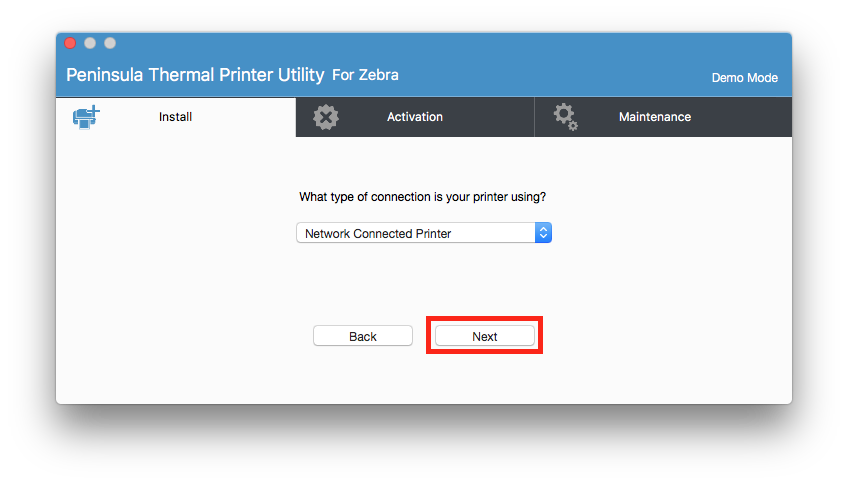
To begin installing we click the "next" button, and follow the steps form there.
b)
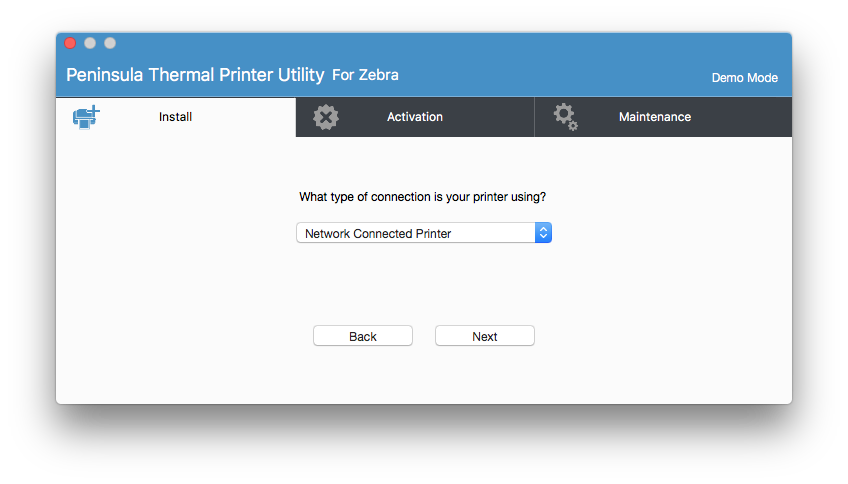
After clicking "next" the first page to show on the dialog will ask what connection your printer is using.
We need to click the network connected printer.
Click "next" to continue
c)
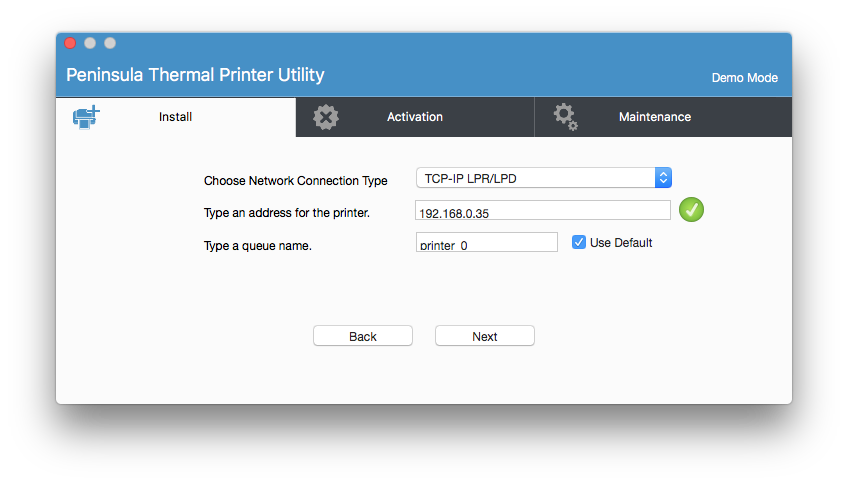
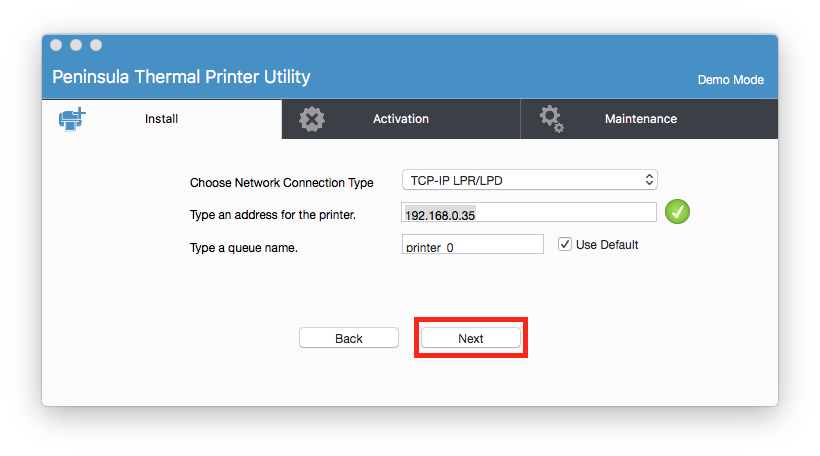
The next step is to choose the network connection type and write in the ip address to the printer.
If the address is correct the icon will turn green.
Click "next" to continue
d)
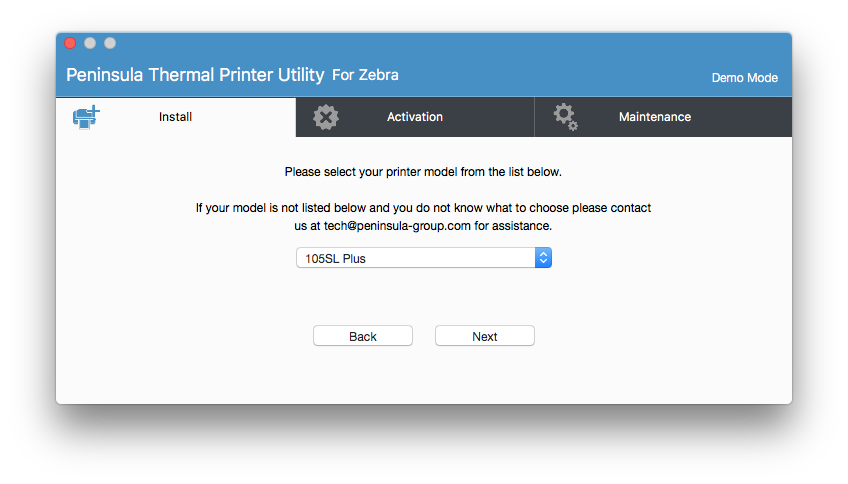
The next step is to select the printer model you are using.
Make sure you select the correct printer model from the drop down list.
When you have made sure you have selected the correct printer model,
Click "next" to continue with the installation
e)
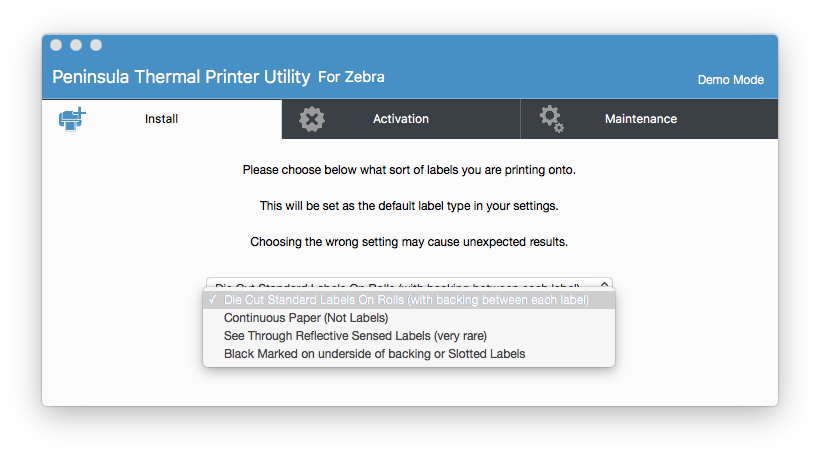
The next step in the installation process is to choose what labels you will be using.
You will have to pick from four on the drop down list, the top on the list being the most common used.
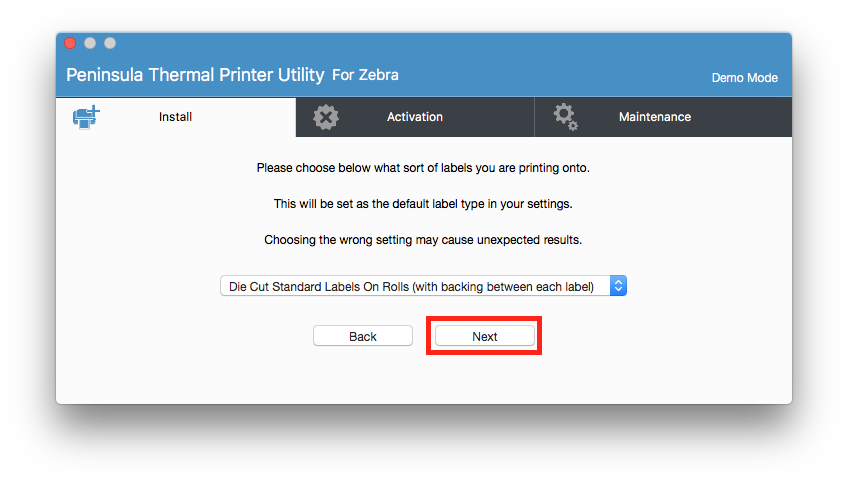
After ensuring you have selected the correct labels, click the "next" button to continue.
f)
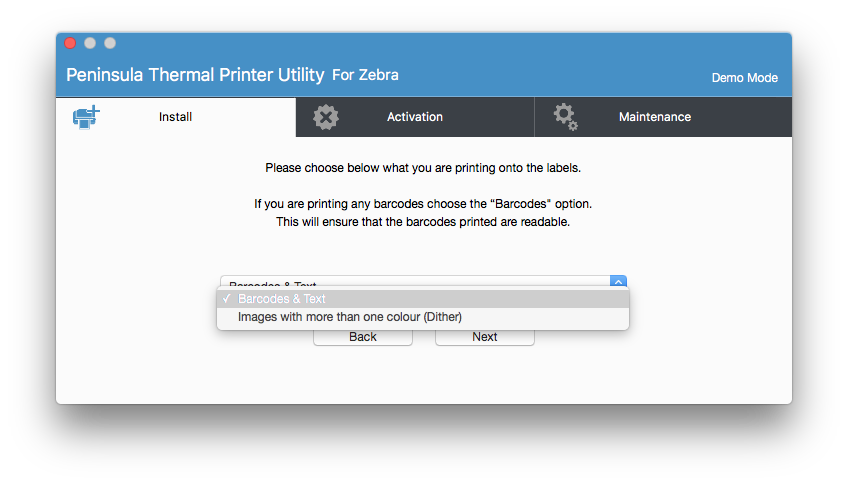
The next step is to pick what you will be printing onto your labels.
The most common being barcodes and text.
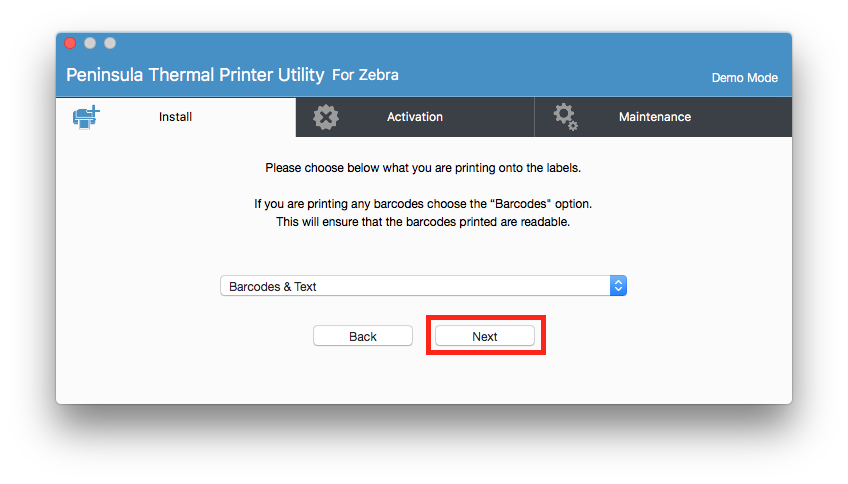
After you have selected what type of printing you will be doing
click the "next" button.
g)
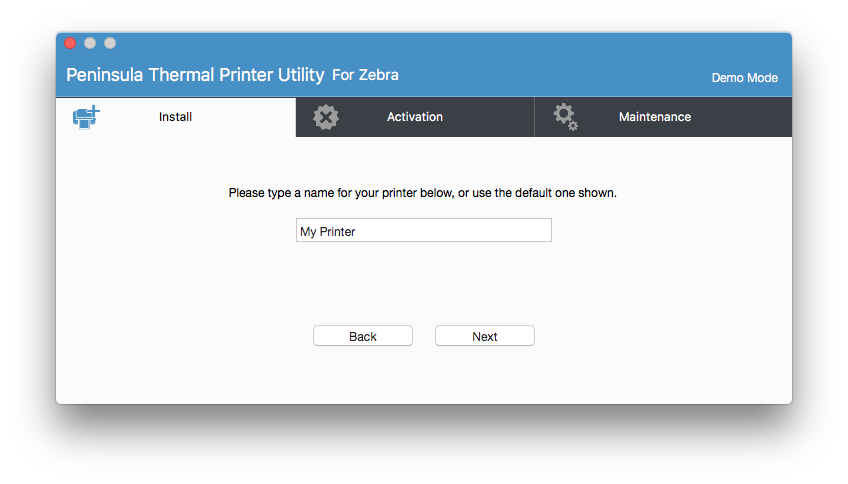
The next step is to give your printer a name, you can choose one yourself or use the default.
Name it something sensible and do not use any special characters.
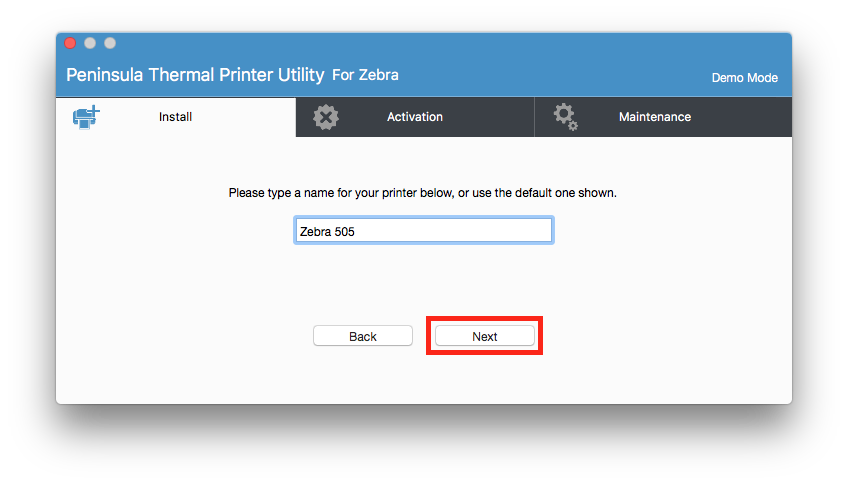
After you have typed a name and have made sure it is what you want to use.
click the "next" button.
h)
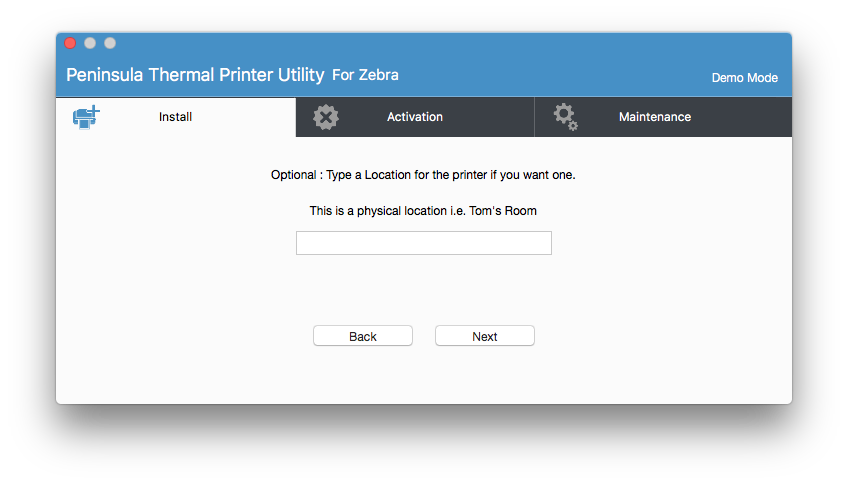
The next step is optional, its for if you want to type a physical location for where your printer is.
This is optional and you can skip it if you do not need to enter a physical location.
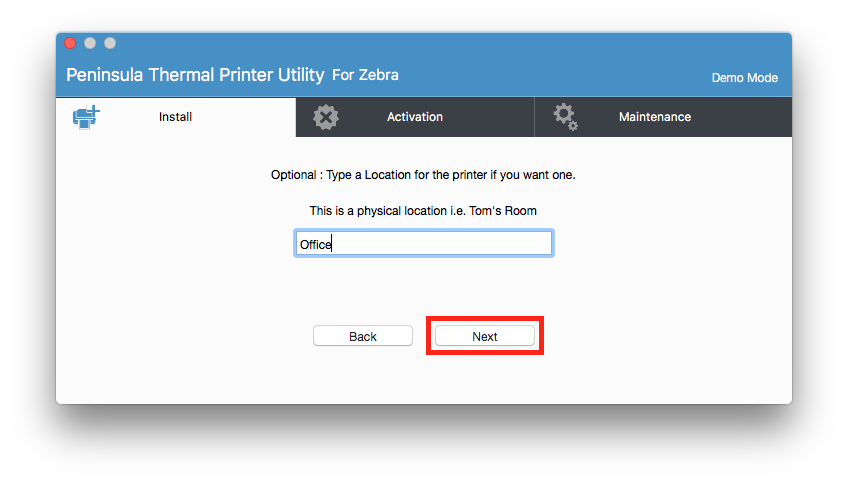
If you have chosen to write a physical location name for your printer, ensure you have written it correctly.
The click the "next" button.
i1)
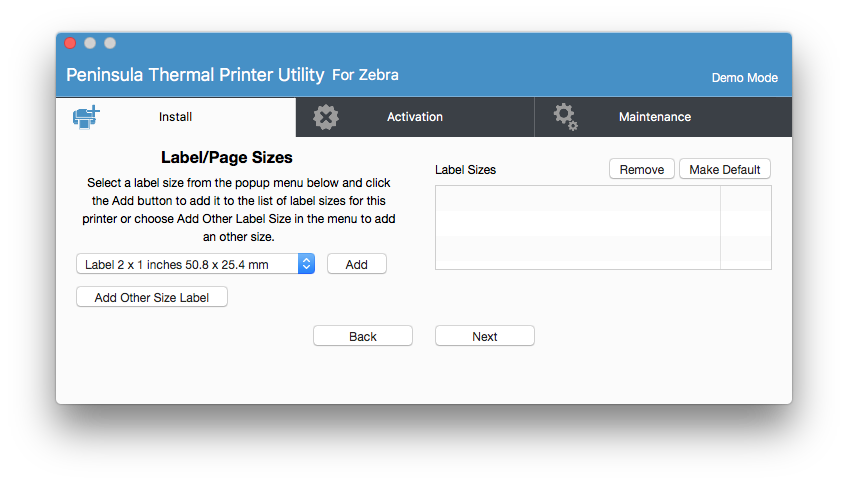
The next step is about the label sizes you will be using, you will need to add the sizes you will be using on the printer.
You can add more than one size to the list.
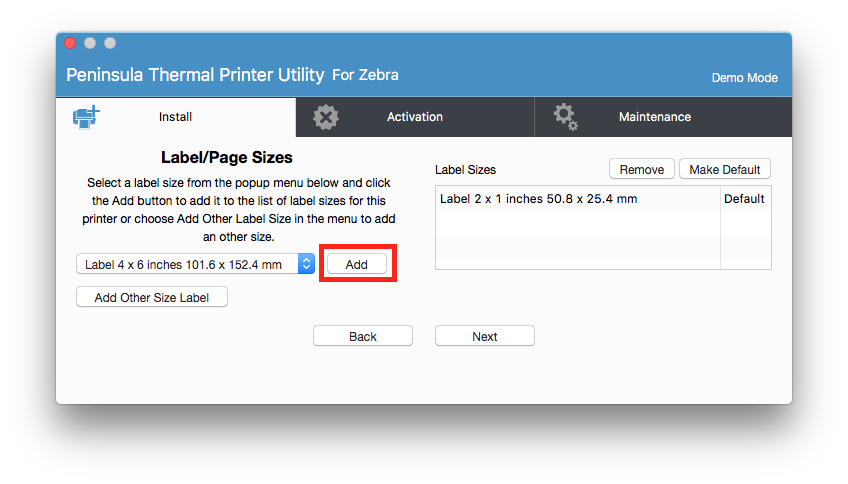
i2)
To add your label size simply click on the drop down menu and find the size you will be using and click add.
The label size will be moved into the "label sizes" box.
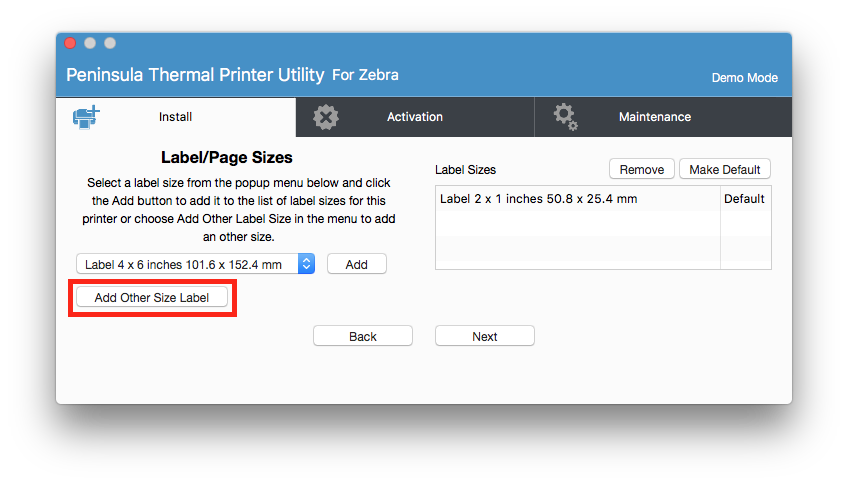
i3)
To add a custom label size for if you don't see the size you want in the drop down menu,
click the "Add other size label" button.
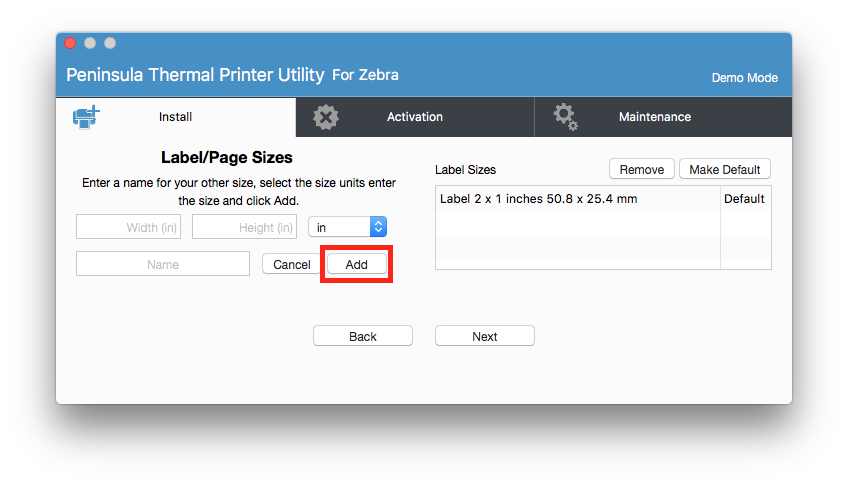
i4)
When you have clicked into add other size label, you will need to add the width and height etc.
Ensure you enter the correct dimensions and click the "add" button to add it to the list.
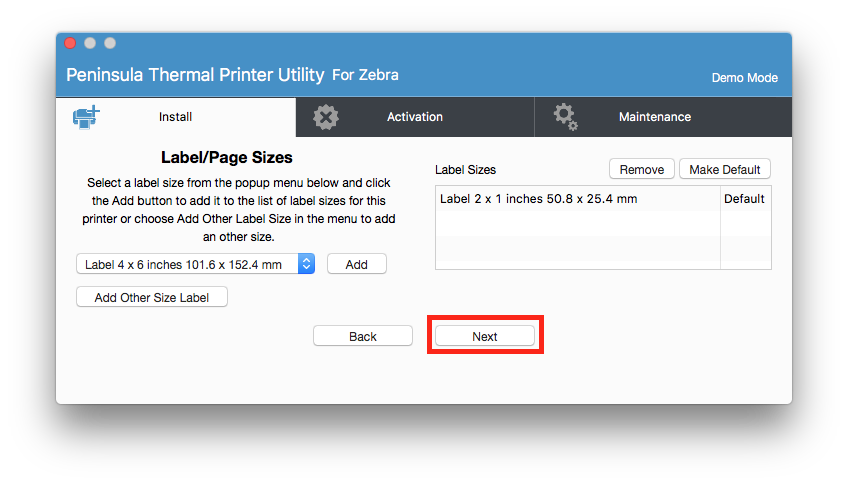
i5)
After you have ensured you have added the label sizes you will be using click "next".
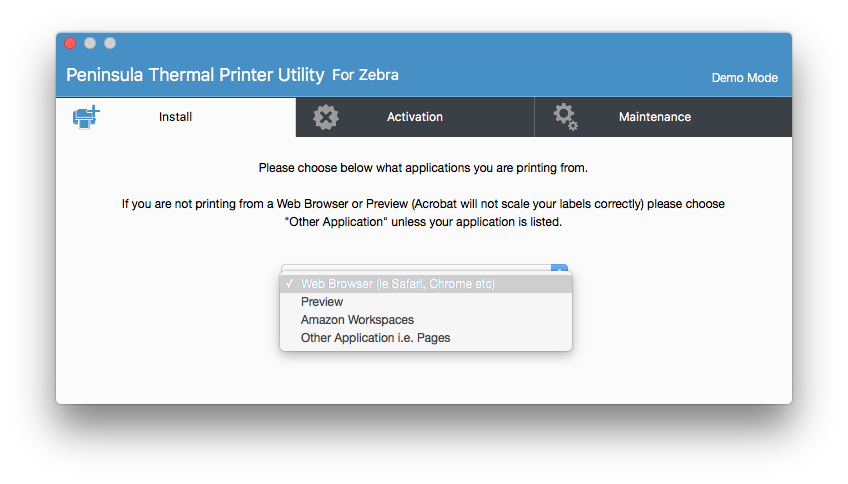
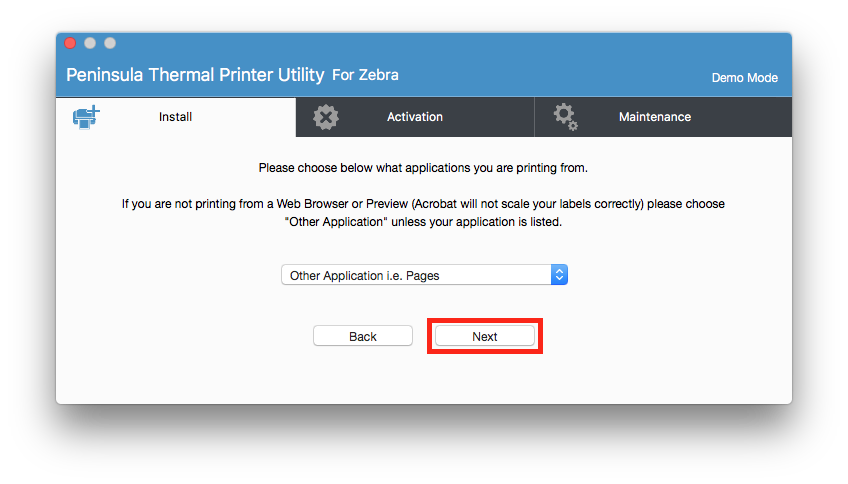
j)
The next step in the installation process is to pick what application you will be printing from.
It is important to make sure you choose correctly.
Once you have ensured you have selected the correct application click the "next" button.
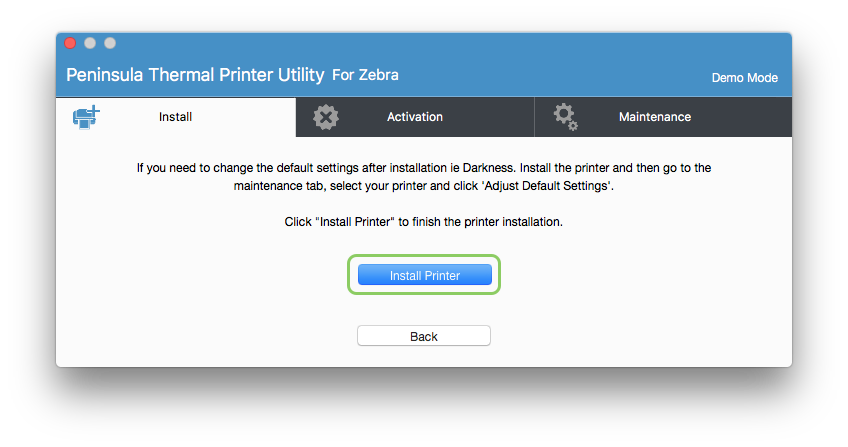
k)
The next step you simply have to click "install printer" to begin installing it.
l)
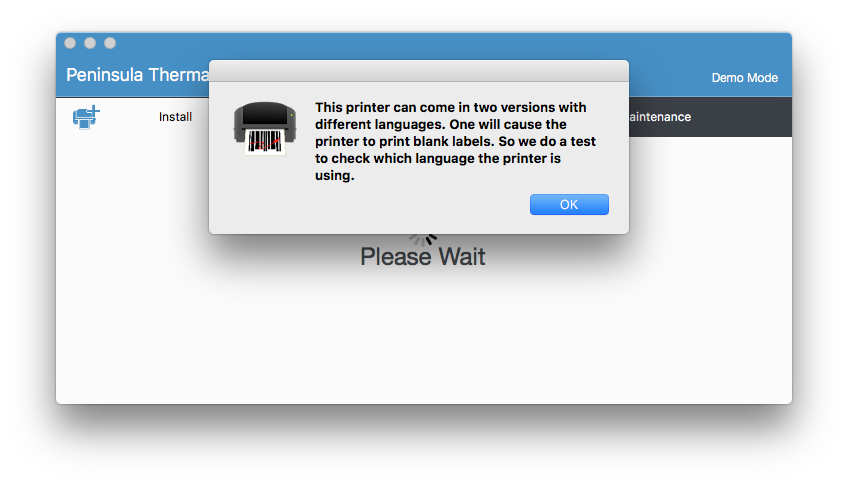
After clicking "install printer" the dialog above will open,
click "ok" and the installation will continue.
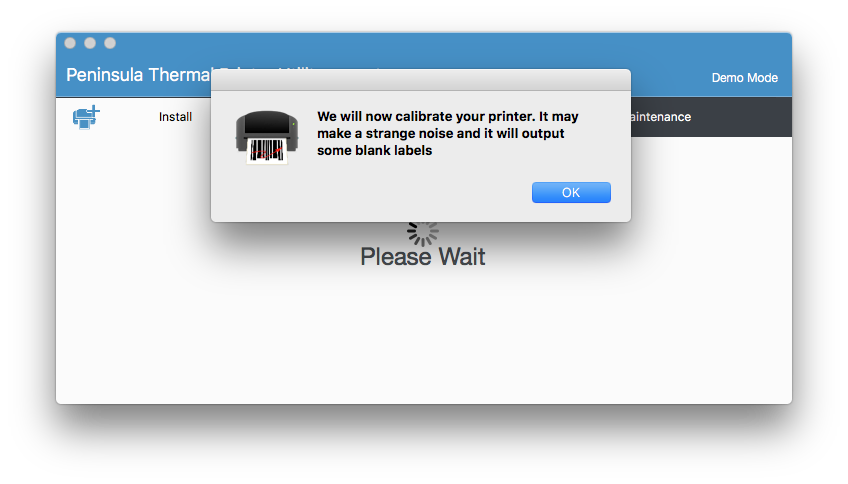
m)
After clicking "ok" another dialog will open up telling you we will calibrate your printer,
simply click "ok" again to continue installing.
n)
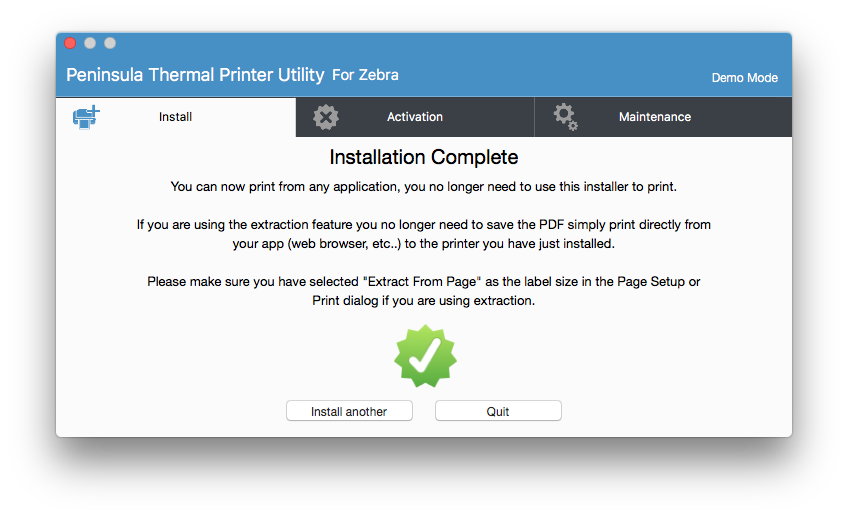
A new dialog will open up after you click the previous "ok", it will ask if the label was printed and if there was text on it.
Click yes if the label had text on it.
Installation is now complete.
If you encounter any issues, please email our Technical Support at
tech@peninsula-group.com