Below you will find a tutorial teaching you how to adjust darkness/heat settings on your thermal printer using the peninsula thermal utility
1. Adjusting the darkness/heat settings
a)
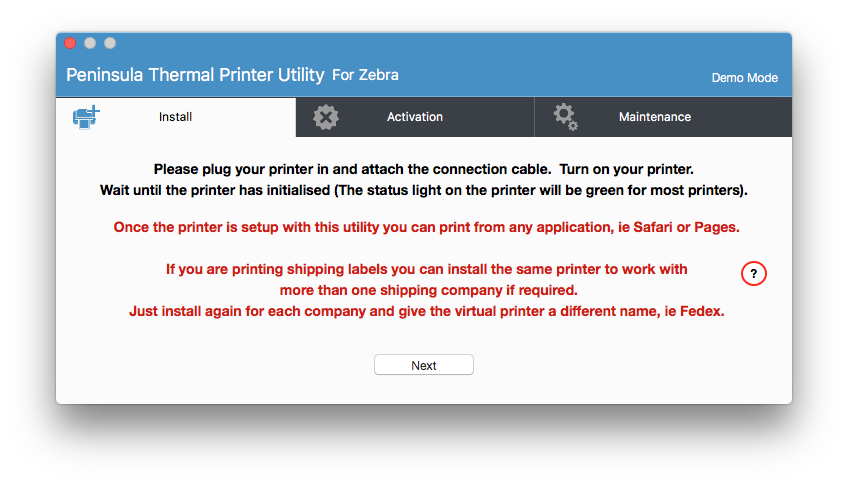
Open up the Thermal printer driver software.
Enter your admin password when prompted.
b)
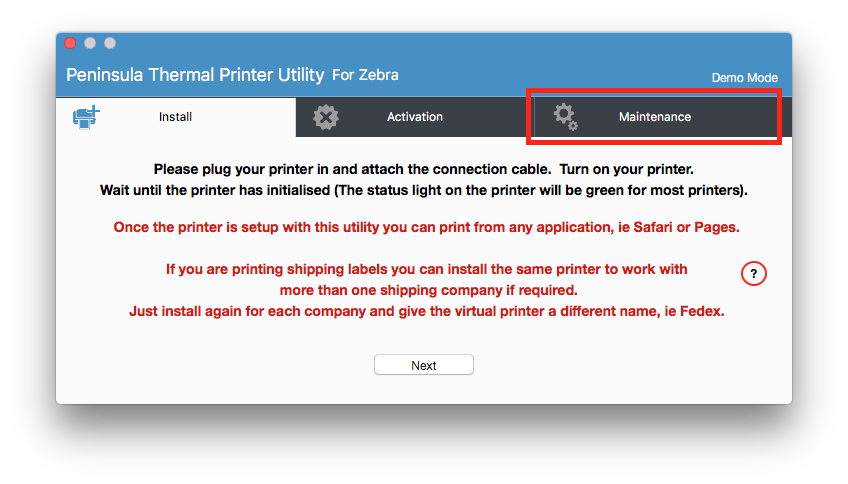
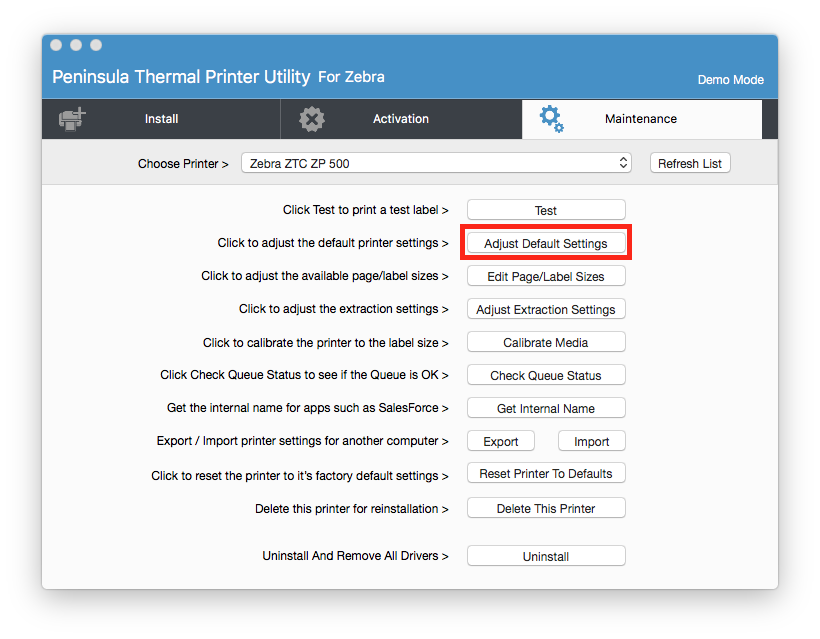
You will need to navigate to the maintenance tab.
This is the third tab along on the top row.
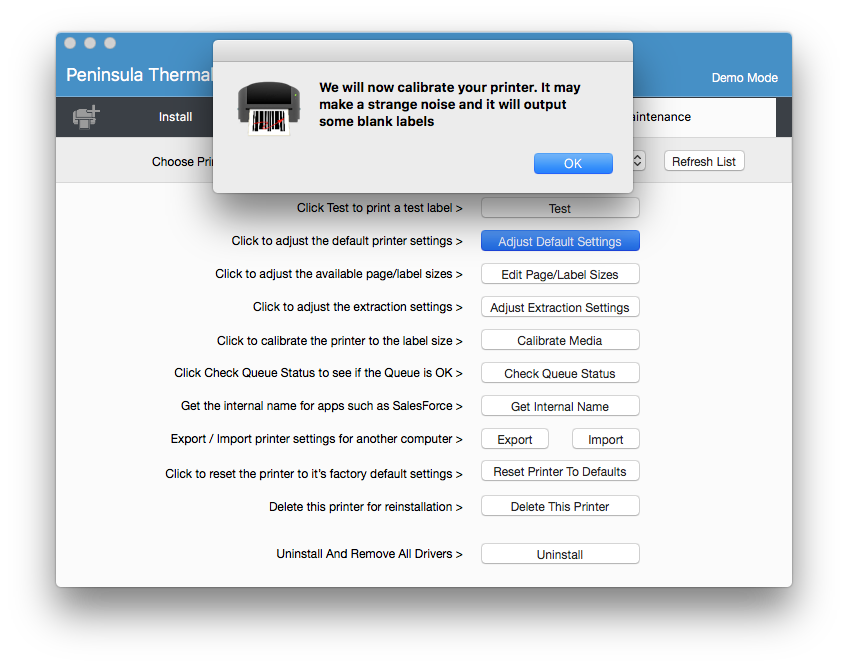
c)
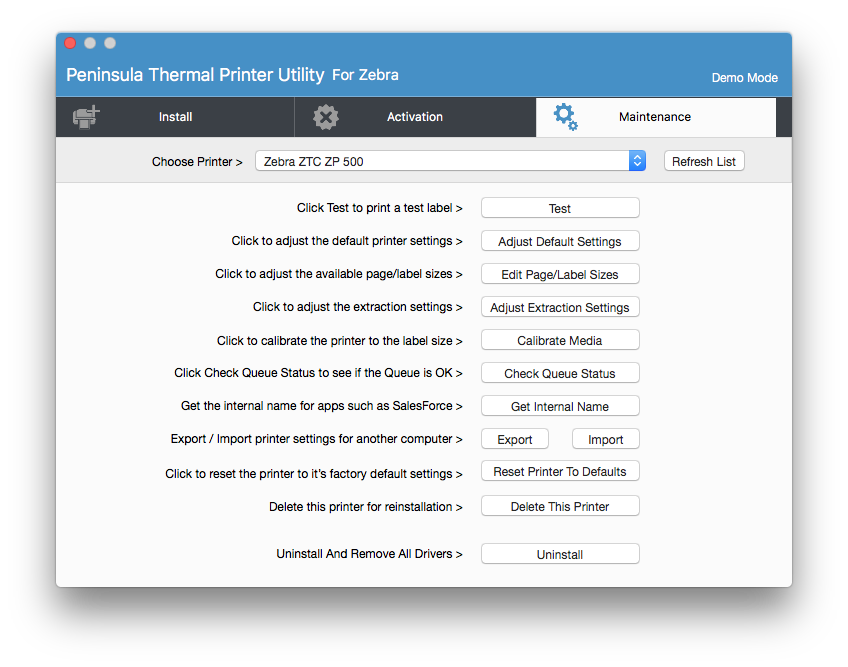
The maintenance tab should look like the image above.
d)
Ensure you have the correct printer selected in the "choose printer" drop down menu.
e)
You will need to select the "adjust default settings".
We have annotated the button that you should click.
f)
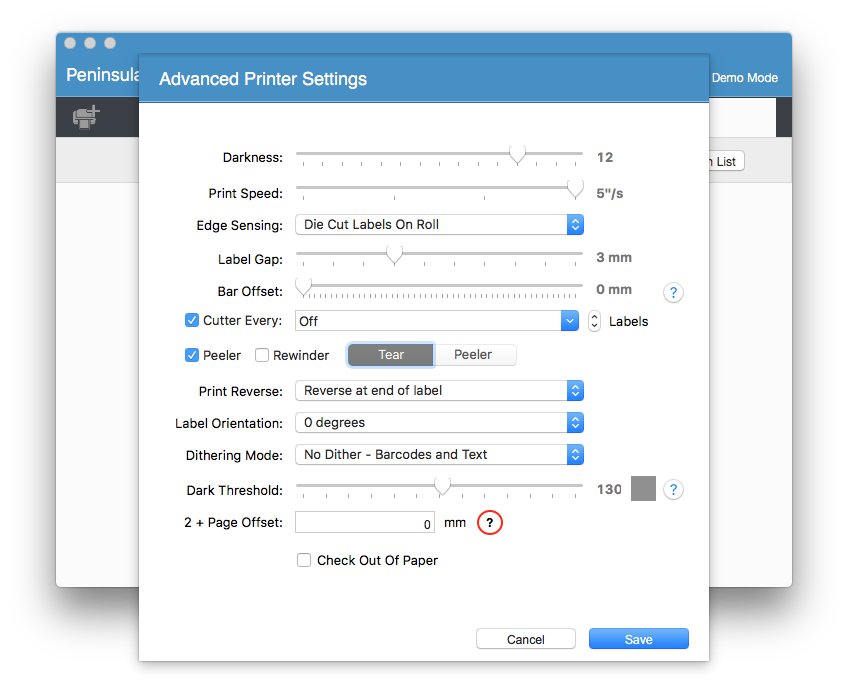
A new dialog should open after you have clicked on "adjust default settings".
It should look like the image above.
g)
The Darkness scale is the first option in the printer settings.
Adjust your darkness to the desired level you want it at.
h)
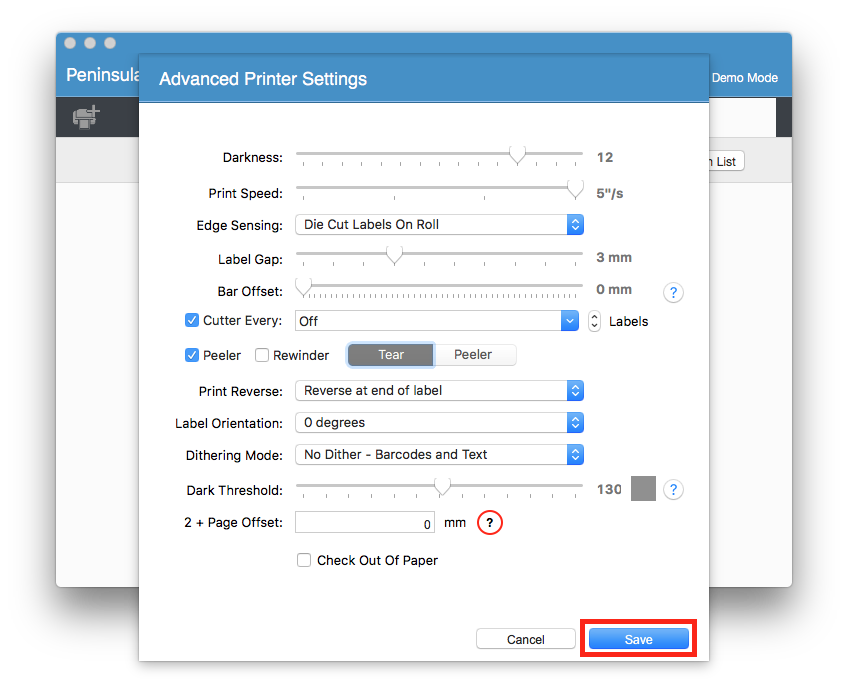
When you have adjusted your darkness level to what you desire click "Save".
i)
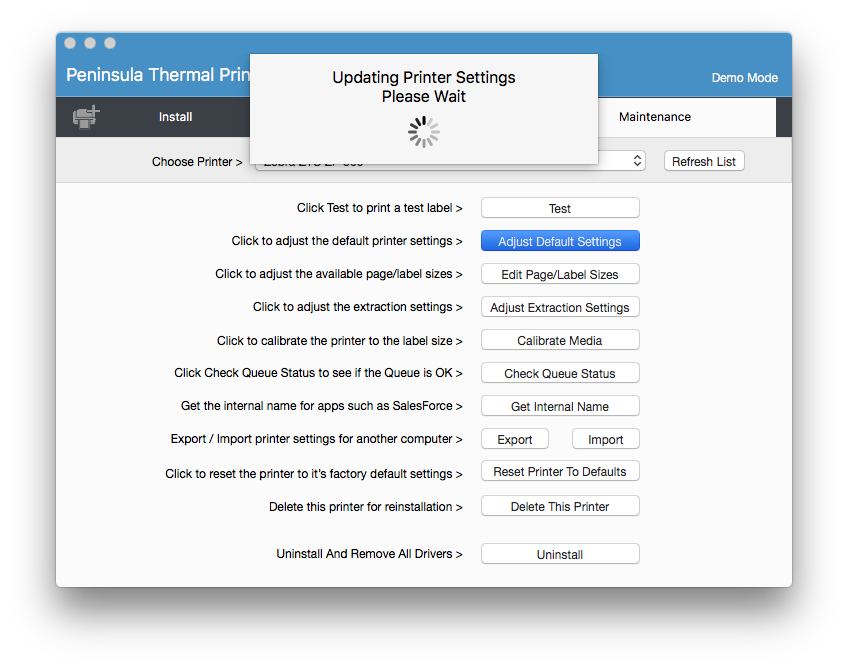
After you have clicked "save", the printer driver will automatically adjust the printer settings.
j)
A small dialog will pop up telling you your printer will be calibrated.
Your darkness will now be adjusted on your printer and the settings will be saved.
If you still encounter any issues, please email our Technical Support at
tech@peninsula-group.com