
Installing A Spitfire 7 Printer On Windows
Below you will find a tutorial teaching you how to Installing A Spitfire 7 Printer On Windows.1. Download the windows driver
a)Download Windows Driver
2. Unpack the driver
a) Once the driver has downloaded open the downloaded .exe file.
b)
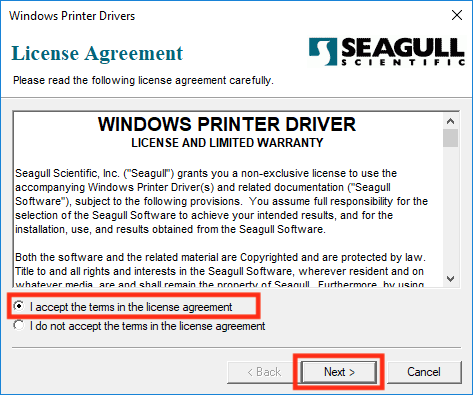 Select "I accept the terms in the license agreement" and click the "Next >" button.
c)
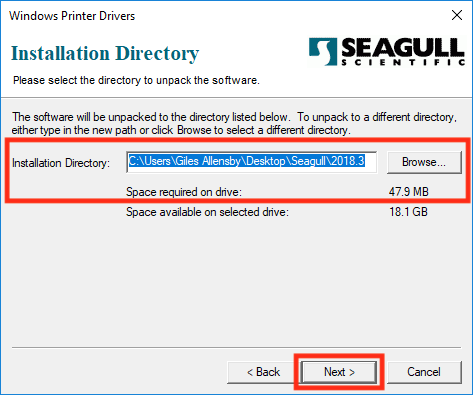 Select a location to unpack the software to and click the "Next >" button.
Select a location to unpack the software to and click the "Next >" button.
d)
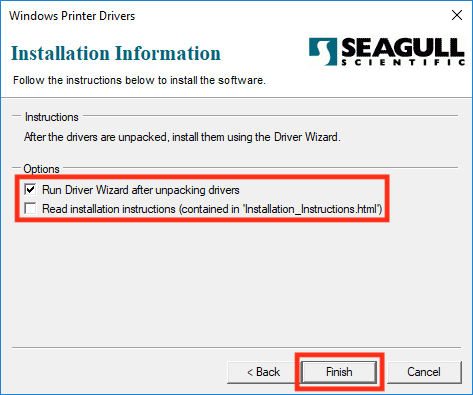 Ensure that only "Run Driver Wizard after unpacking drivers" is checked and click the "Finish" button.
Ensure that only "Run Driver Wizard after unpacking drivers" is checked and click the "Finish" button.
e)
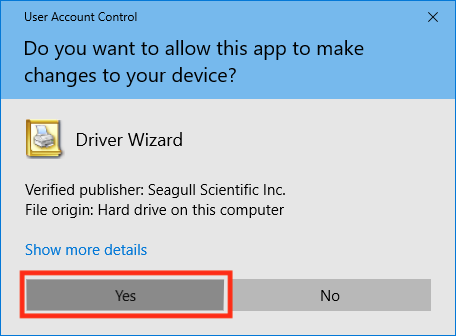 Wait while the driver unpacks and then when prompted select "Yes" to run the Driver Wizard.
Wait while the driver unpacks and then when prompted select "Yes" to run the Driver Wizard.
3. Install the Printer
a)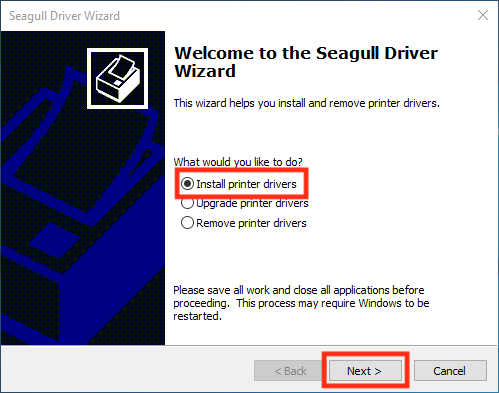 On the first window of the Driver Wizard choose "Install Printer Drivers" and click the "Next >" button.
b)
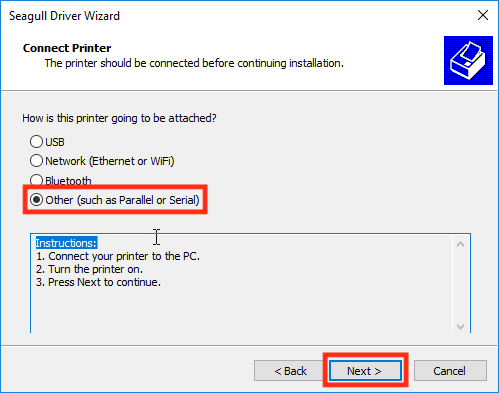 As the Driver Wizard is not good at detecting the printers automatically we are going to manually select the printer port.
Choose "Other (such as Parallel or Serial)" and click the "Next >" button.
As the Driver Wizard is not good at detecting the printers automatically we are going to manually select the printer port.Choose "Other (such as Parallel or Serial)" and click the "Next >" button.
c)
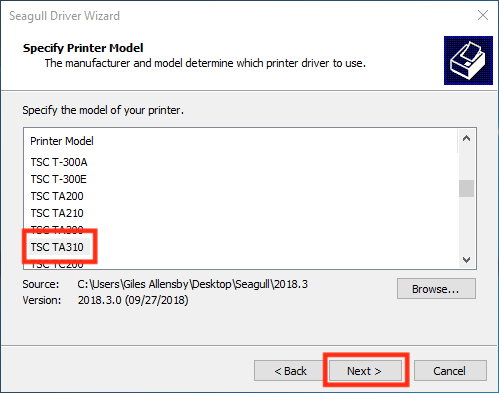 The printer model to use for the Spitfire 7 is the "TSC TA310".
Select this from the list and click "Next >".
The printer model to use for the Spitfire 7 is the "TSC TA310".Select this from the list and click "Next >".
d)
 To find the correct port to select we need to use the Device Manager.
You can find Device Manager by opening the start menu and searching for it or via Control Panel -> Hardware and sound under the Devices and Printers section.
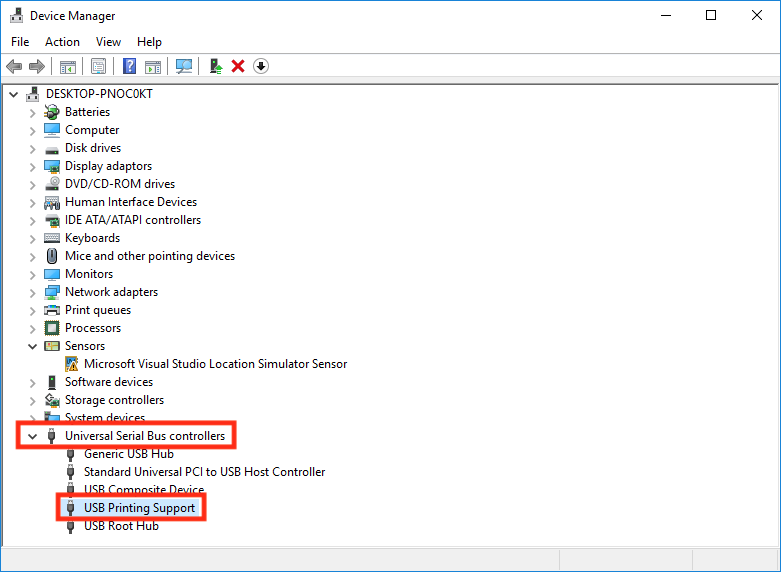
On the Device Manager select "Universal Serial Bus controllers" and then locate the one named "USB Printing Support" and double click it.
To find the correct port to select we need to use the Device Manager.You can find Device Manager by opening the start menu and searching for it or via Control Panel -> Hardware and sound under the Devices and Printers section.
On the Device Manager select "Universal Serial Bus controllers" and then locate the one named "USB Printing Support" and double click it.
e)
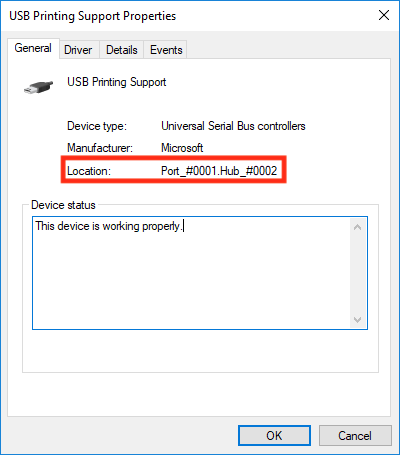 On the window that opens select the "General" tab and under location there will be a port and hub number.
The hub number is the number which we need.
On the window that opens select the "General" tab and under location there will be a port and hub number.The hub number is the number which we need.
f)
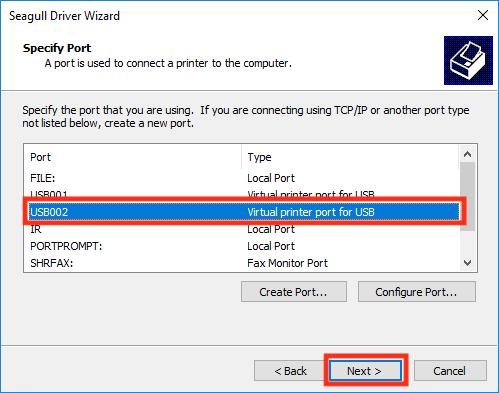 Back on the Driver Wizard select the one that reads USB and then the hub number we just located and then click the "Next >" button.
Back on the Driver Wizard select the one that reads USB and then the hub number we just located and then click the "Next >" button.
g)
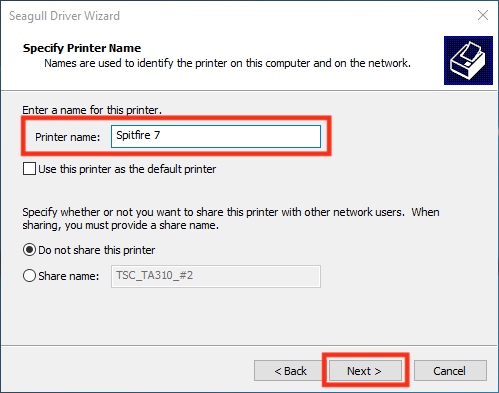 Enter a name for the printer (I have simply named mine Spitfire 7) and then click the "Next >" button.
Enter a name for the printer (I have simply named mine Spitfire 7) and then click the "Next >" button.
h)
Enter a name for the printer (I have simply named mine Spitfire 7) and then click the "Next >" button.
Enter a name for the printer (I have simply named mine Spitfire 7) and then click the "Next >" button.
i)
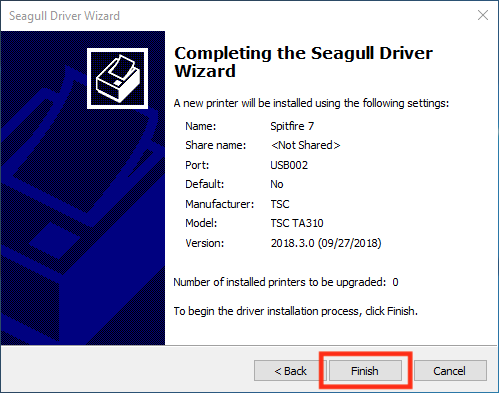 Click the "Finish" button to install the printer.
Click the "Finish" button to install the printer.
j)
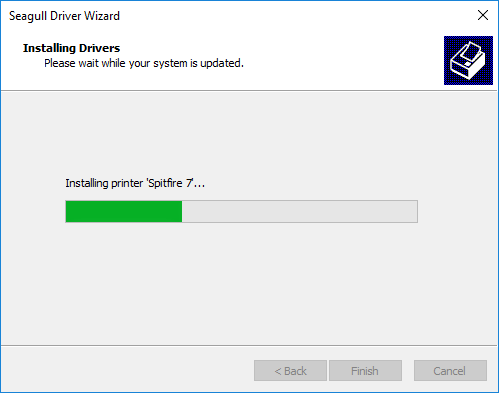 Allow the printer to install.
Allow the printer to install.
k)
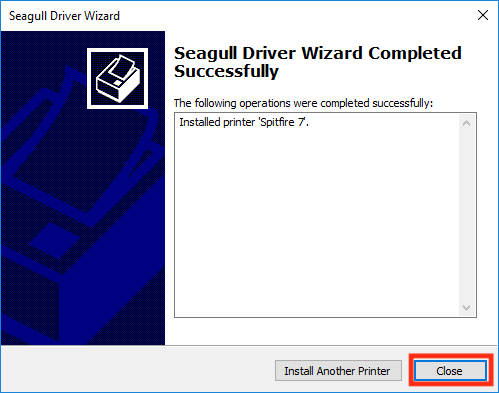 Once the installation is complete click the "Close" button to close the Driver Wizard.
Once the installation is complete click the "Close" button to close the Driver Wizard.
4. Set the printer settings
a)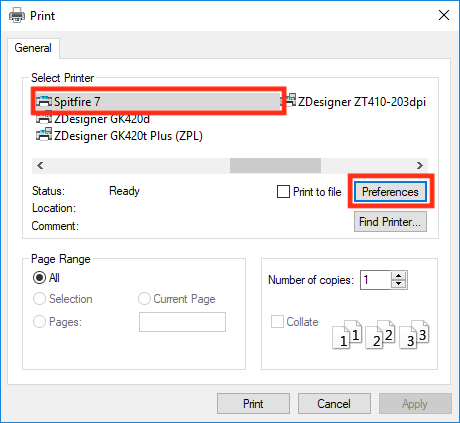 On the print dialog select the printer and click the "Preferences" button.
b)
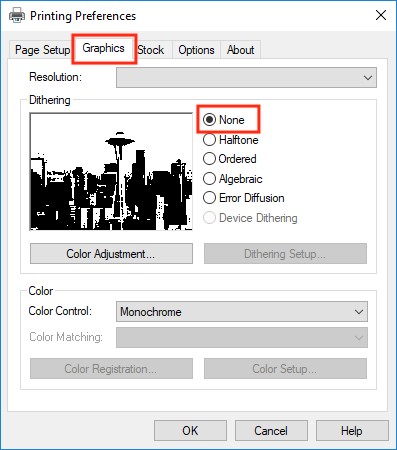 For most thermal printing it is best to not dither the output.
Under the Printer Preferences select the "Graphics" tab and select "None" as the Dithering mode.
For most thermal printing it is best to not dither the output.Under the Printer Preferences select the "Graphics" tab and select "None" as the Dithering mode.
c)
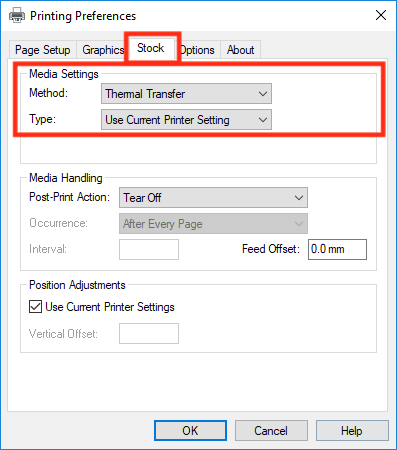 You will also want to ensure that the correct Method is selected (Direct Thermal or Thermal Transfer).
This can be set on the "Stock" tab of the Printing Preferences.
You will also want to ensure that the correct Method is selected (Direct Thermal or Thermal Transfer).This can be set on the "Stock" tab of the Printing Preferences.
d)
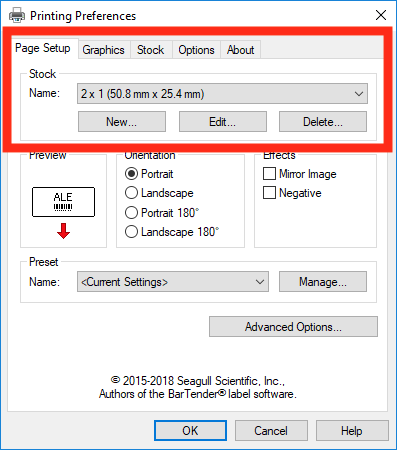 The last thing to ensure is correct is the label sizes.
These can be adjusted on the "Page Setup" tab of the Printing Preferences.
If you still encounter any issues, please email our Technical Support at
tech@peninsula-group.com
The last thing to ensure is correct is the label sizes.These can be adjusted on the "Page Setup" tab of the Printing Preferences.
If you still encounter any issues, please email our Technical Support at
tech@peninsula-group.com