Below you will find a tutorial teaching you how to Import a CSV file into Labeller
1. Importing a CSV file
a)
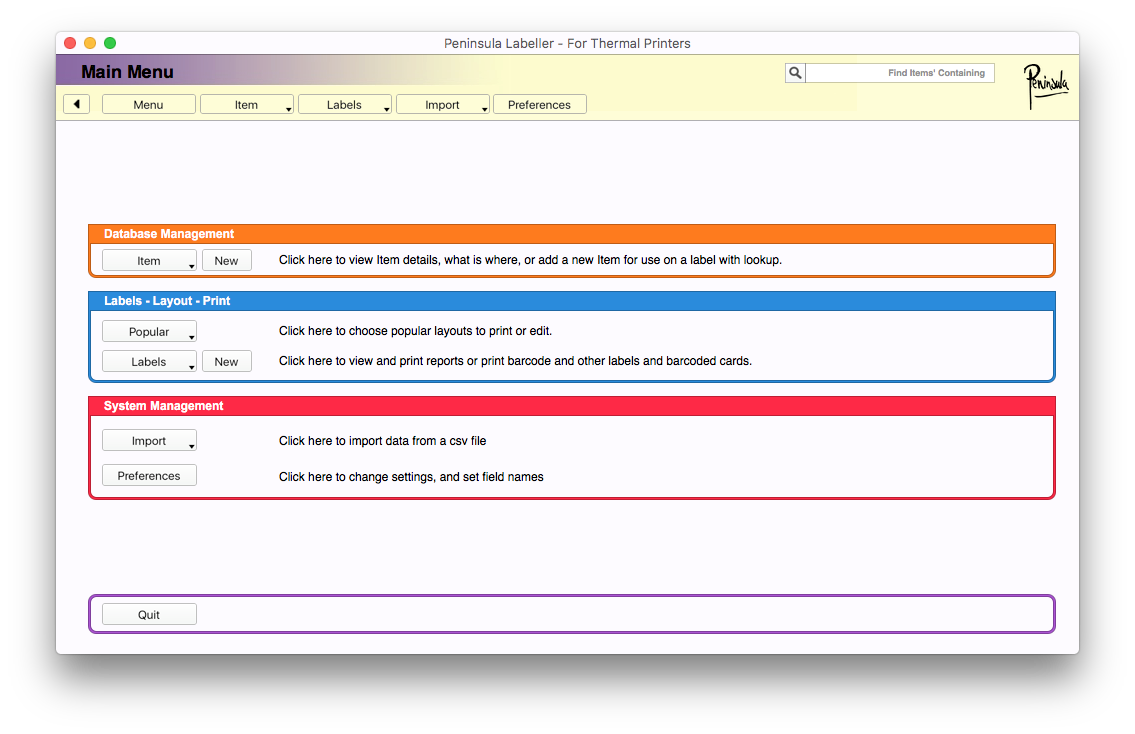
Open up the labeller software
b)
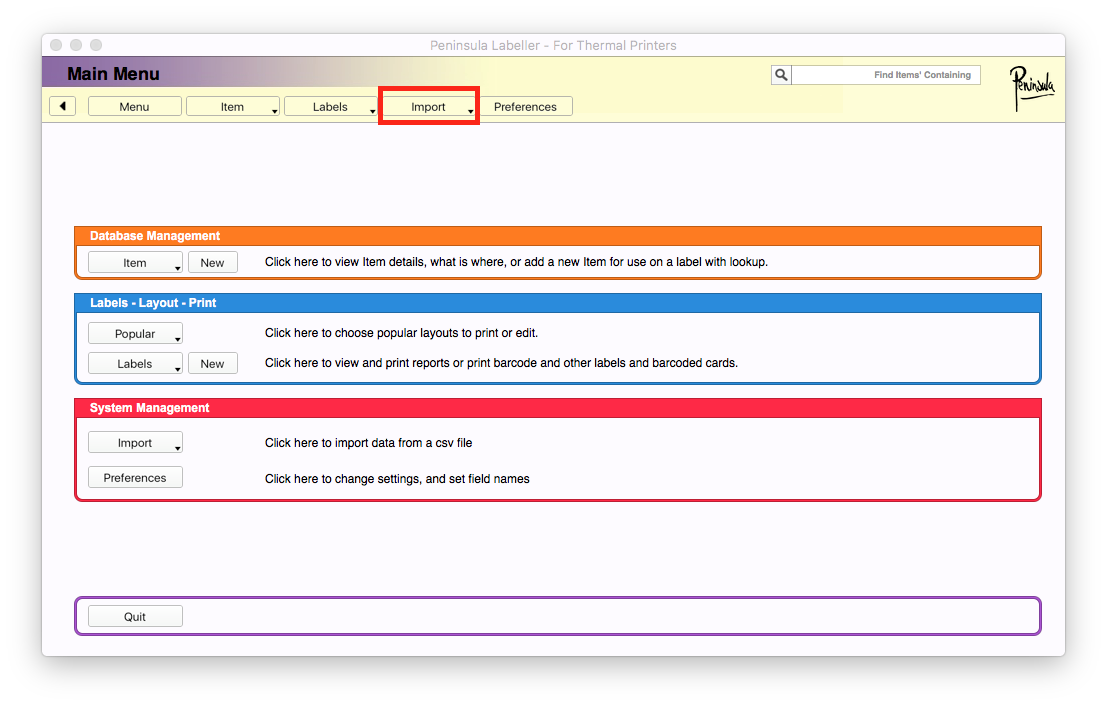
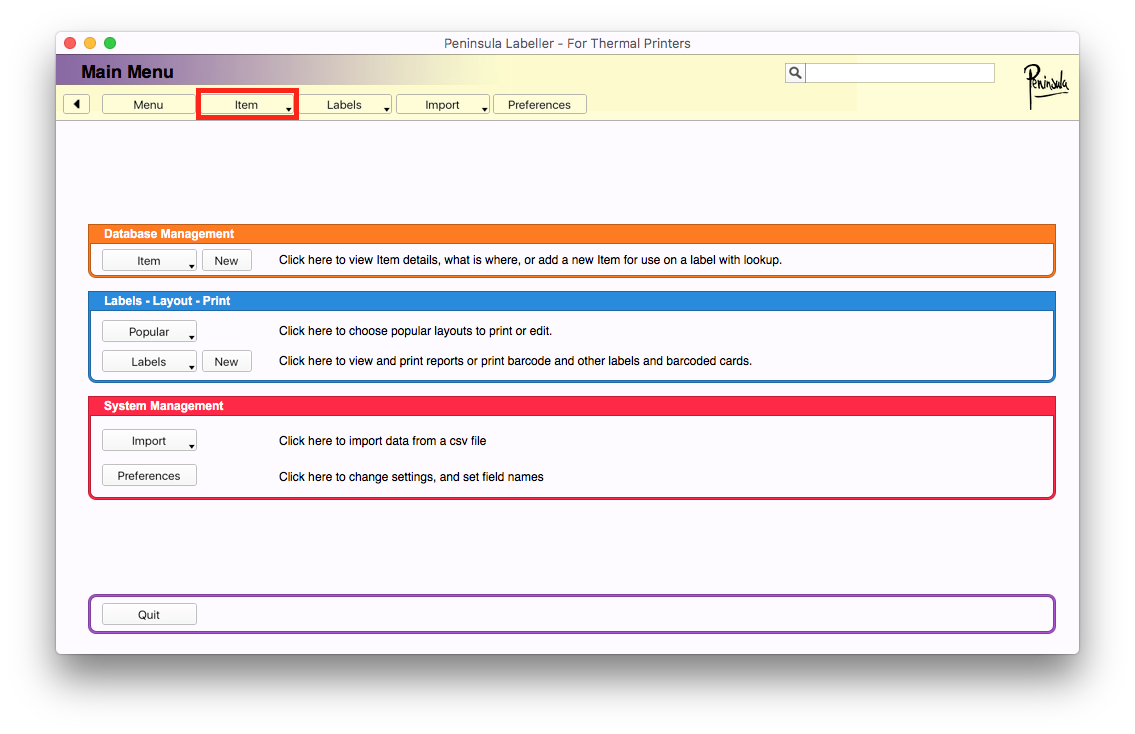
You will see an "import" tab. This will be the fourth tab along on the top row.
c)
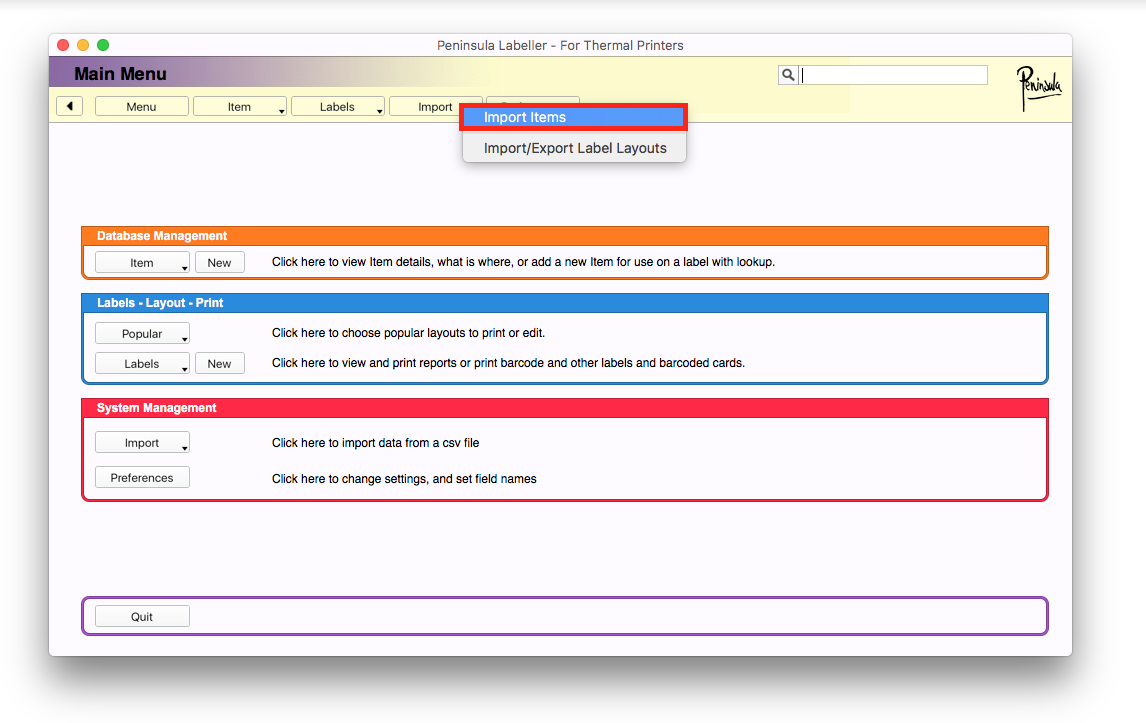
After clicking on the tab you will see a drop down menu, we want to click on the "import items" button.
d)
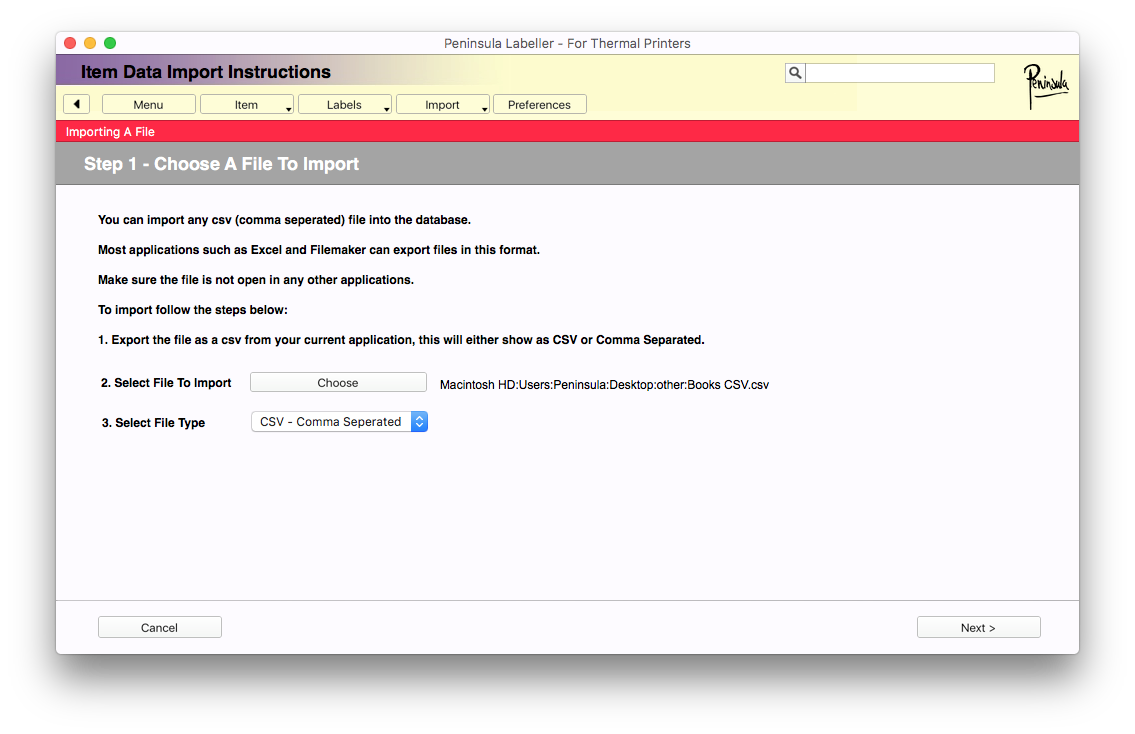
This is the new page you should be on, to be able to import CSV files.
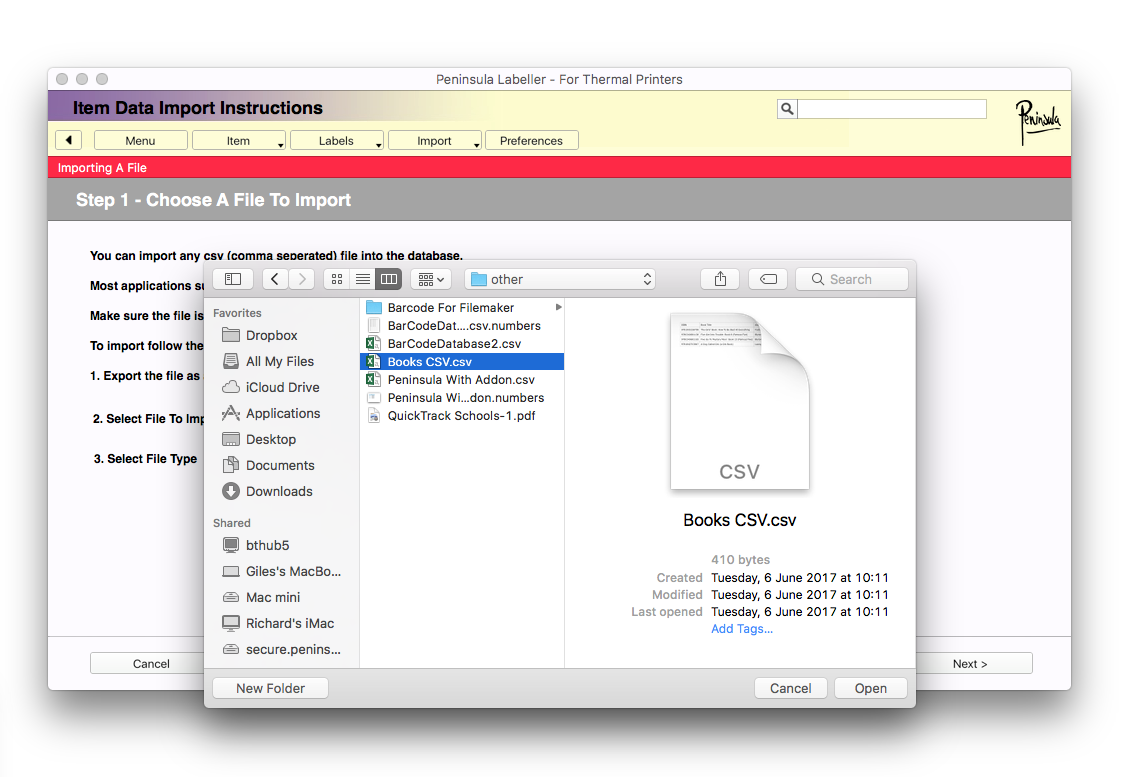
Click on the "Choose" button, to choose the CSV file you wish to import.
e)
After you click the "choose" button, your files will open up.
Make sure to correctly select which CSV file you wish to import.
Then click the "open" button.
f)
Your file will now be selected and check that step 3 "select file type" has CSV - comma separated selected.
You can now click the "next" button.
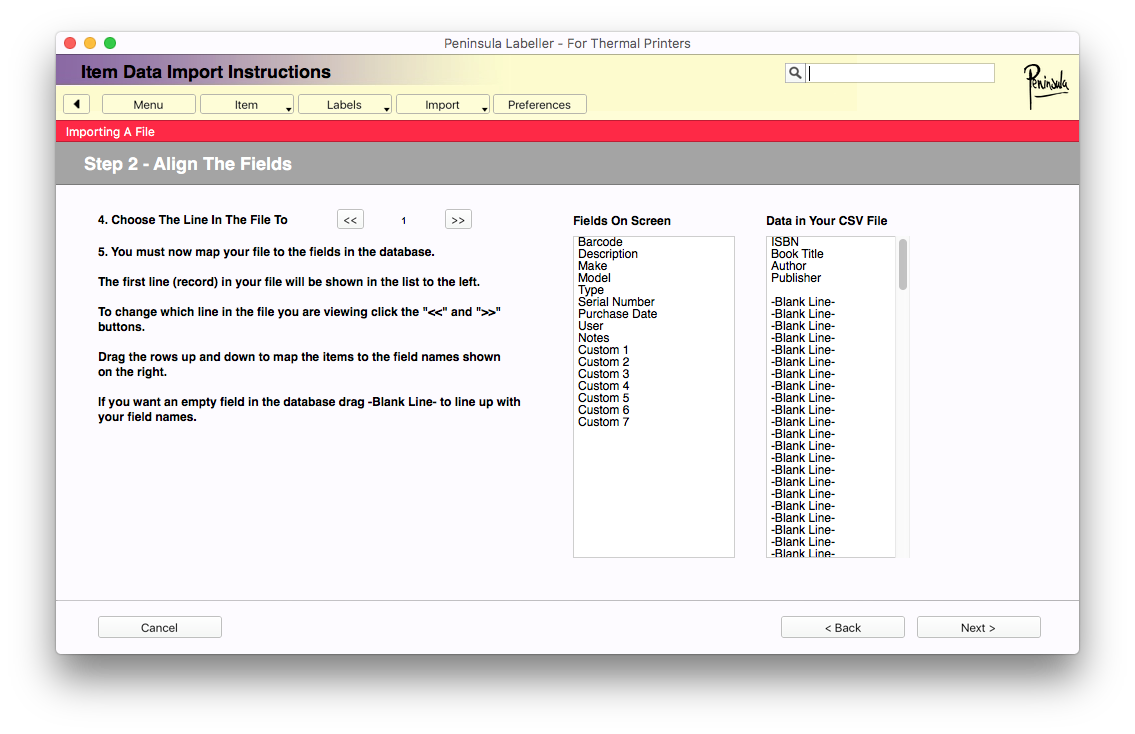
g)
After clicking "next" the above dialog should now show.
Make sure the Fields on screen line up correctly with the Data in the CSV file.
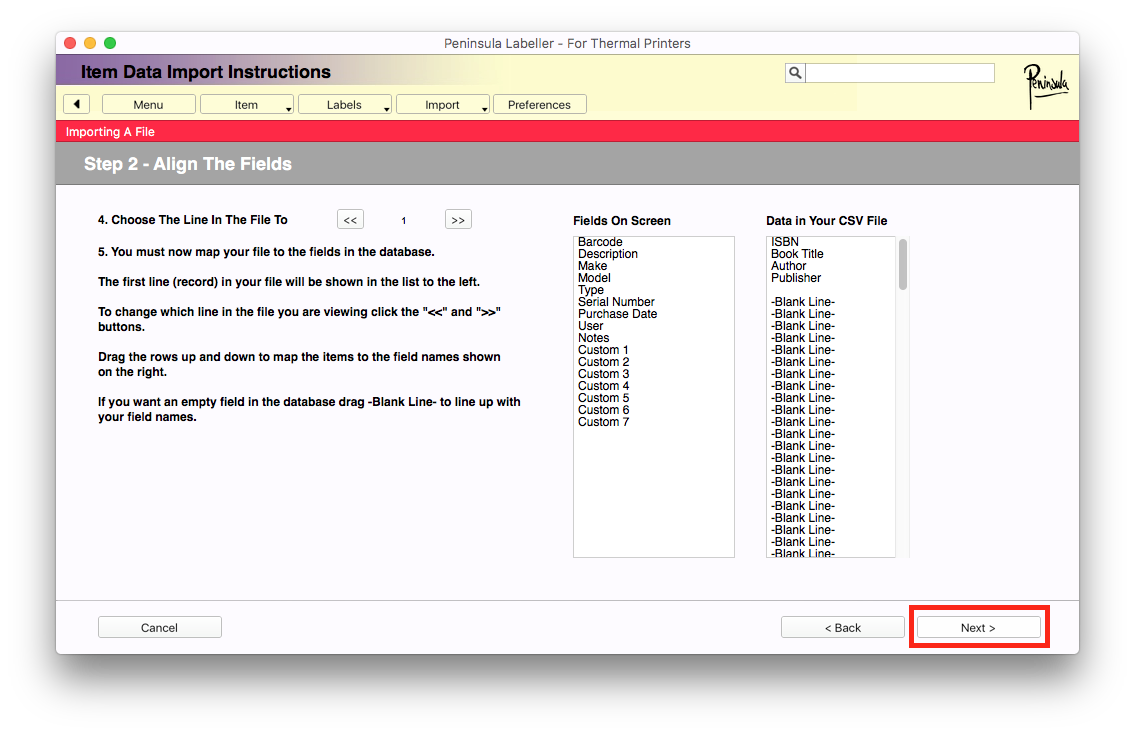
h)
After ensuring all your fields line up correctly you may now click "next".
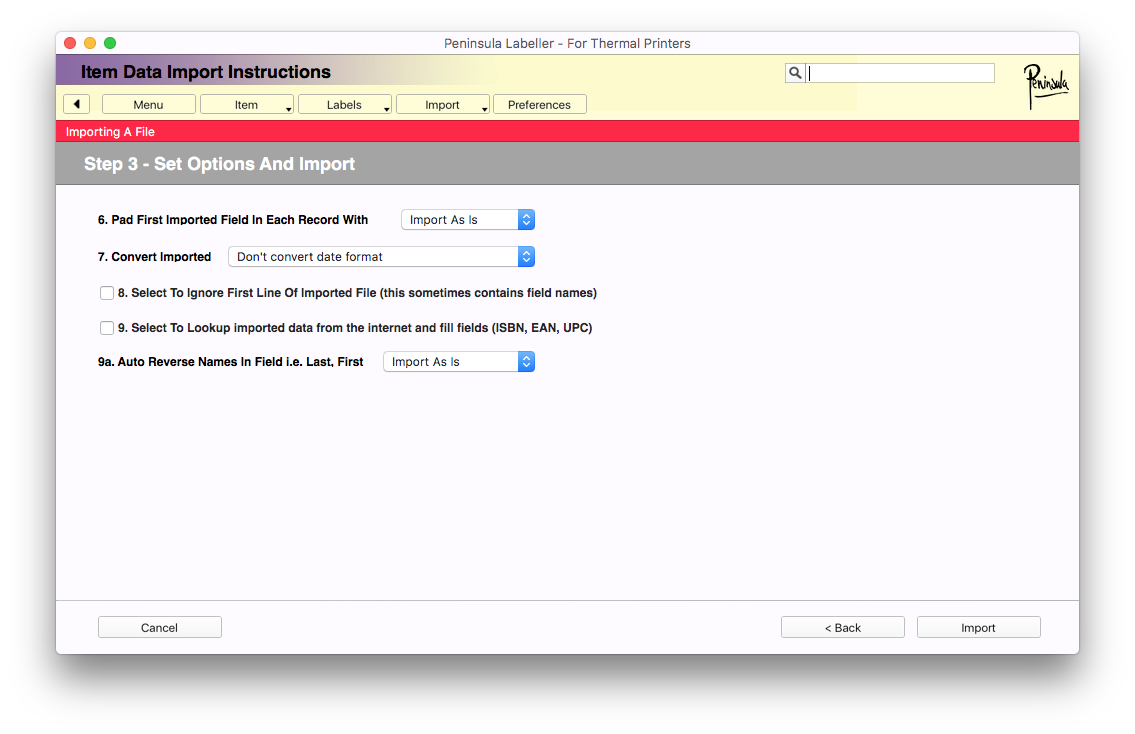
i)
Depending on how your CSV is setup you can choose to ignore the first line, which may be the headers or field names.
You can now click the "import" button.
j)
After importing you will be taken back to the main page.
k)
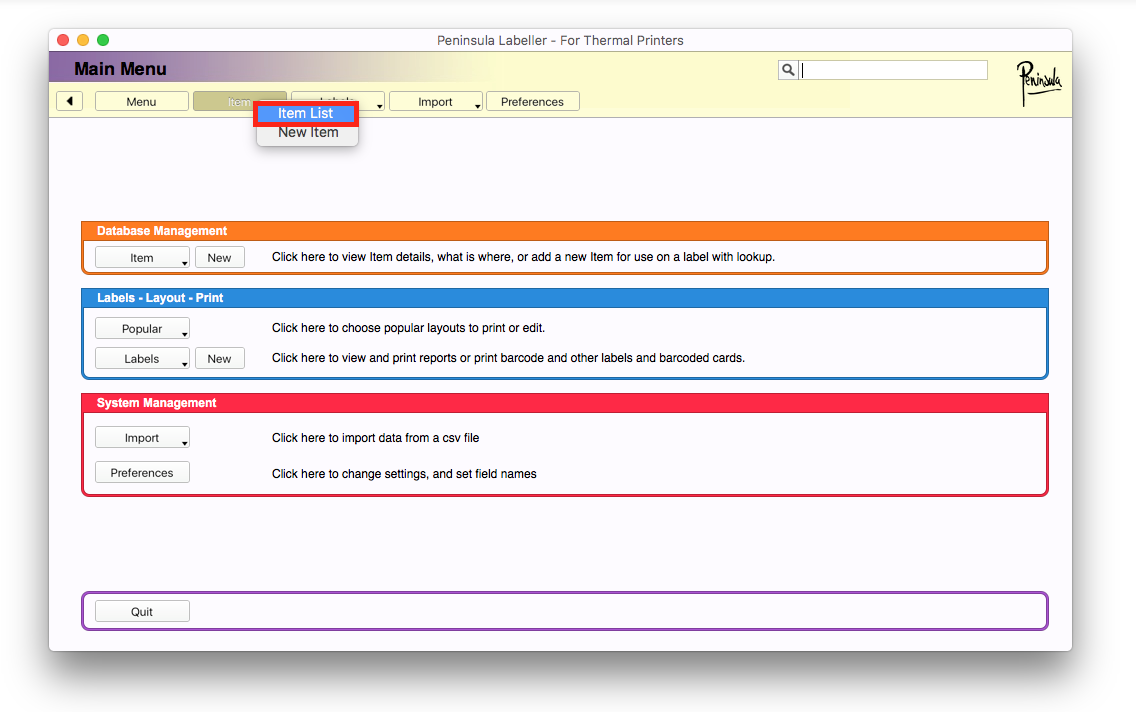
Click on the "item" tab, this should be the second tab on the top bar.
l)
You will see a drop down menu, click on "item list".
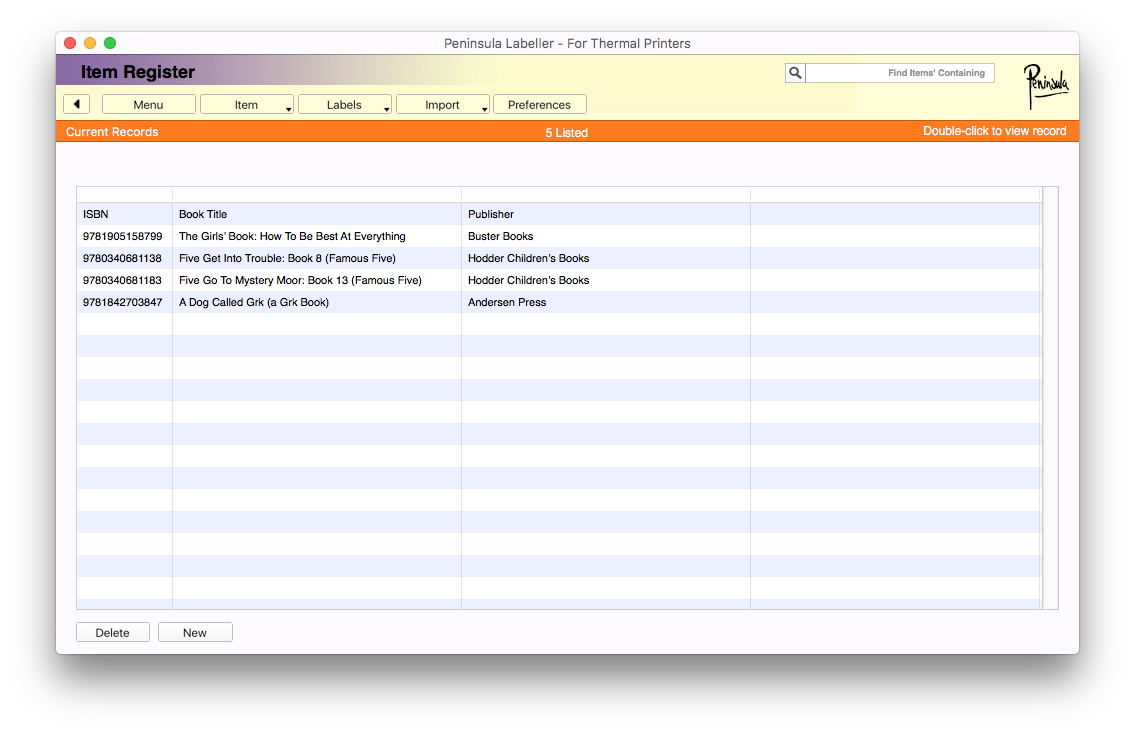
m)
After clicking on "item list" your imported CSV file should now should.
This is our example of a book CSV file.
If you encounter any issues, please email our Technical Support at
tech@peninsula-group.com