Free Shipping Worldwide

Need Help?


Support     >   Labeller    >    Creating labels from an Excel file

Label creation from an Excel file

Below you will find a tutorial teaching you how to create a label from an Excel file


Above is a Youtube video we made to show you how to create labels from an Excel file.
Below are step by step instructions that follow the same steps as in the video.


1. creating labels from a Excel file


a)

Open up the labeller software


b)


You will see a "Labels" tab. This will be the third tab along on the top row.


c)


After clicking on the tab you will see a drop down menu, we want to click on the "New label" button.


d)


After clicking the "New label" button, a dialog should appear.


e)


You will see the "Layout name" text field, here you will want to enter the name of your file.
You will also need to pick the label size you want.
Now click the "Next" button


f)


After clicking the "next" button, the dialog will change to the one in the image above.


g)


You will need to select "Excel workbook" and then click the "next" button.


h)


After you click the "next" button a new dialog will open.


i)


After clicking the previous "next" button, a new dialog will appear, like in the image above.
You can simply click the "create" button.


j)


After clicking the "create" button, your files will open and you can find the CSV file you are wanting to use.


k)


After finding the correct CSV file you want to use you can click "open".


l)


After clicking "open" on the previous dialog a new dialog will open.


m)


Choose which worksheet you wish to use and select "OK".


n)


A new dialog should open.


o)


Click on the "barcode" icon (we have highlighted it in red for you) in the tools bar.
This will create your barcode field.


p)


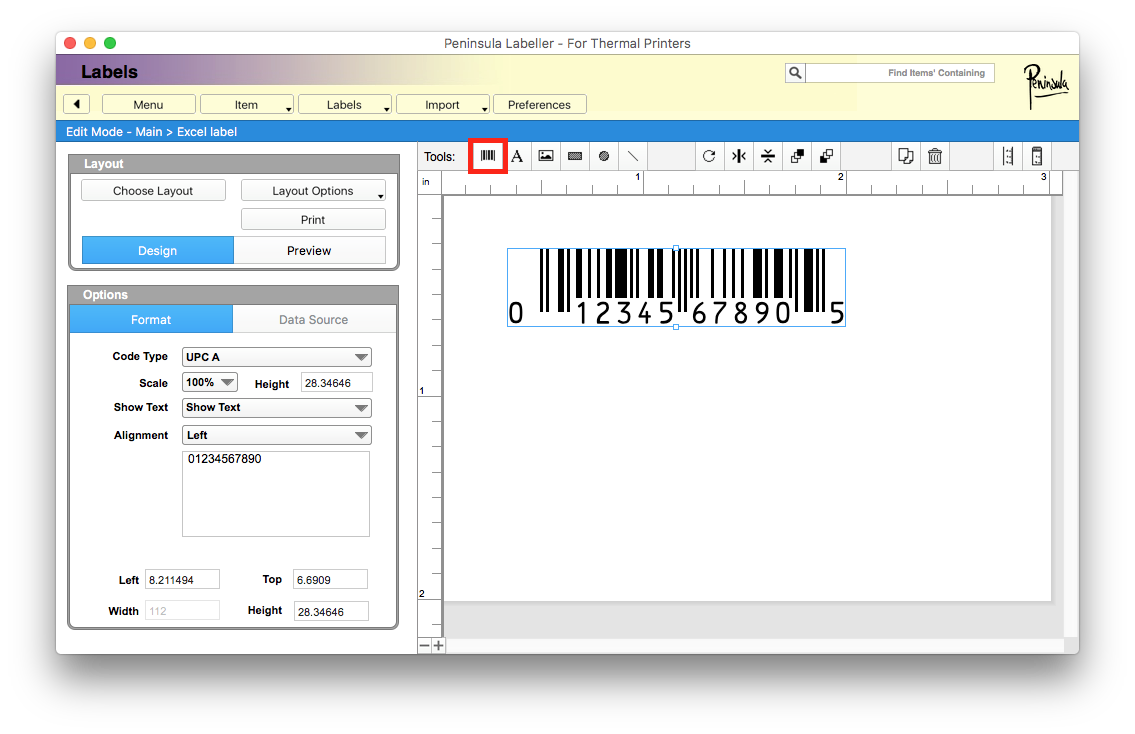
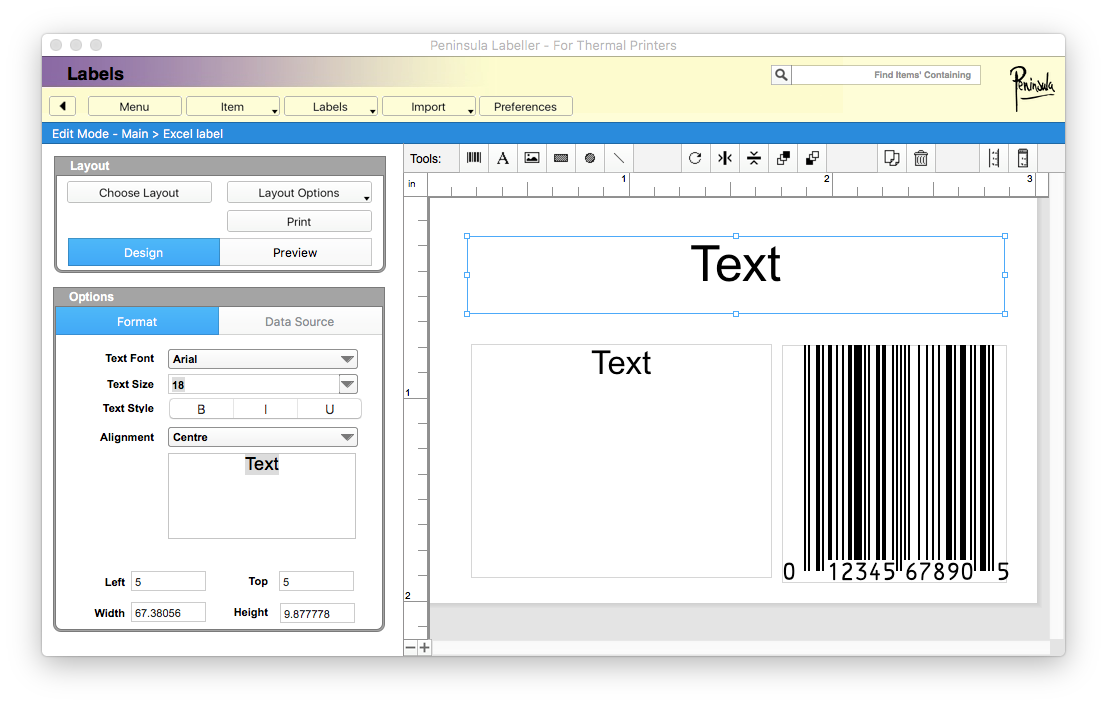
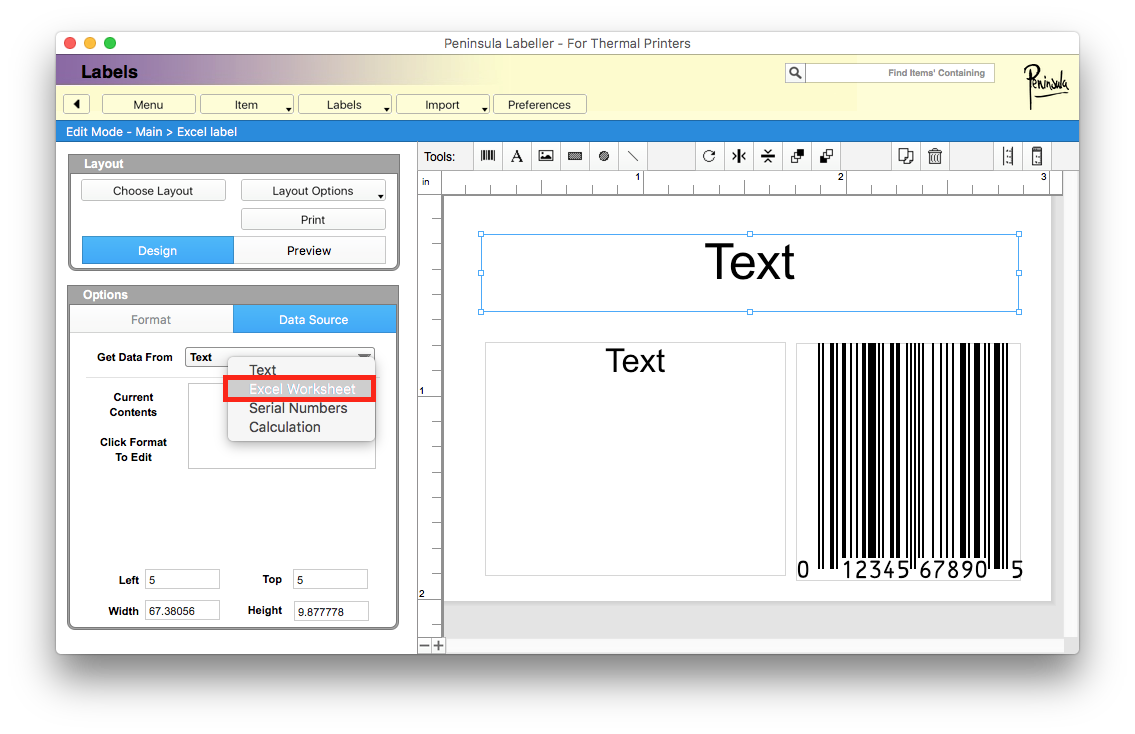
Change your barcode field to how you would want it.
Here we scaled it down to 80% and changed the height of the barcode.


q)


Add some text fields that may be required for your product.
Here we need two for the title and description.


r)


Switch to the data source page, and select "Excel worksheet" from the Get data source drop down menu.
Make sure you select the correct column for each field and each column has been told to get its source from "Excel worksheet".


s)


Click "print" and a new dialog will open.
Click "Yes" to save all the changes.


t)


A new dialog will open, this shows what items are in your file and you can select which item you wish to print.
You can check "first row headings" if you need to ignore the column titles in your file.


u)


To print specific records you hold down the command key on a Mac or the control key on PC windows.
This will allow you to select more than one item if needed.
Once you have selected what you wish to print.
Click "print selected".


v)


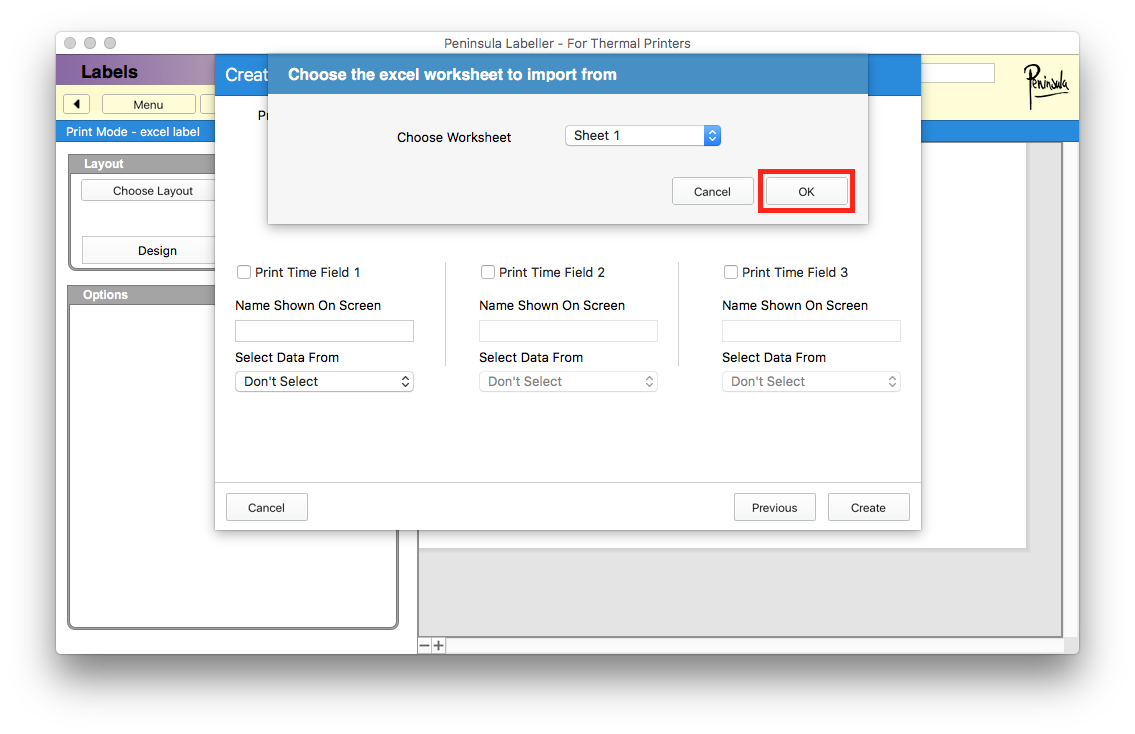
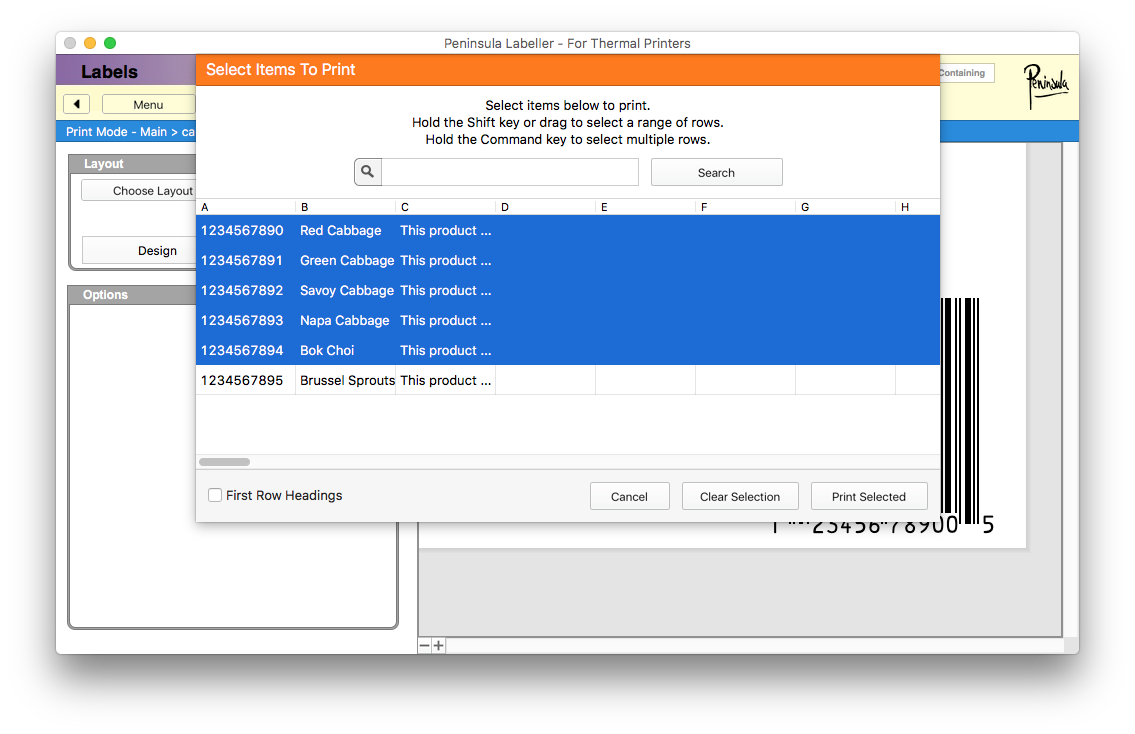
After clicking "print selected" a new dialog will open.
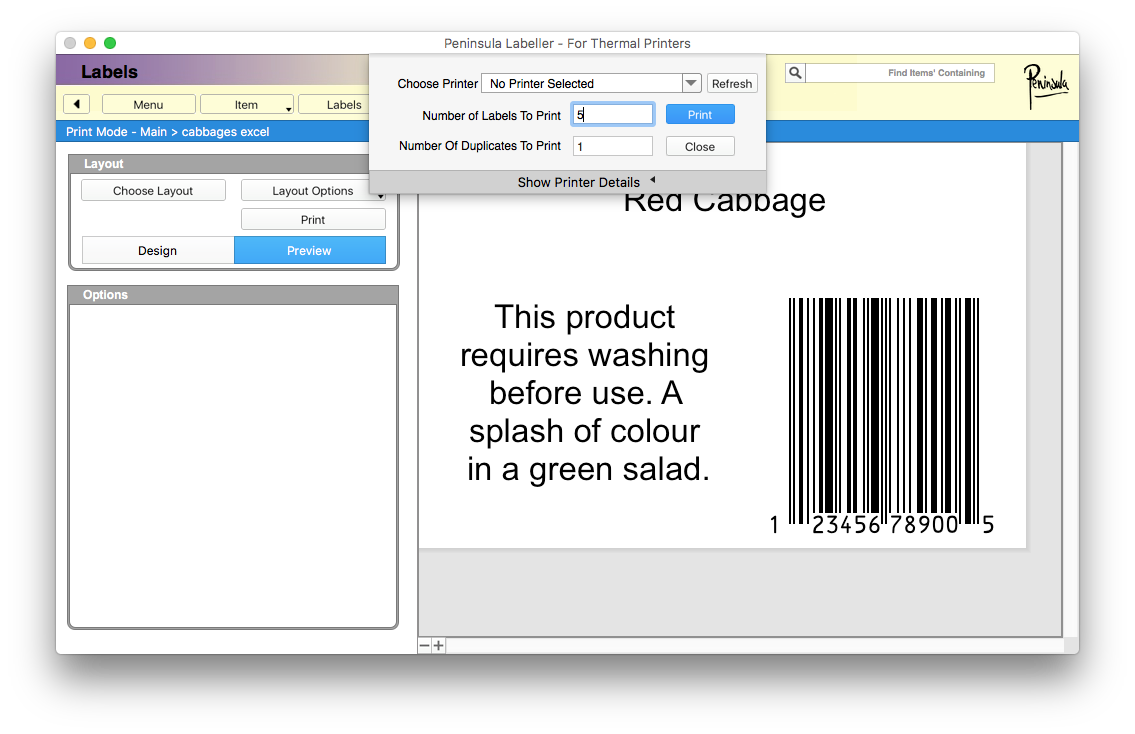
The number of products you have selected to be printed will appear in the "number of labels to print" field.
You can print more of each label by entering a number in the "number of duplicates to print field".

You can now click "print"

If you encounter any issues, please email our Technical Support at
tech@peninsula-group.com

Can’t find your answer?

We’re here to help. Get in touch and we’ll get back to you as soon as we can.