Below you will find a tutorial teaching you how to create a basic label in labeller
Above is a Youtube video we made to show you how to create basic labels in Labeller.
Below are step by step instructions that follow the same steps as in the video.
1. Basic label creation
a)
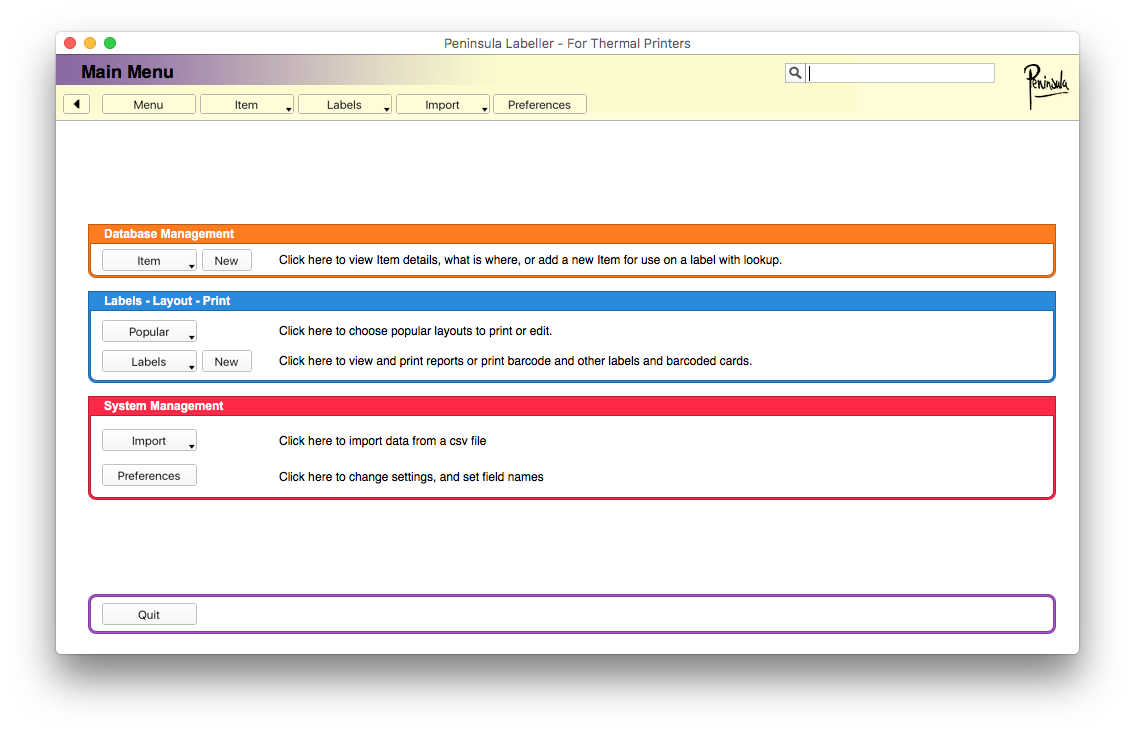
Open up the labeller software
b)
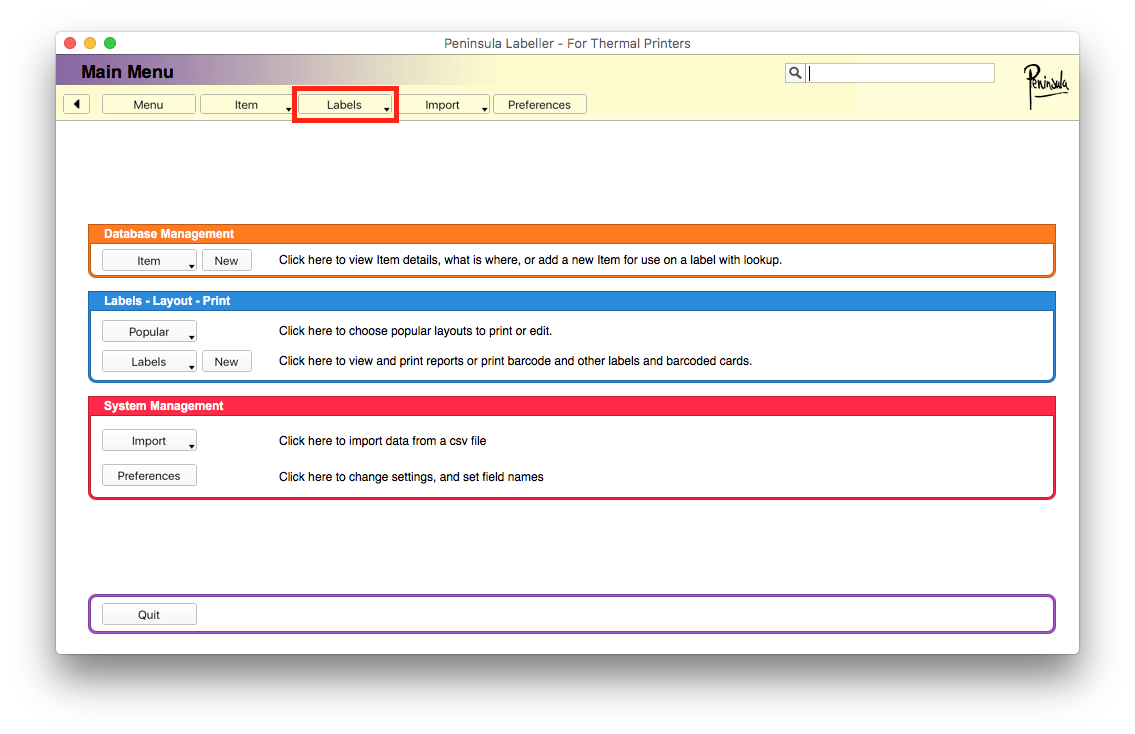
You will see a "Labels" tab. This will be the third tab along on the top row.
c)
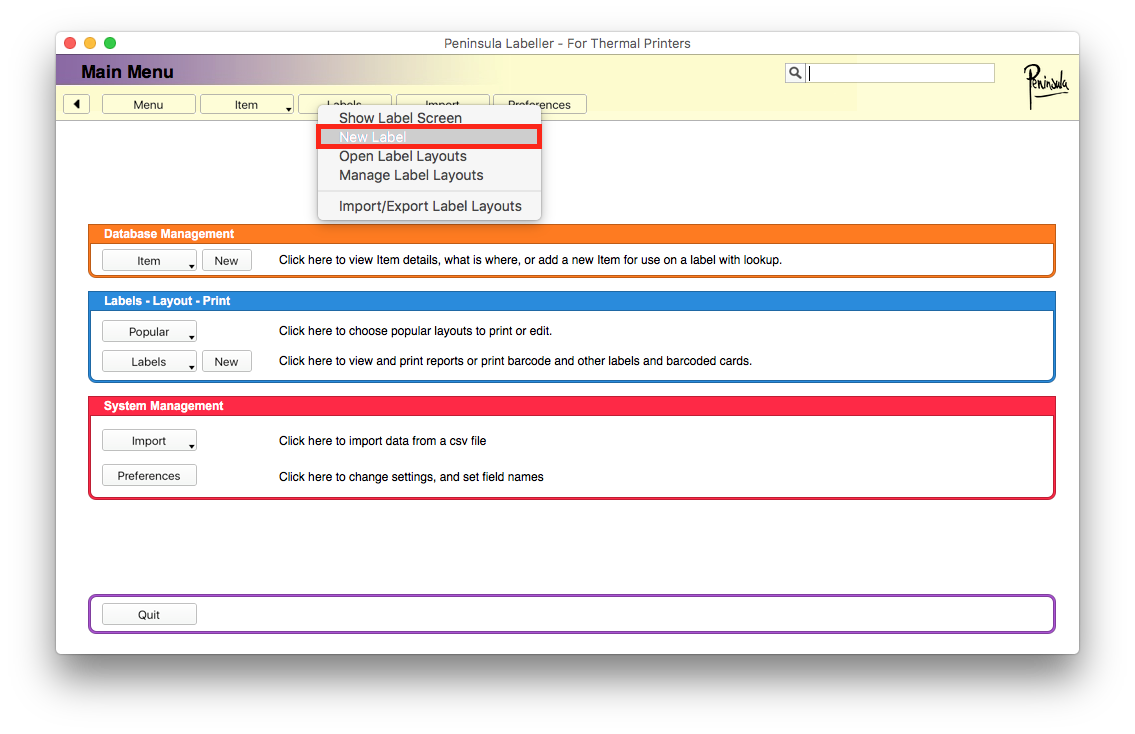
After clicking on the tab you will see a drop down menu, we want to click on the "New label" button.
d)
After clicking the "New label" button, a dialog should appear.
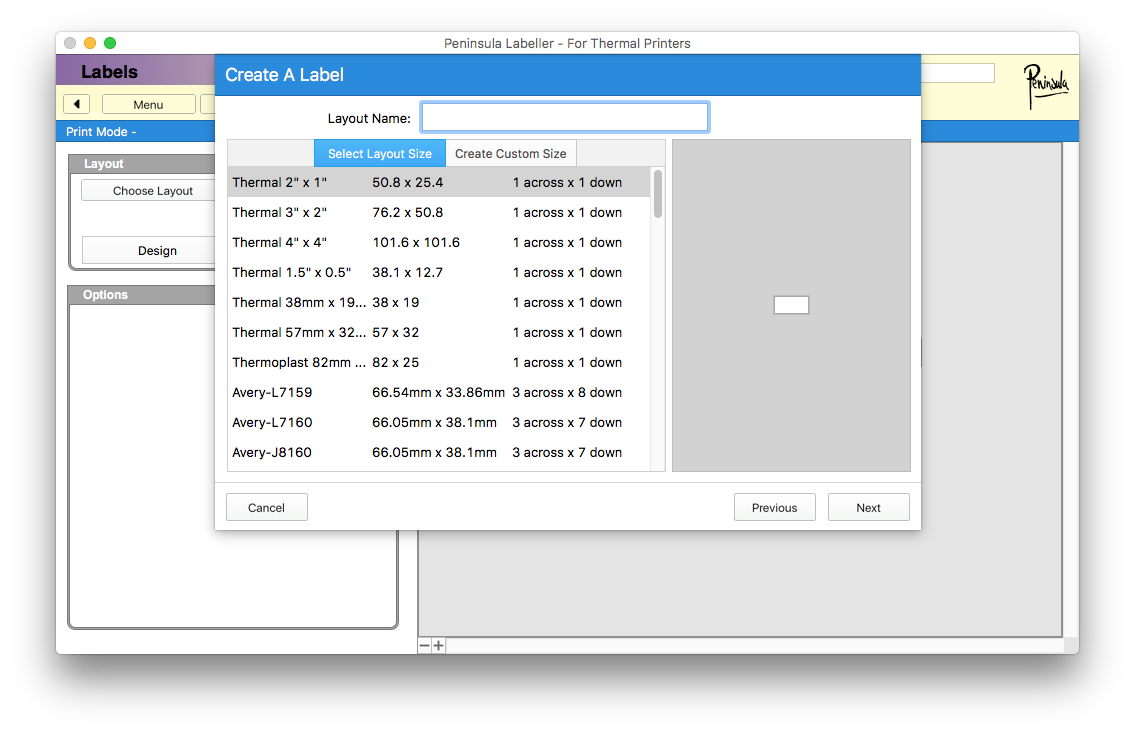
e)
You will see the "Layout name" text field, here you will want to enter the name of your file.
You will also need to pick the label size you want.
Now click the "Next" button
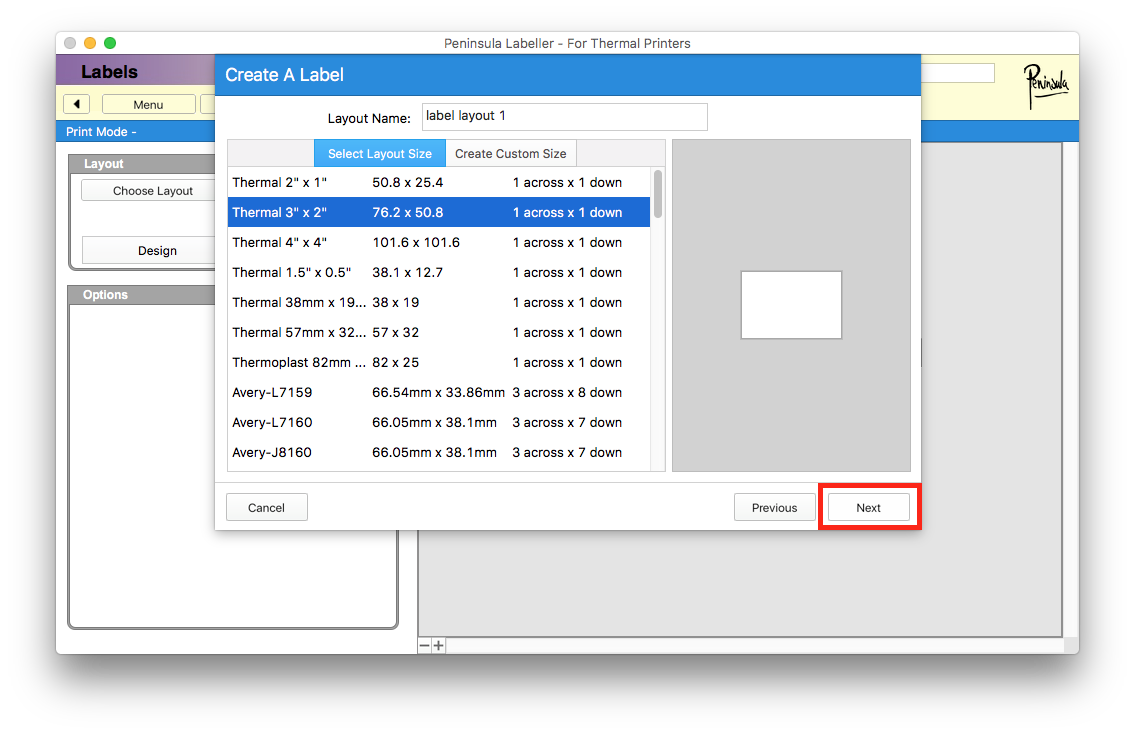
f)
After clicking the "next" button, the dialog will change to one like in the image above.
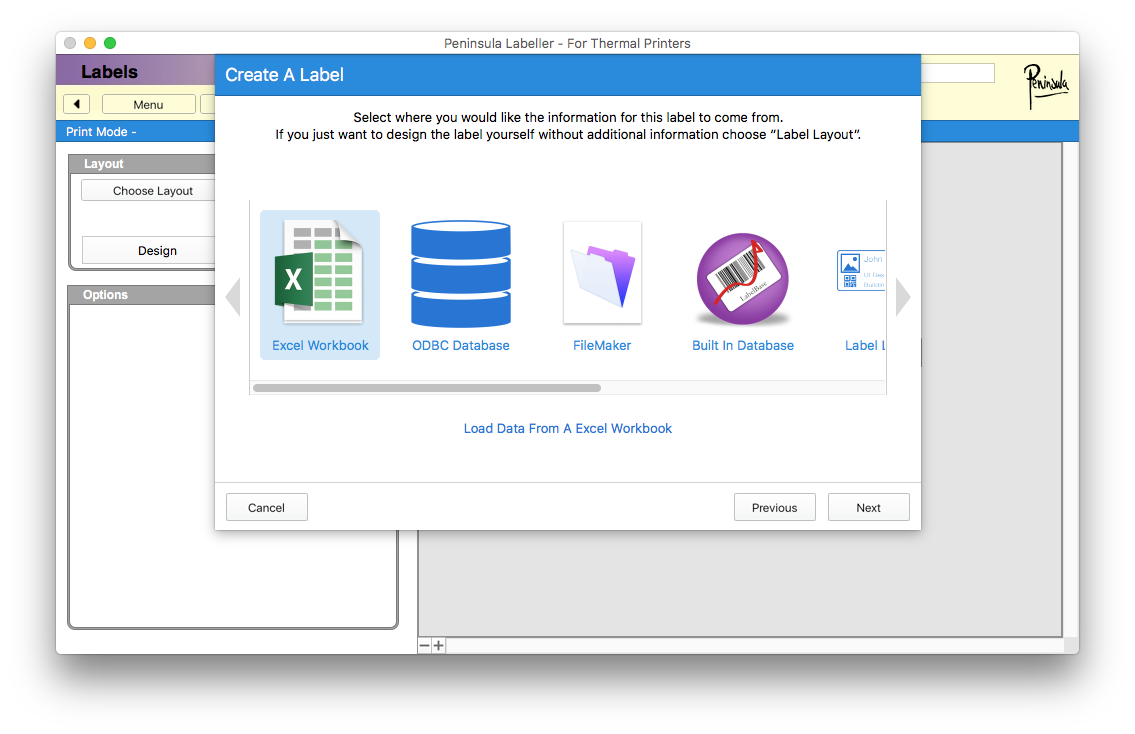
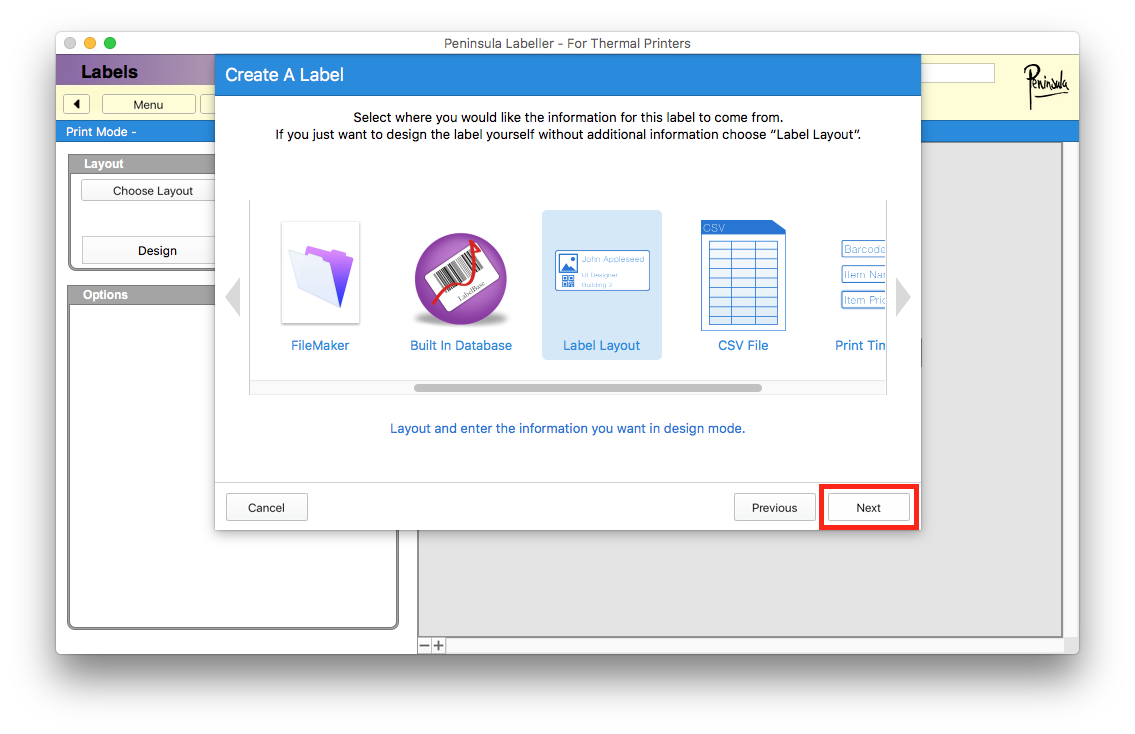
g)
You will see a scroll bar, scroll along until you come to "label layout" select it.
Once you have ensured you have selected the correct thing click the "next" button.
h)
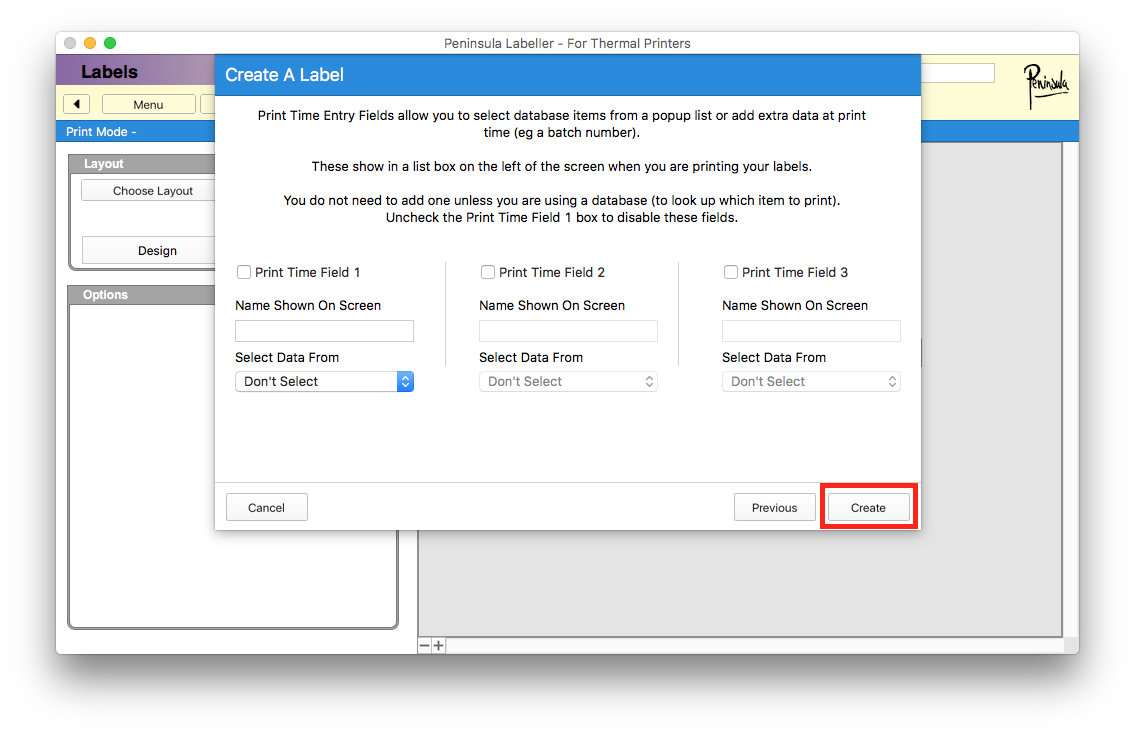
After clicking the "next" button a new dialog will appear.
Click the create "button" to move on to creating your label.
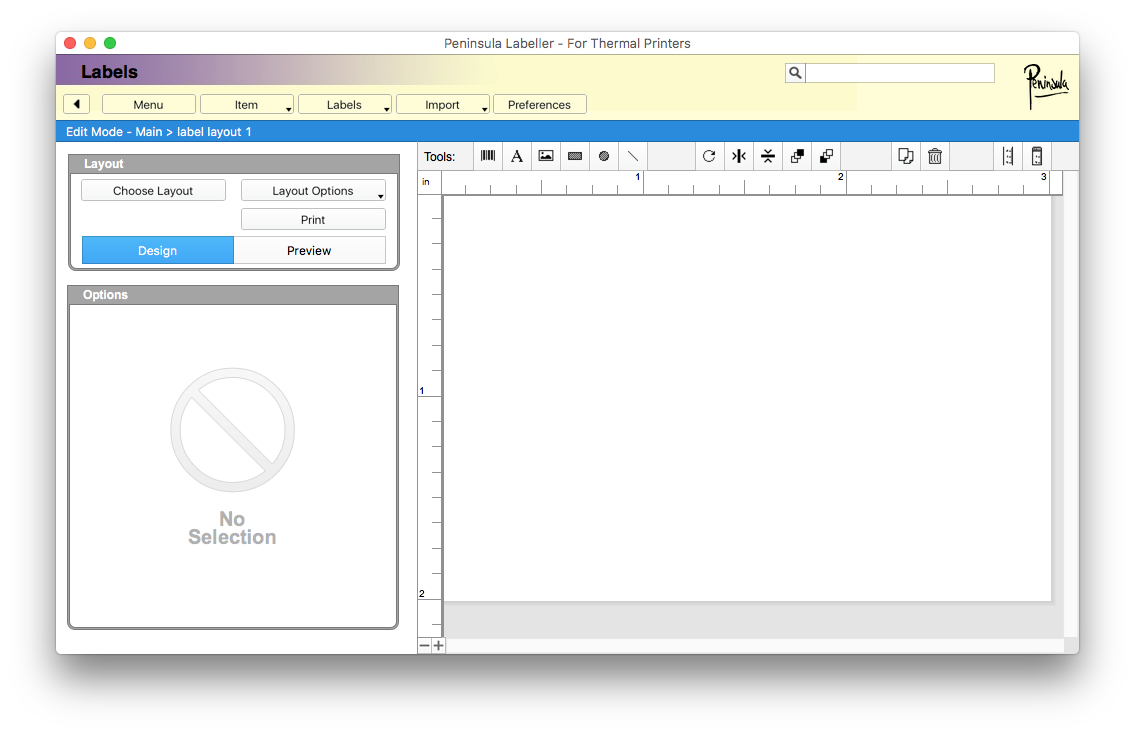
i)
A new dialog should open like in the image above.
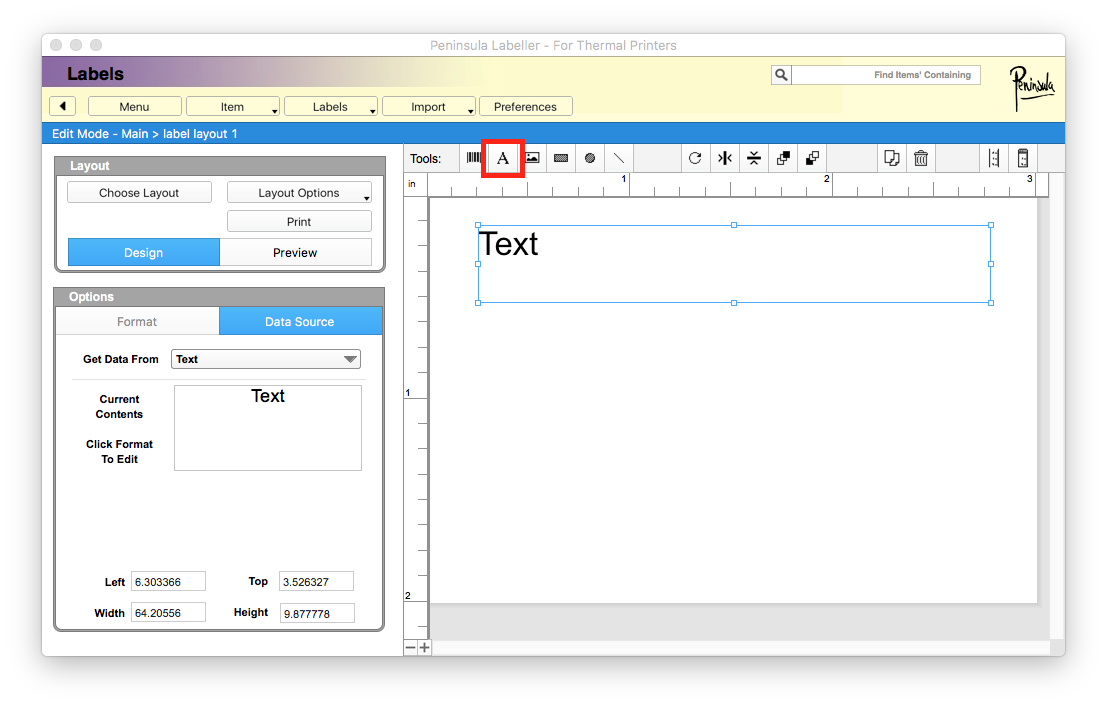
j)
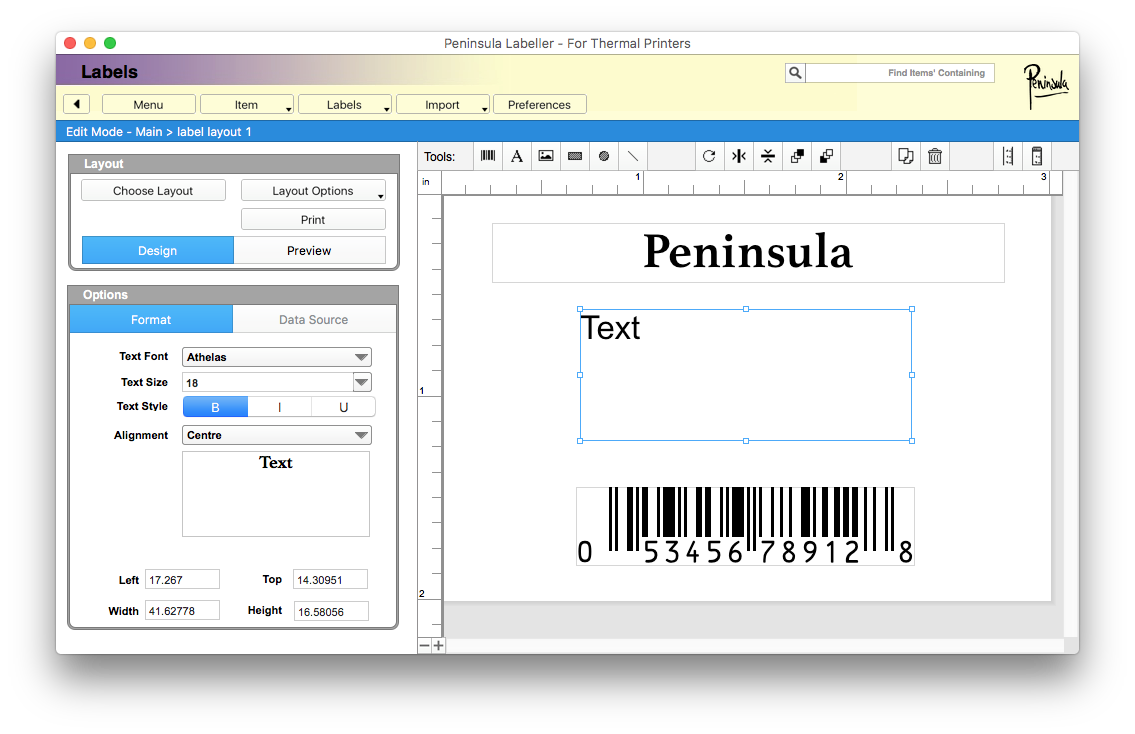
Add some text fields to your label by pressing the "text" icon.
We have highlighted the icon for you with a red box.
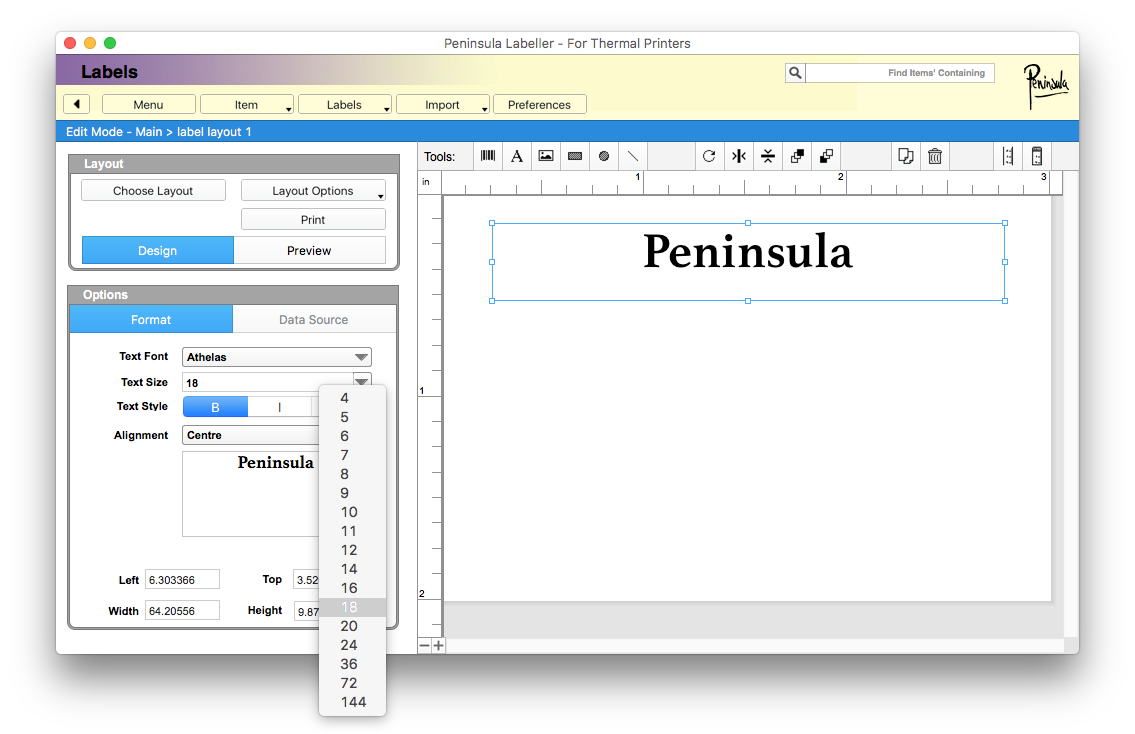
k)
Add your content and style your text how you wish to, using the options in the format box.
l)
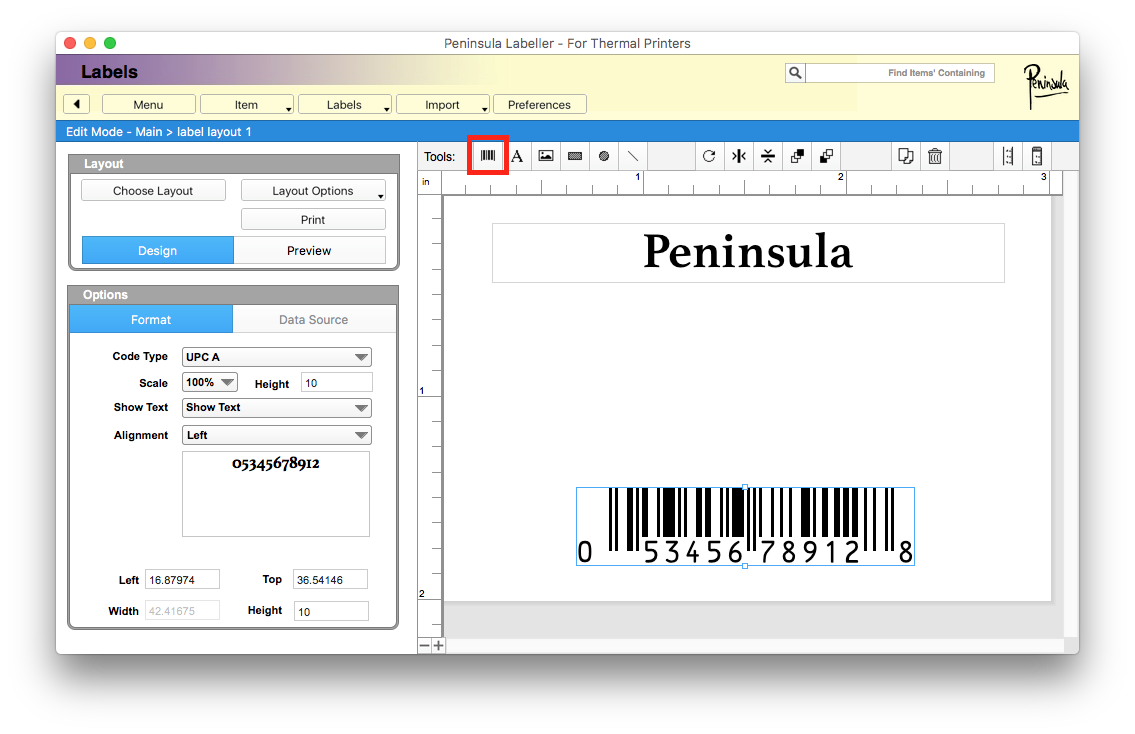
To add a barcode field click on the "Barcode" icon.
We have also highlighted the icon you need to use to create the Barcode field.
You can now add the content and position the field where you want it to be.
m)
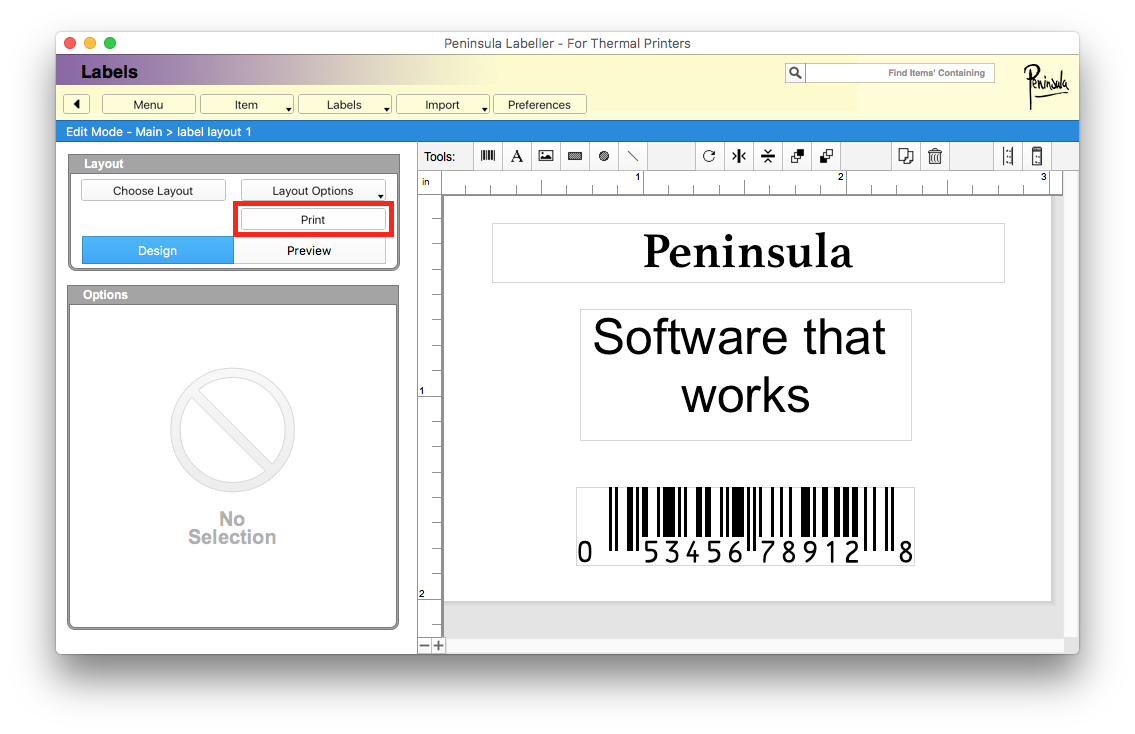
Next add any other fields for copy you might need. Styling it as required.
n)
Once you have finished adding any other fields and it looks the way you want, click "print"
o)
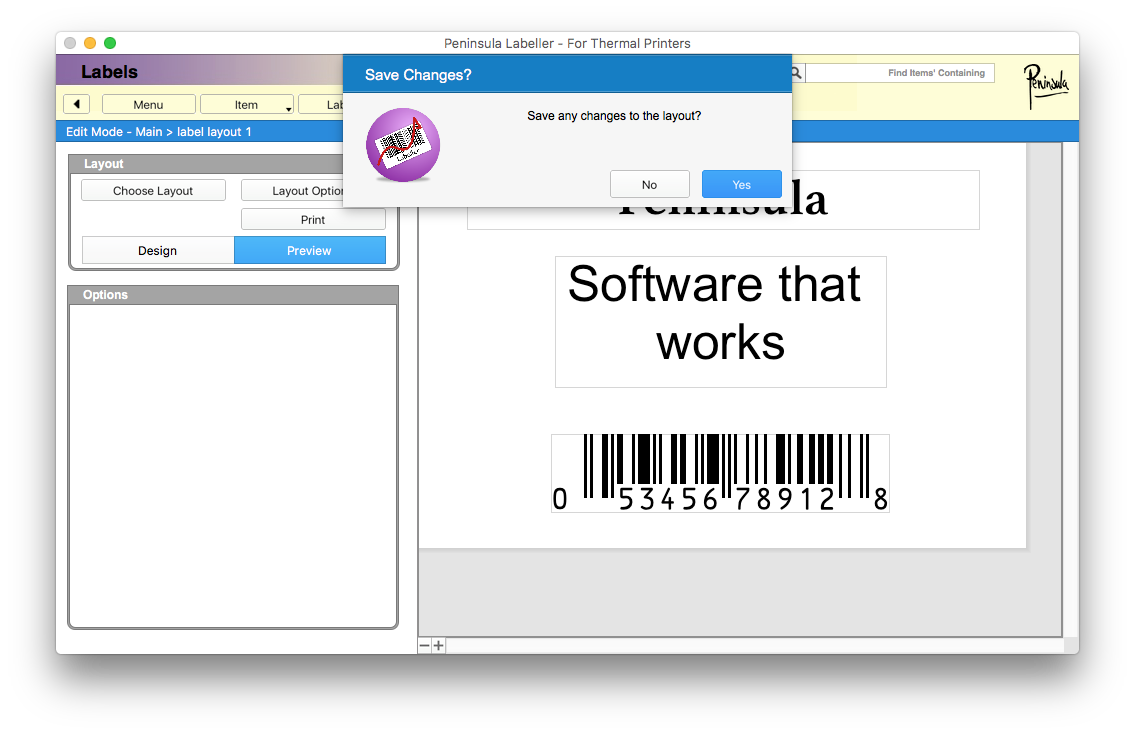
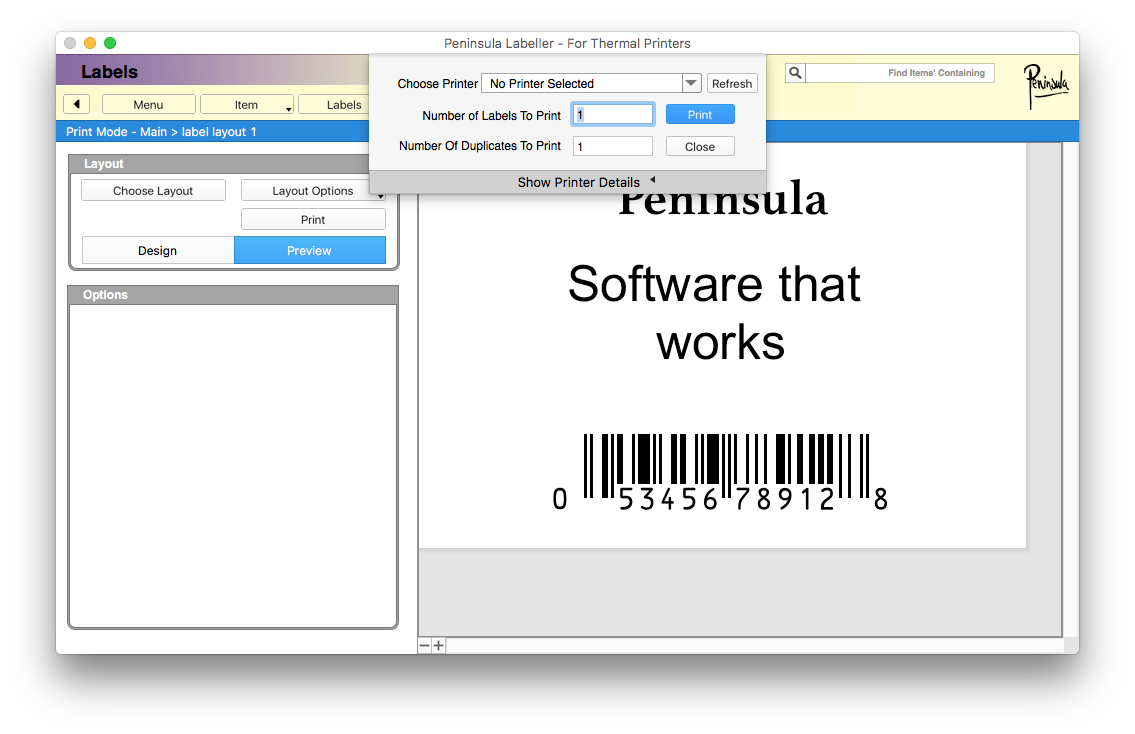
After clicking "print" a new dialog will open.
Click the "yes" button to save the changes made.
p)
as we are simply using a static layout the number of labels to print field will be one.
You can print multiple copies of your label, by entering a number in the "number of duplicates to print" field.
Here in our example we are only using one.
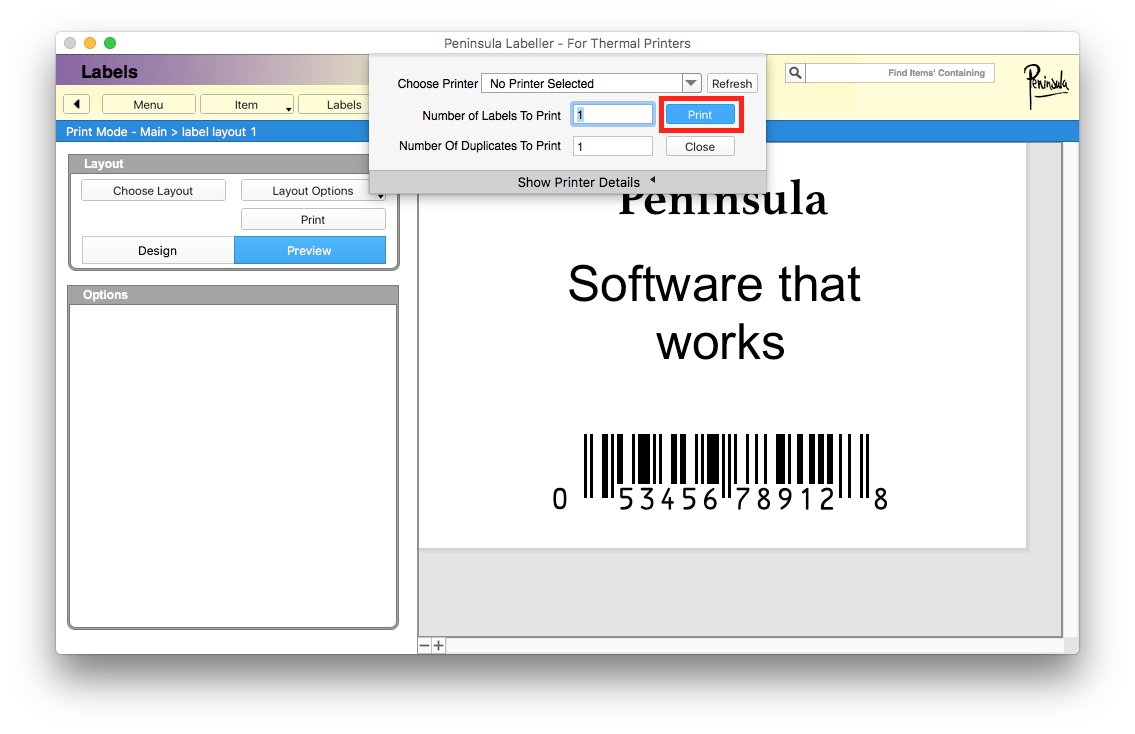
q)
Next click "print" to print your label.
If you encounter any issues, please email our Technical Support at
tech@peninsula-group.com